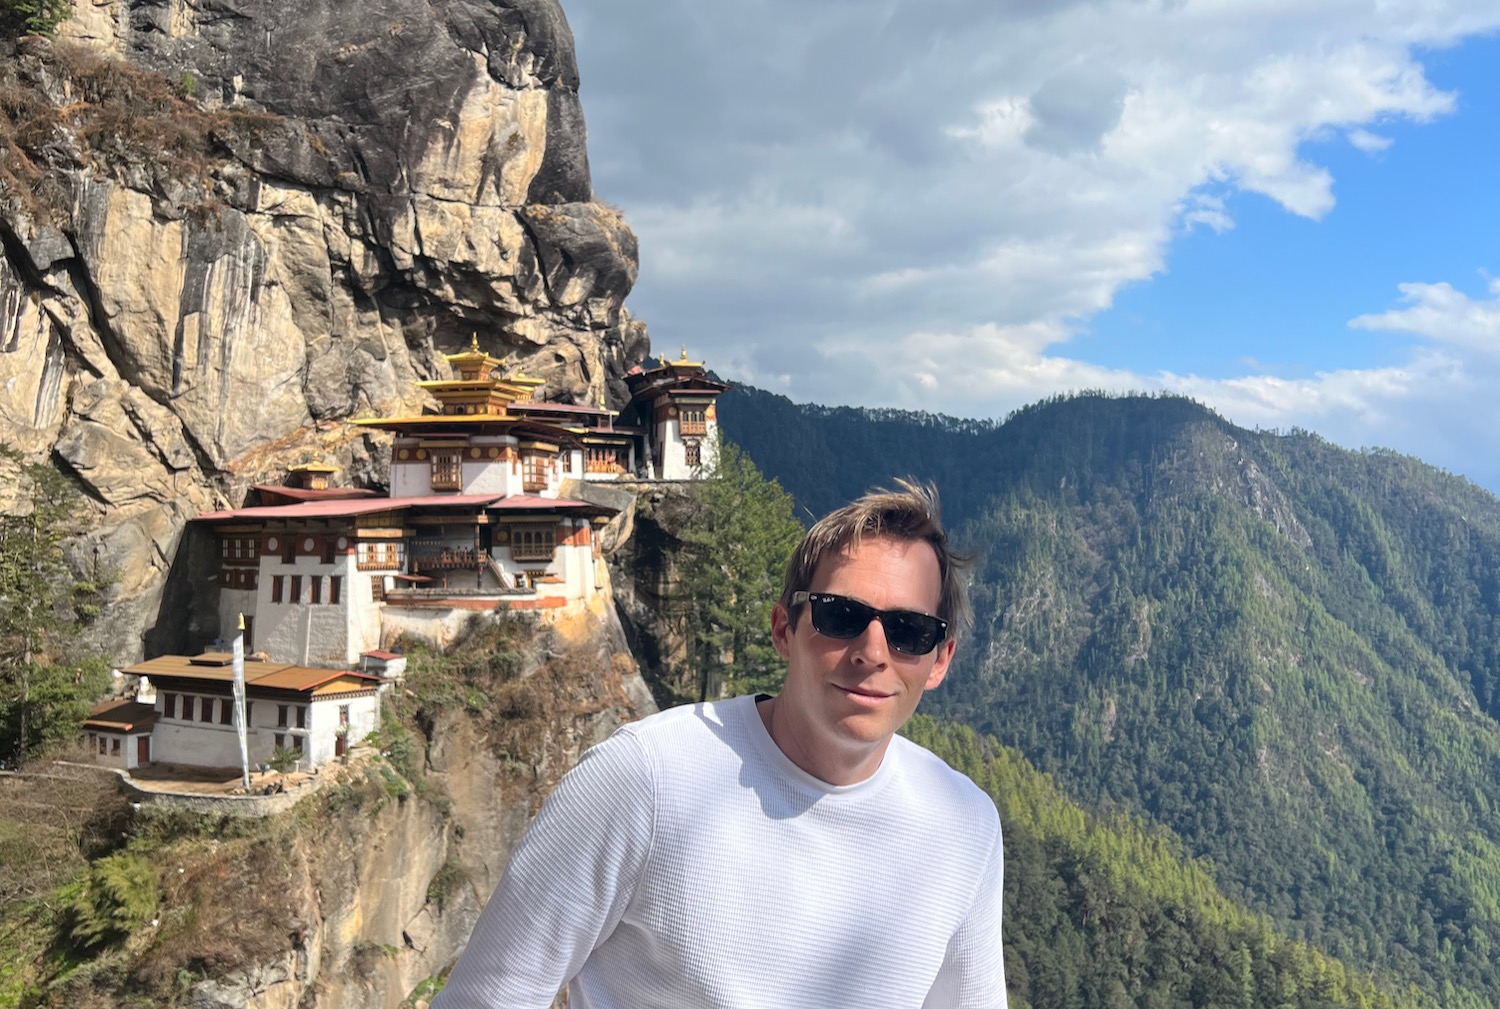
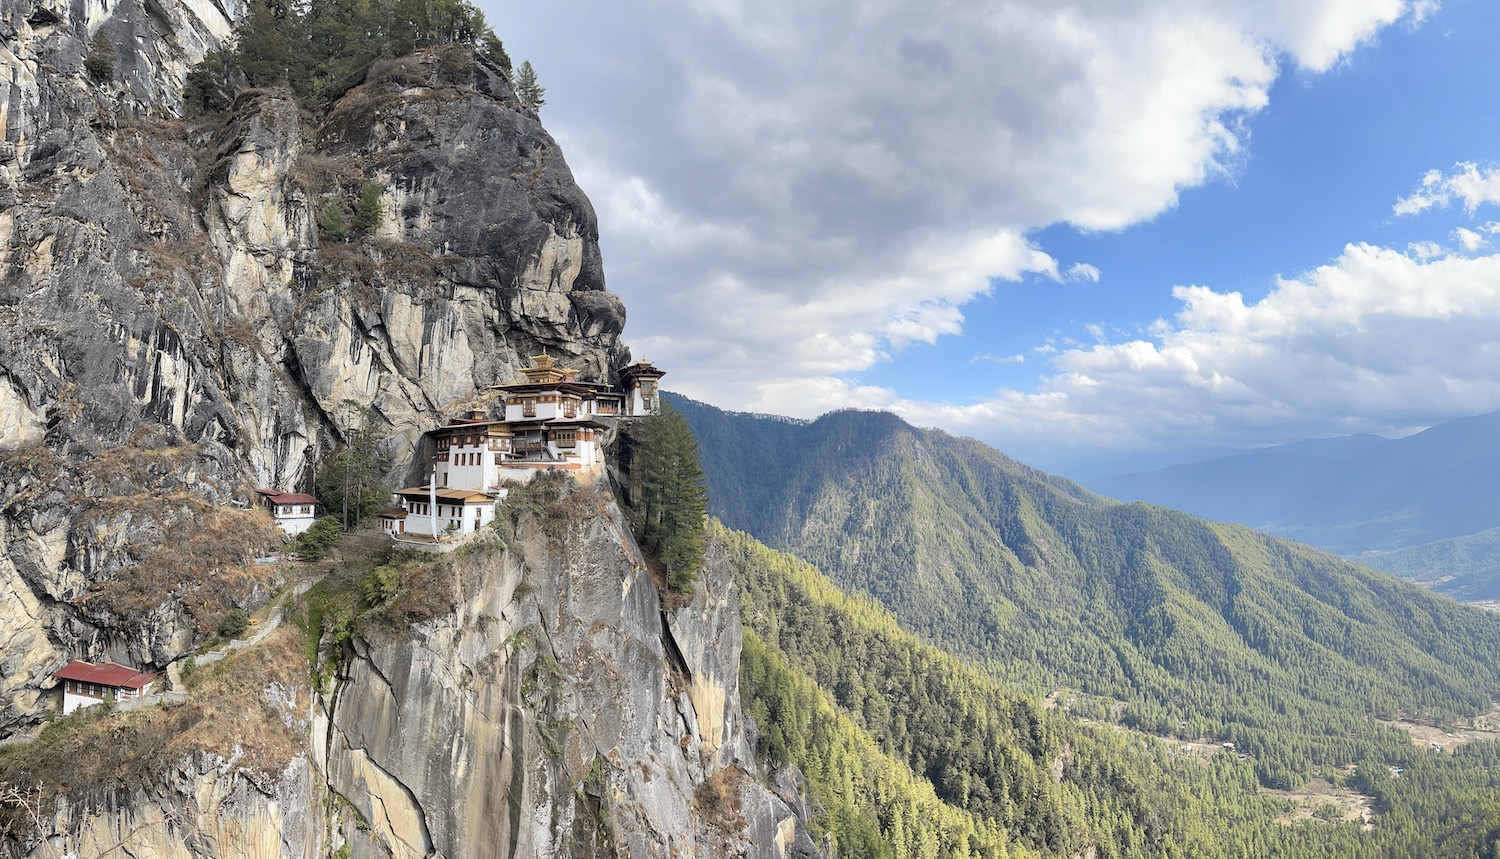
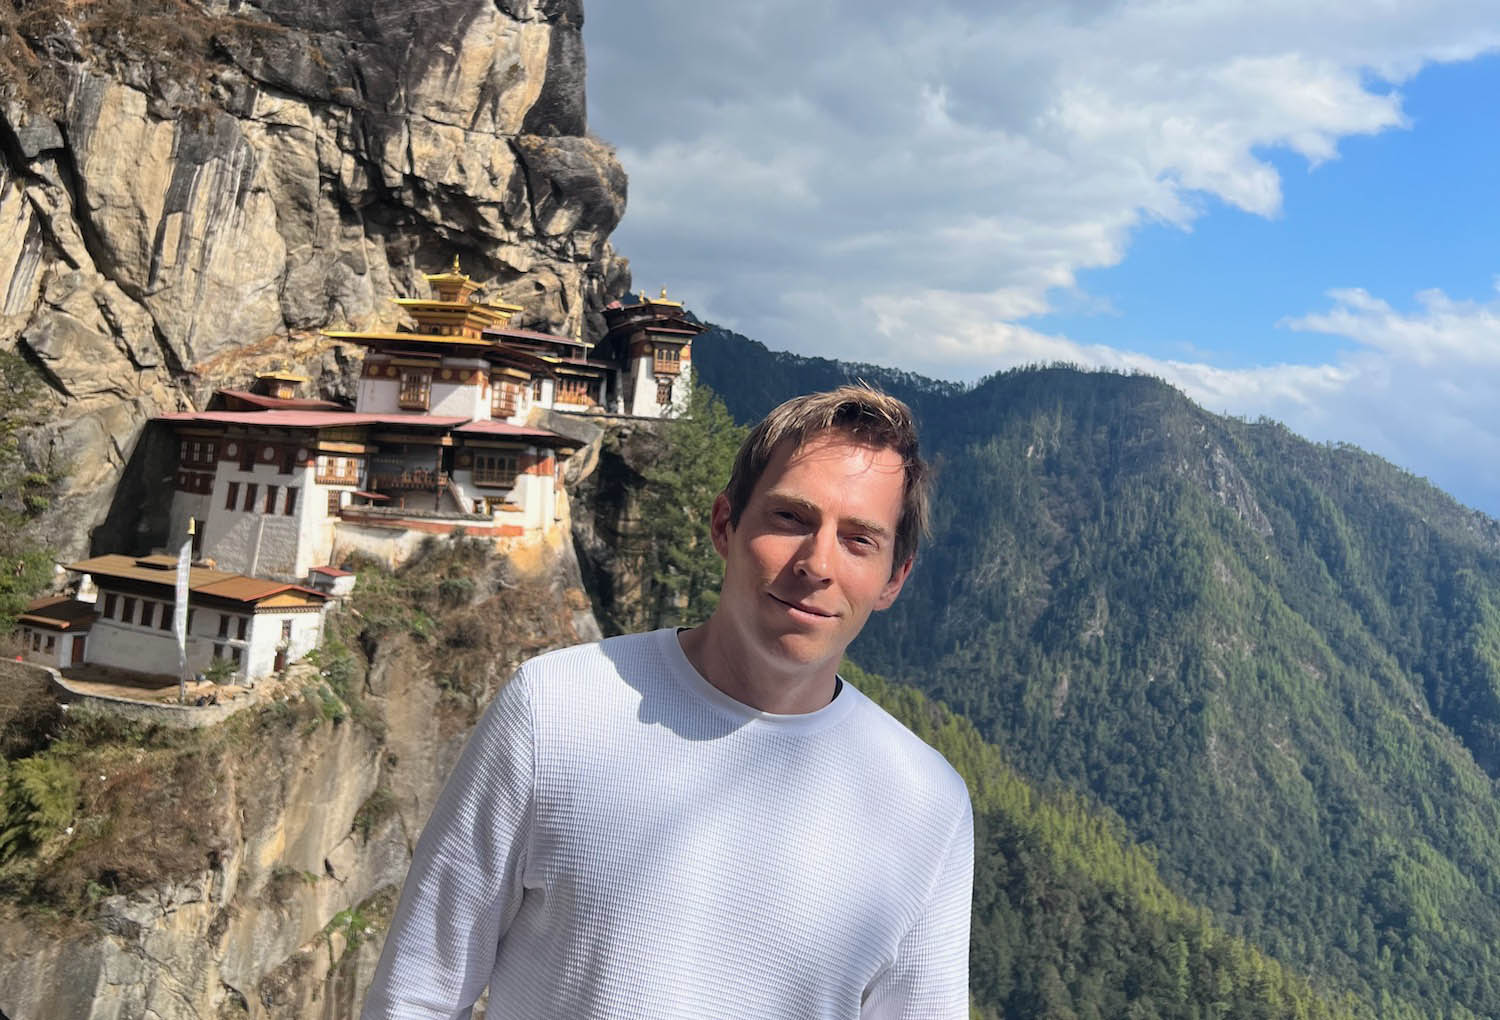
No trip to Bhutan is complete without visiting Paro Takstang, more commonly known as Tiger’s Nest Monastery, which sits perched high up on a rugged cliff outside of Paro. Here’s a pictorial guide recounting my journey to Tiger’s Nest and back.
Pictorial Guide To Visiting Tiger’s Nest In Bhutan
It’s a 900-meter journey to the top, which doesn’t sound so bad until you consider how steep it is…
First, a brief history. The monastery was built in the 1600s, but a meditation cave where the complex was built dates back to the 9th century. Over the centuries, it has been marked as a sacred Buddhist site and continues to be used for monastic rituals today. The main building was severely damaged by fire in 1998, but was rebuilt by 2005.
Give yourself the whole day to do this, though you can do it quicker if you’re young and spry. We got started in the late morning and took the entire day, with a lunch break and a coffee break. Our guide and driver picked me up at the Bhutan Spirit Sanctuary and then picked up my friend at the Six Senses Paro, where we embarked on a 20-minute drive to the base of the mountain.
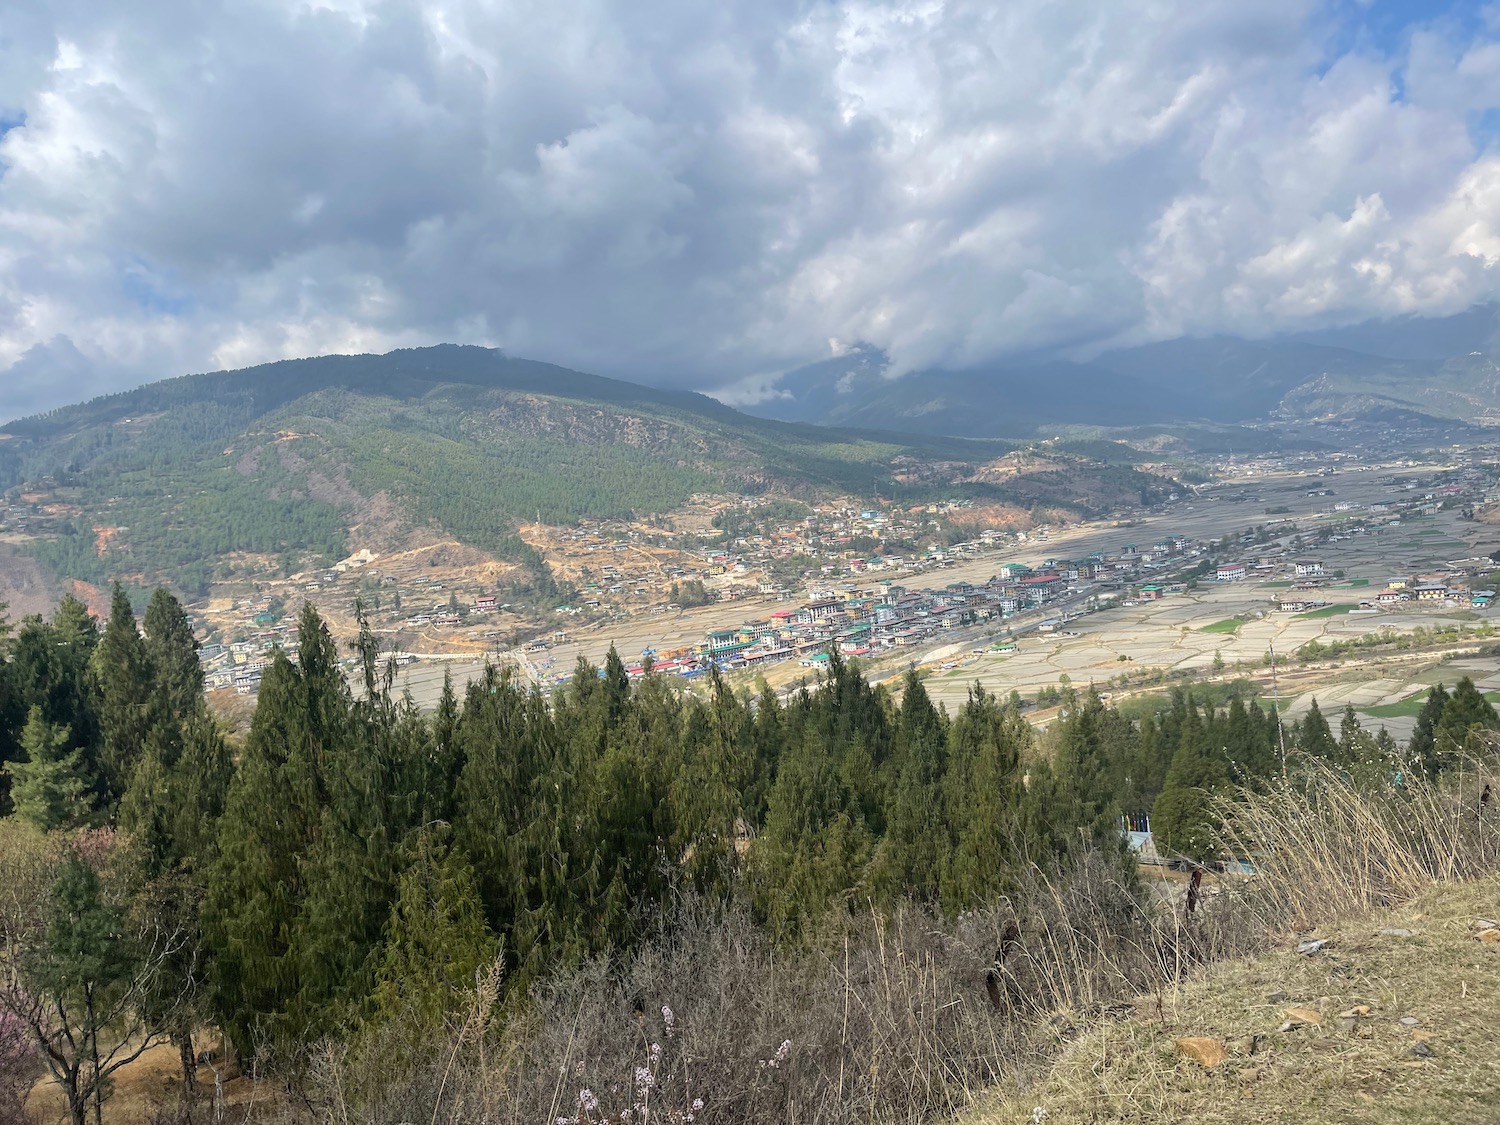
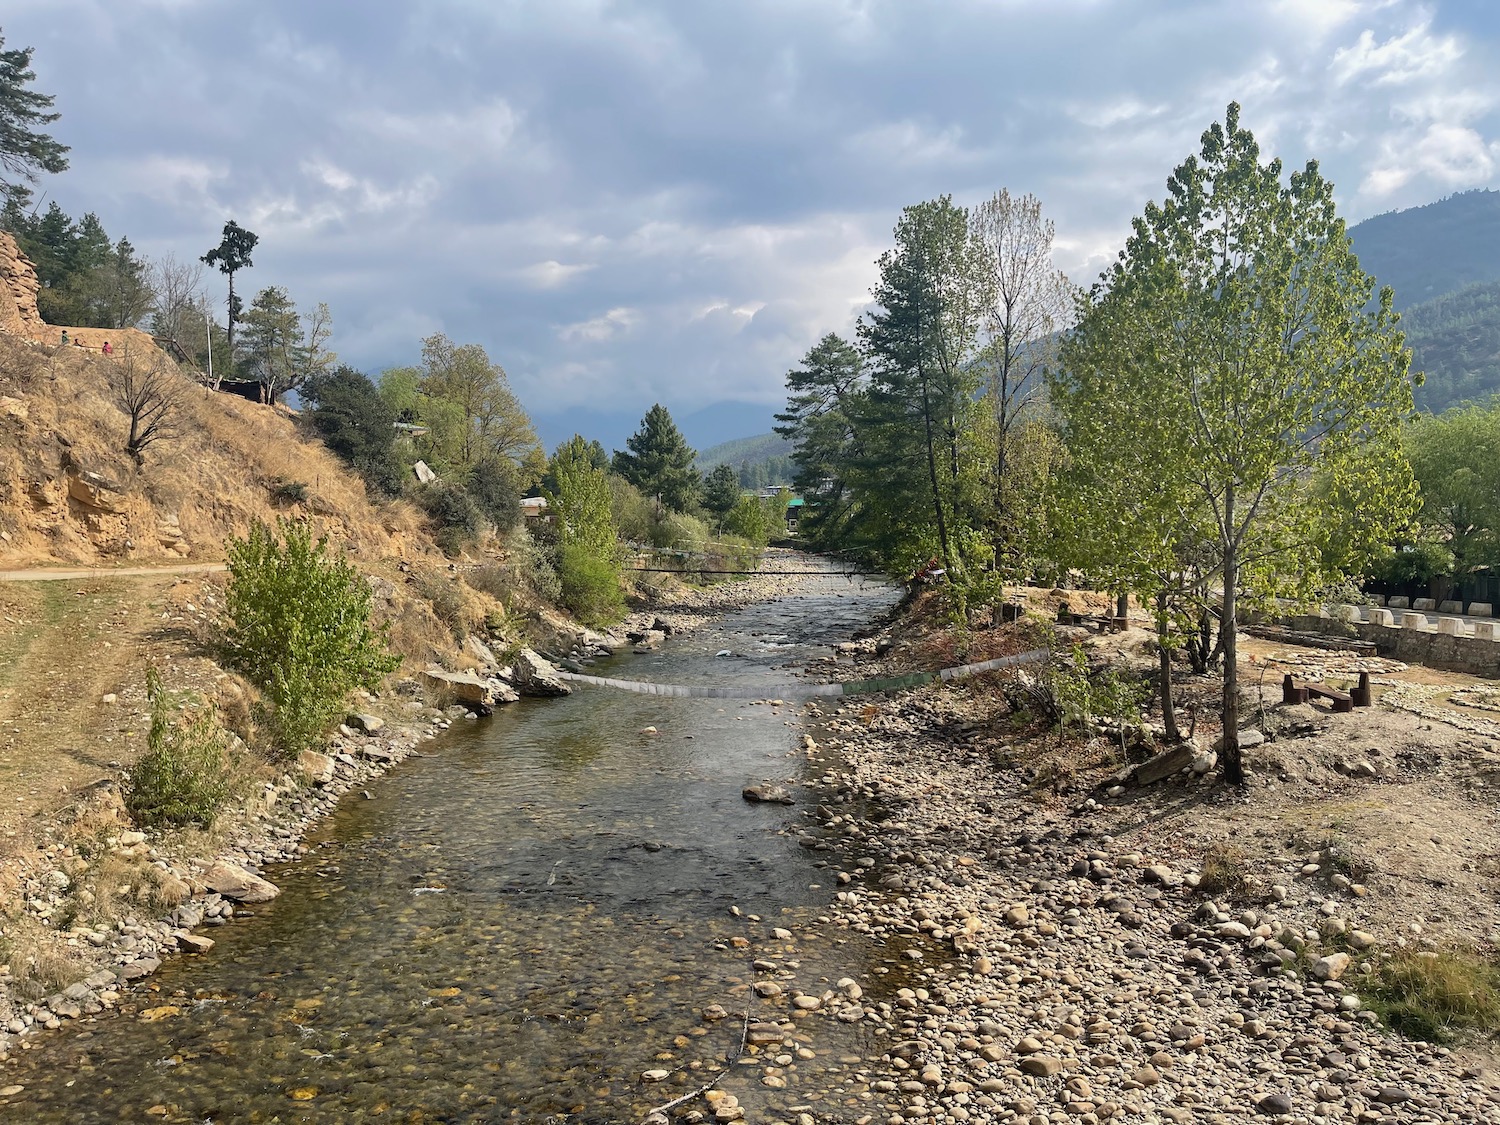
It was a beautiful partly cloudy day.
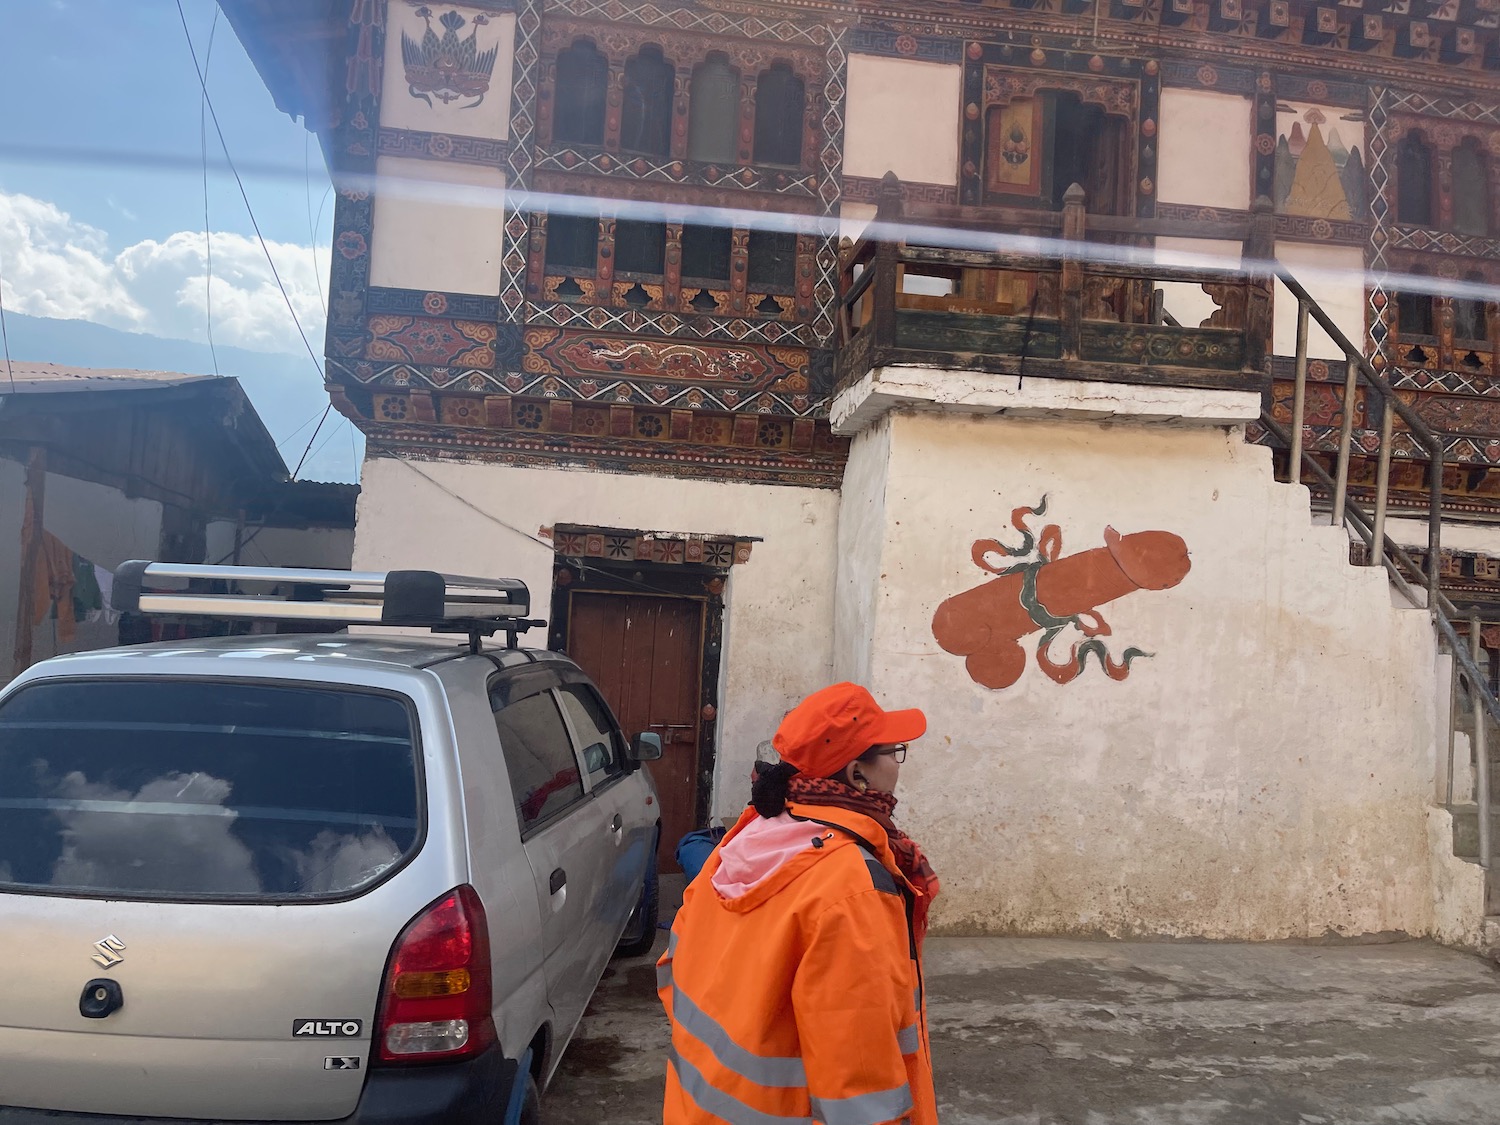
You’ll see phallic symbols all over Bhutan, with the Bhutanese people believing that symbol wards off evil spirits and brings good luck.
First, you park in a parking lot at the base.
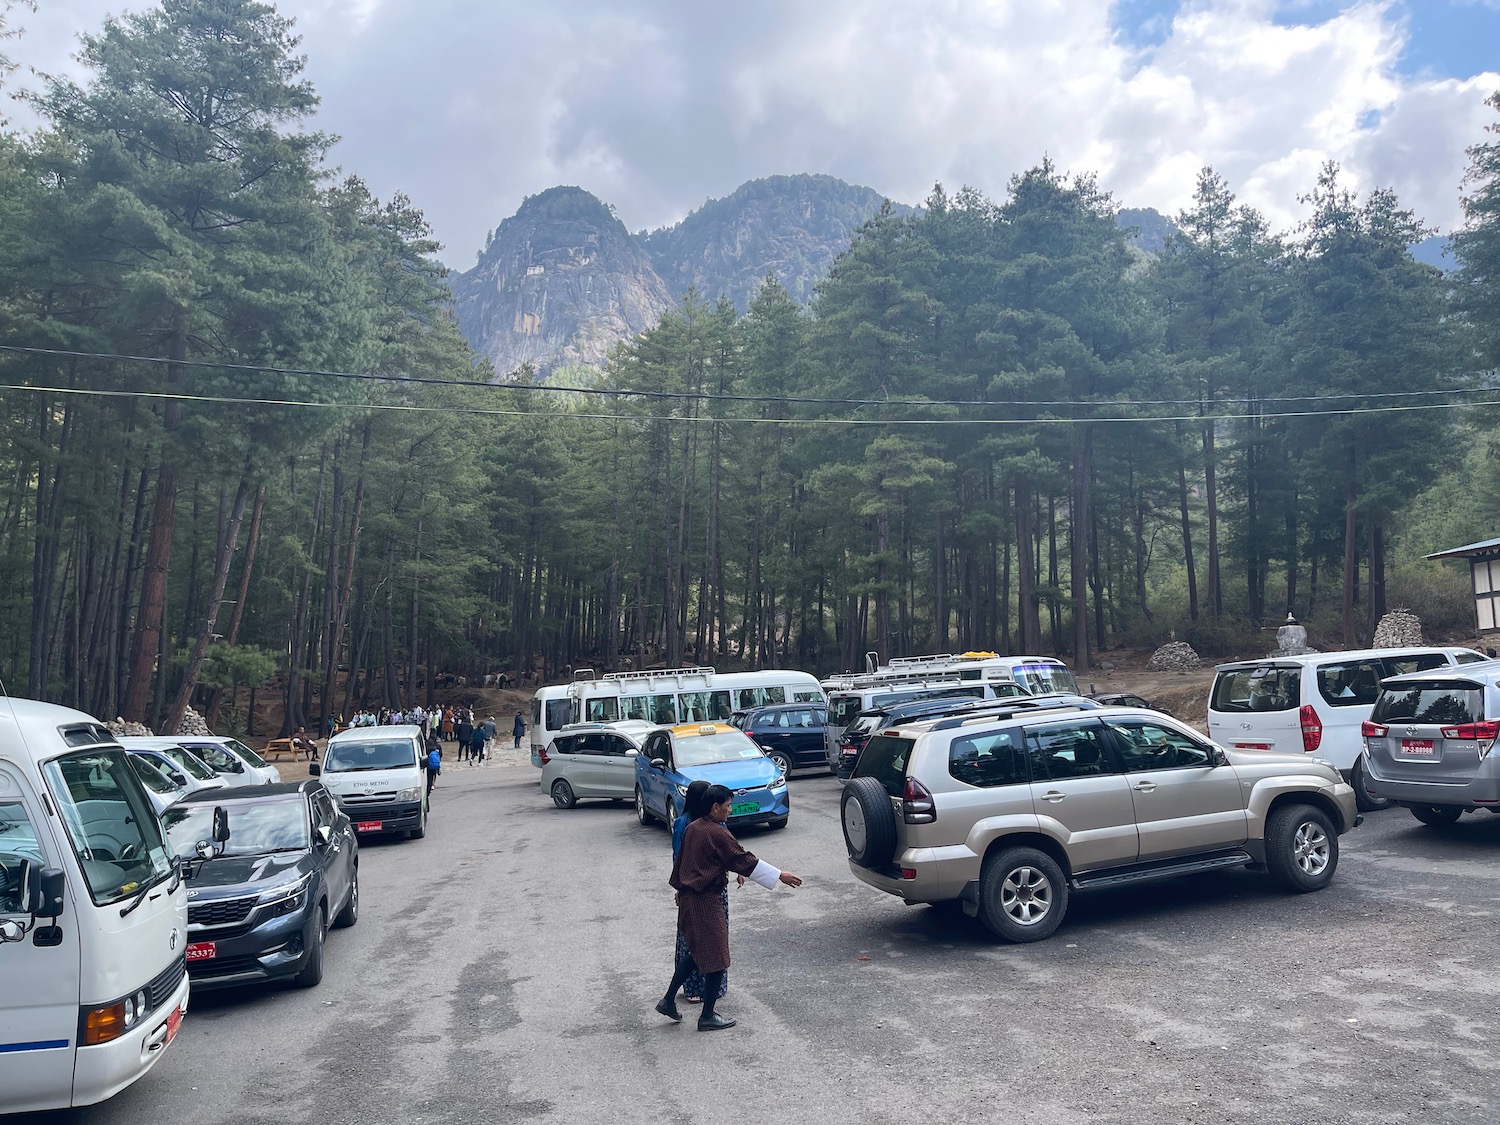
From the parking lot, you’ll walk 6.4 kilometers (4 miles) round trip, but if you want to hire a donkey or mule for part of the journey up, you can do so here. You’ll also catch your first glimpse of Tiger’s Nest.
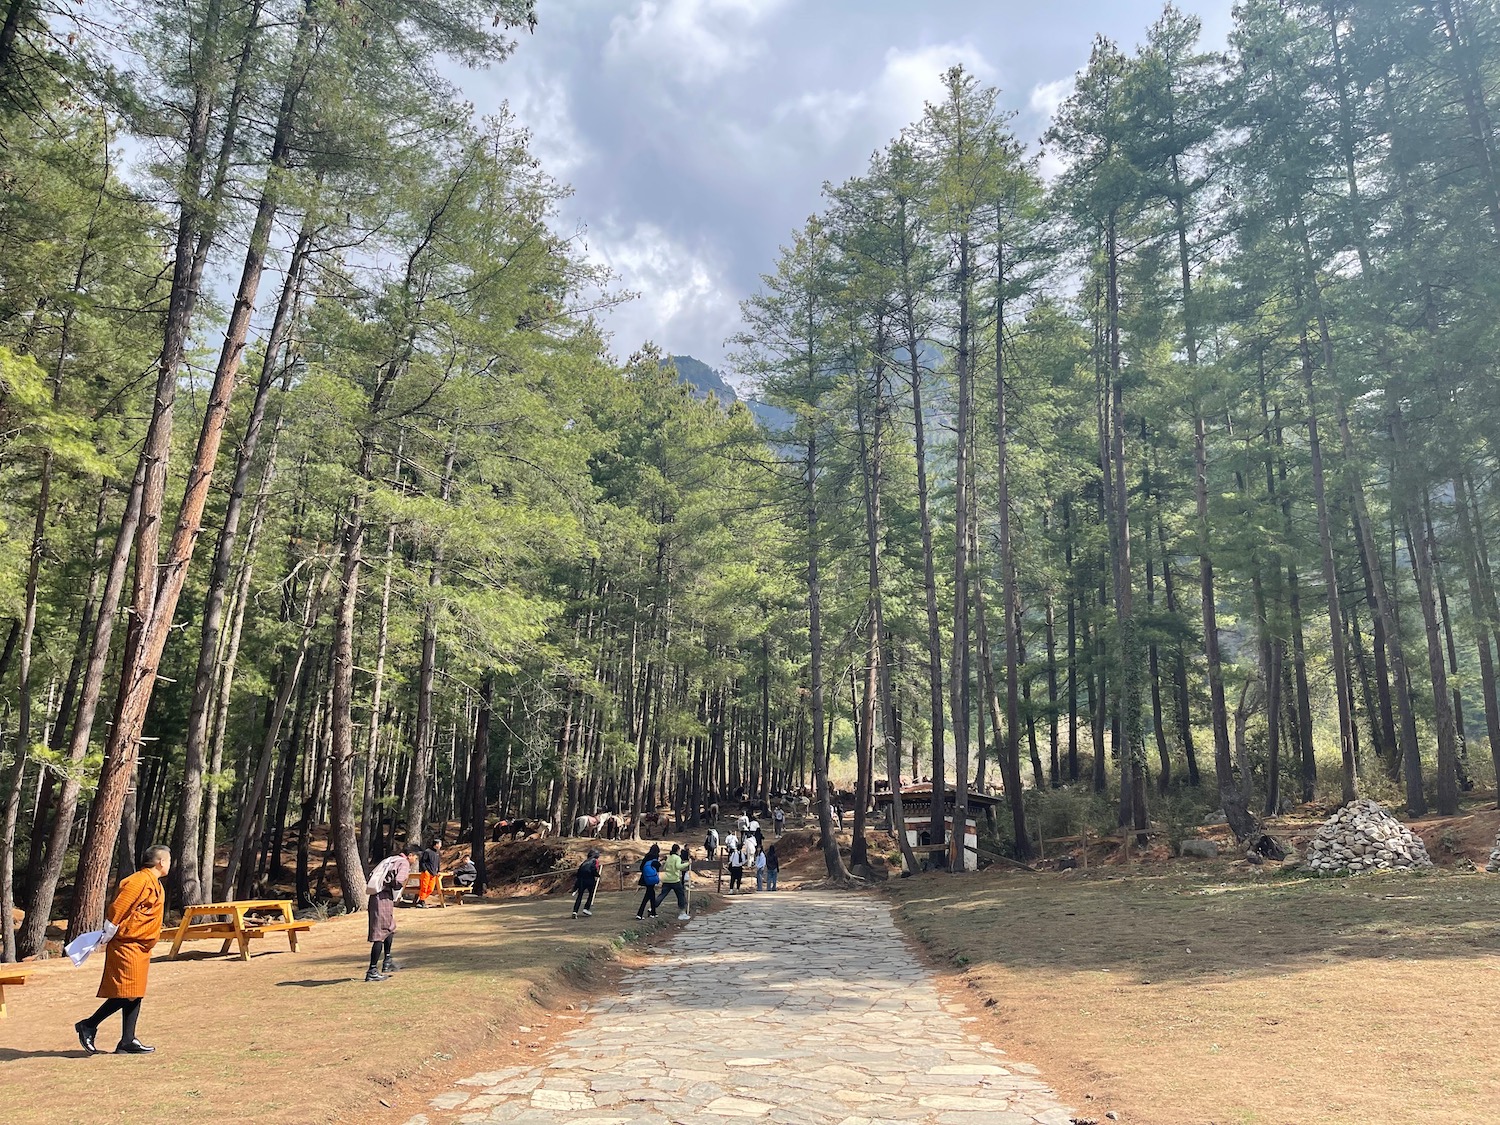

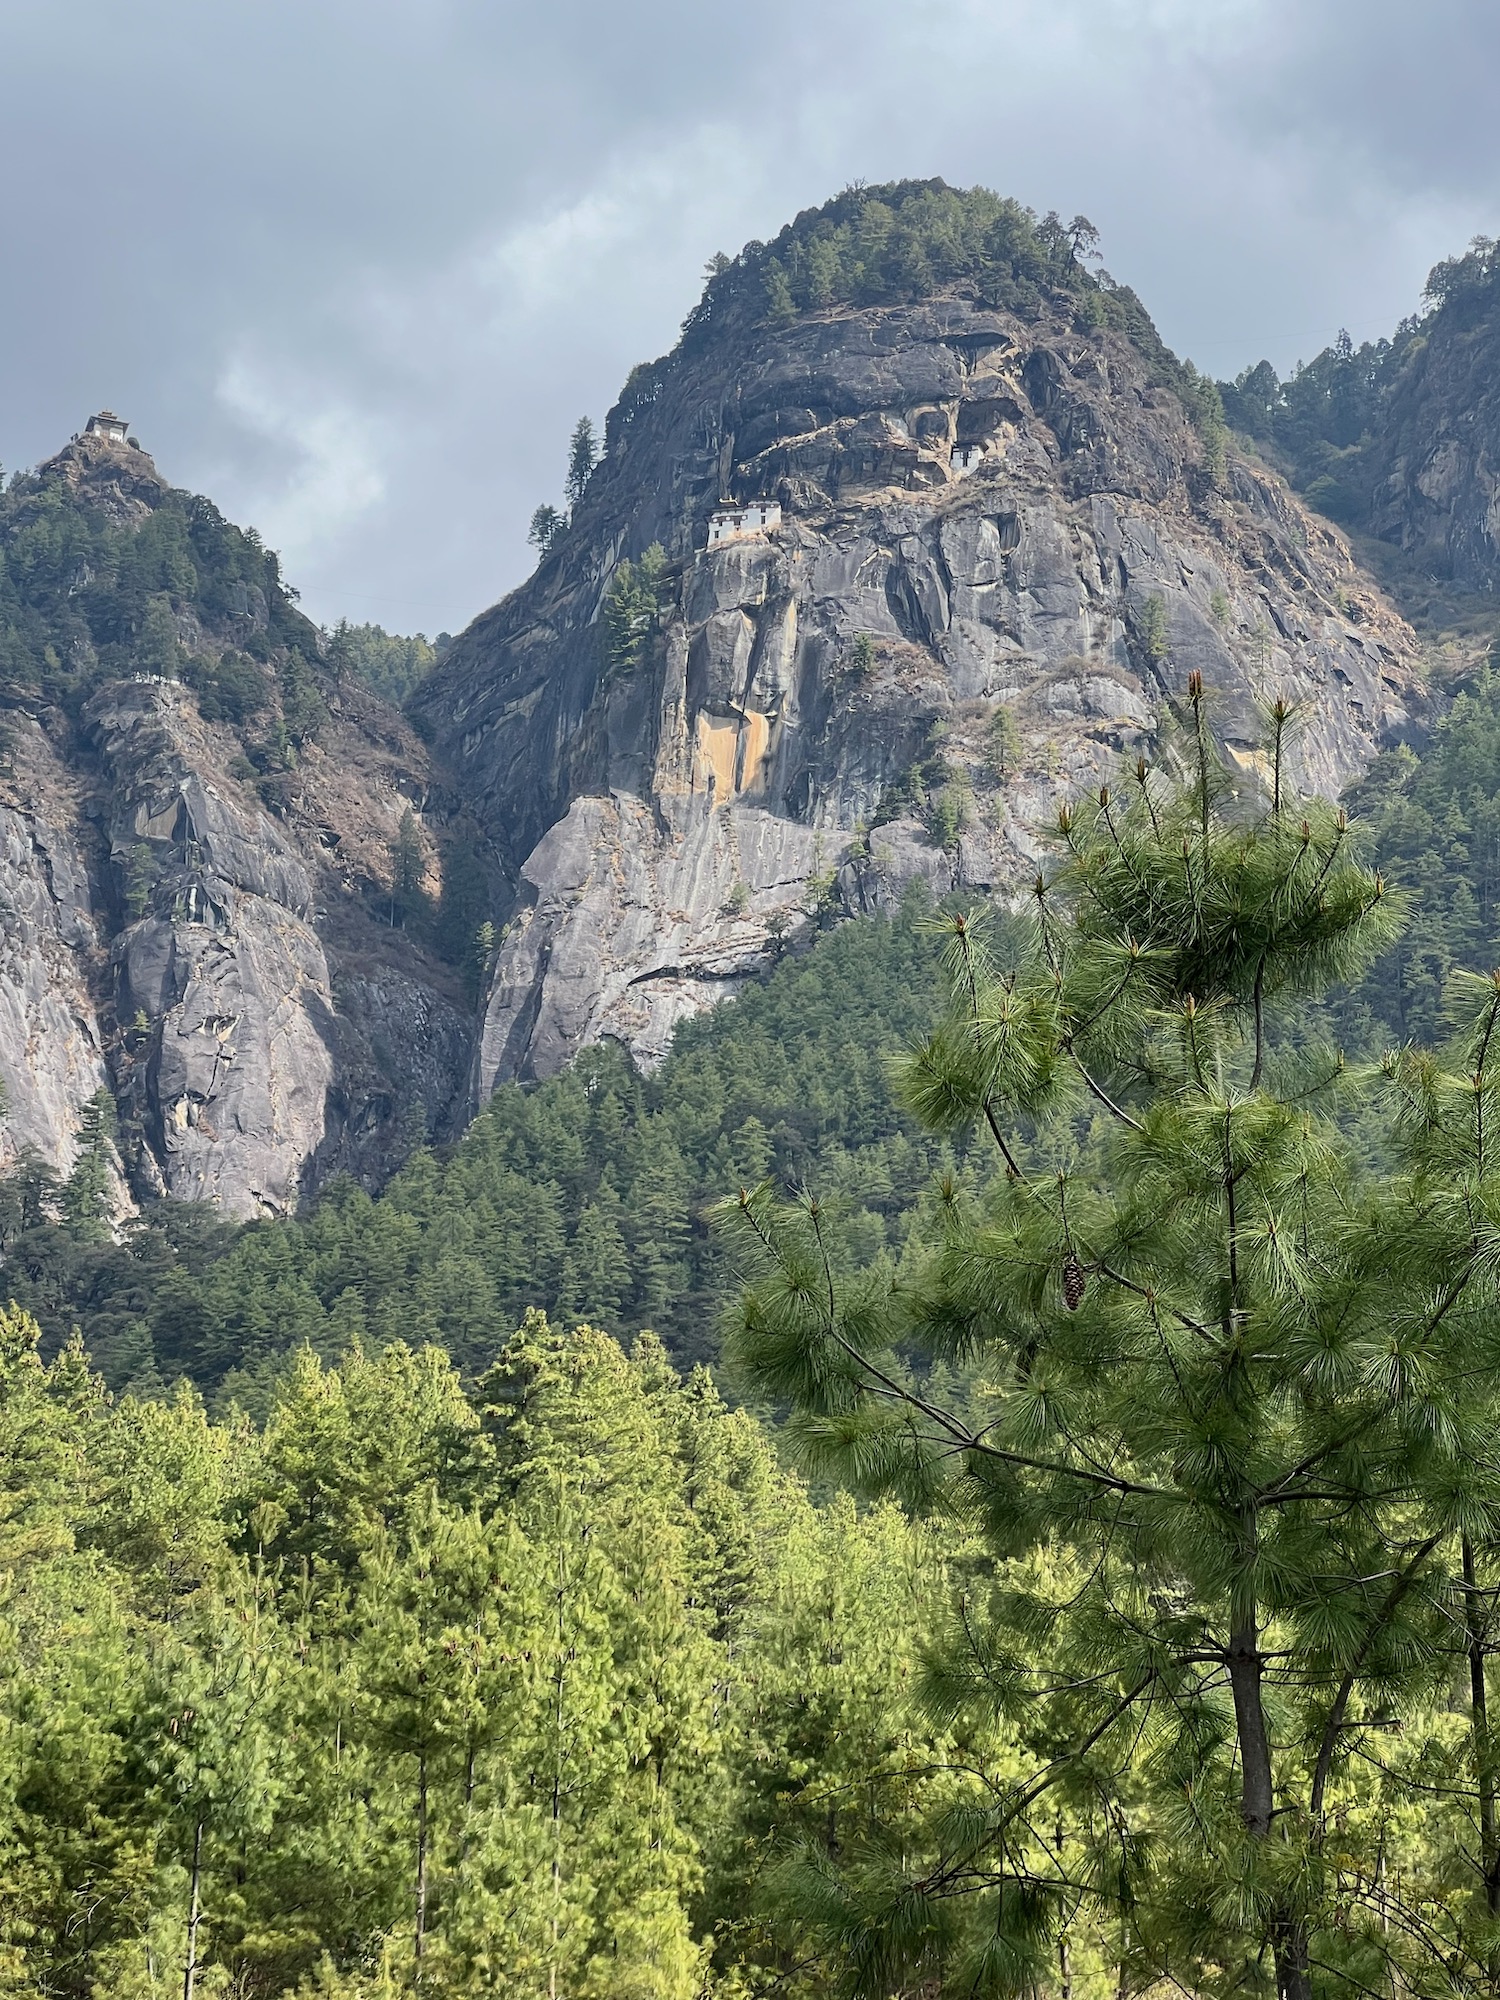
Entry cost is 1,000 Nu (about 12 USD) and will be arranged by your tour guide (it is my understanding that you cannot just show up and hike it yourself…you must have a guide). It is open from sunrise to sunset. The cost to sit on a mule will depend on your bartering skills…I chose to walk.
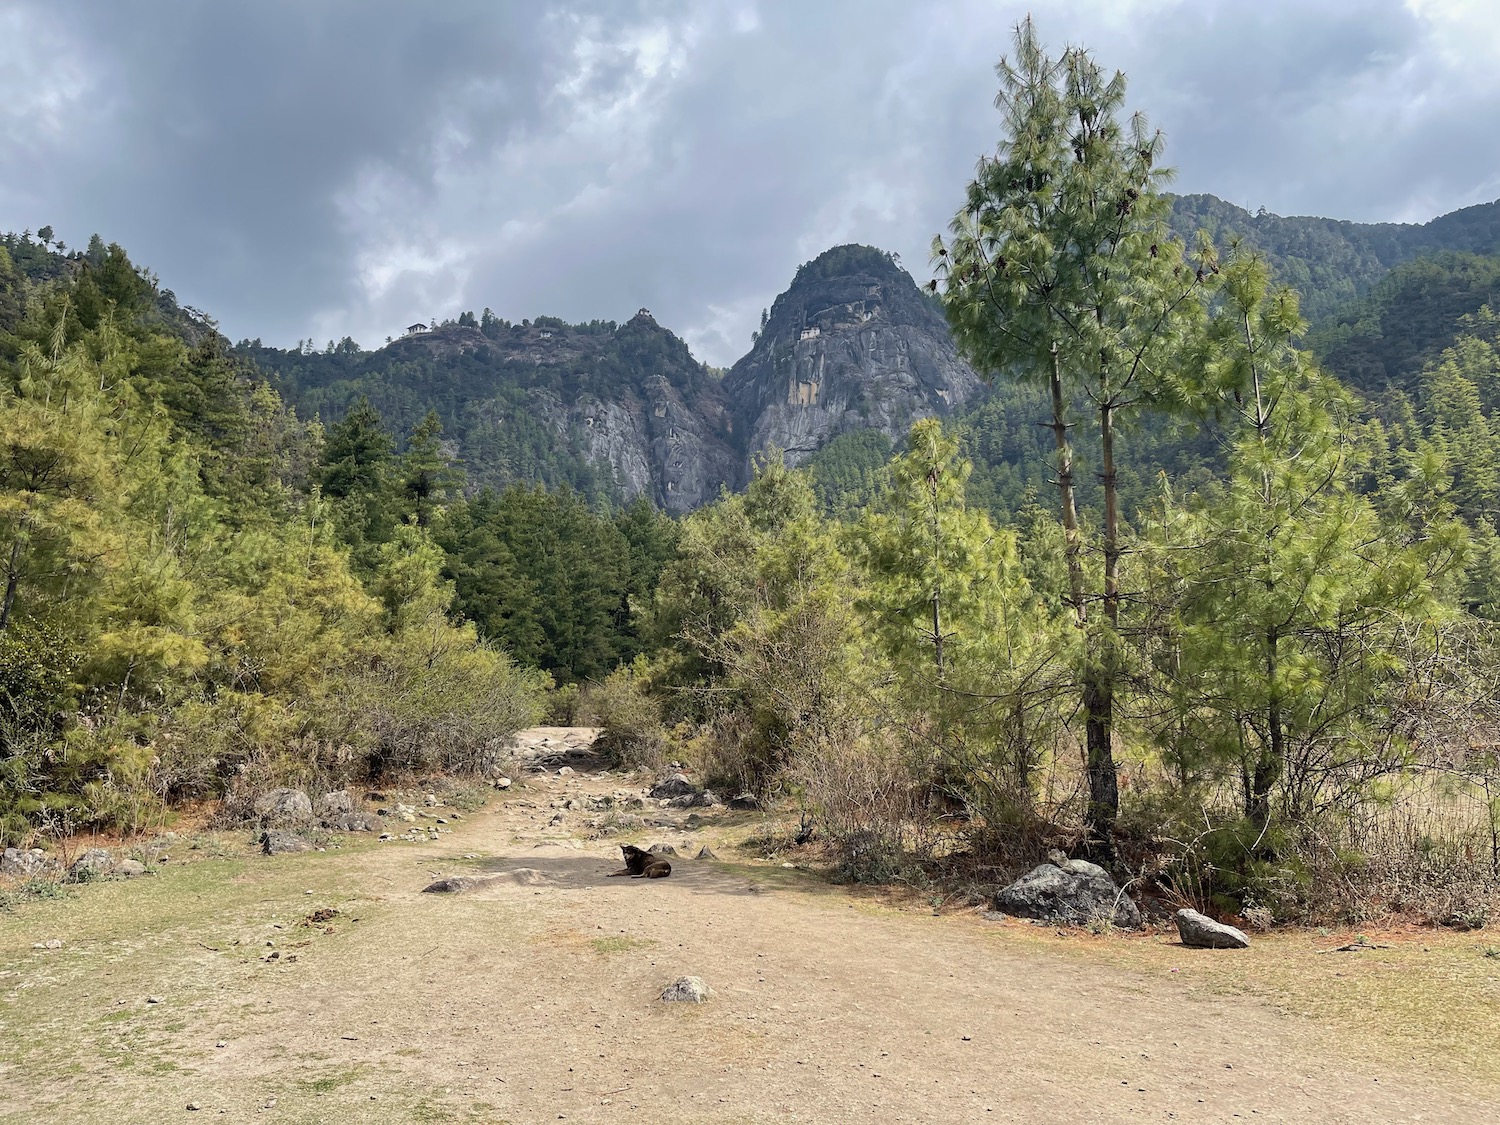
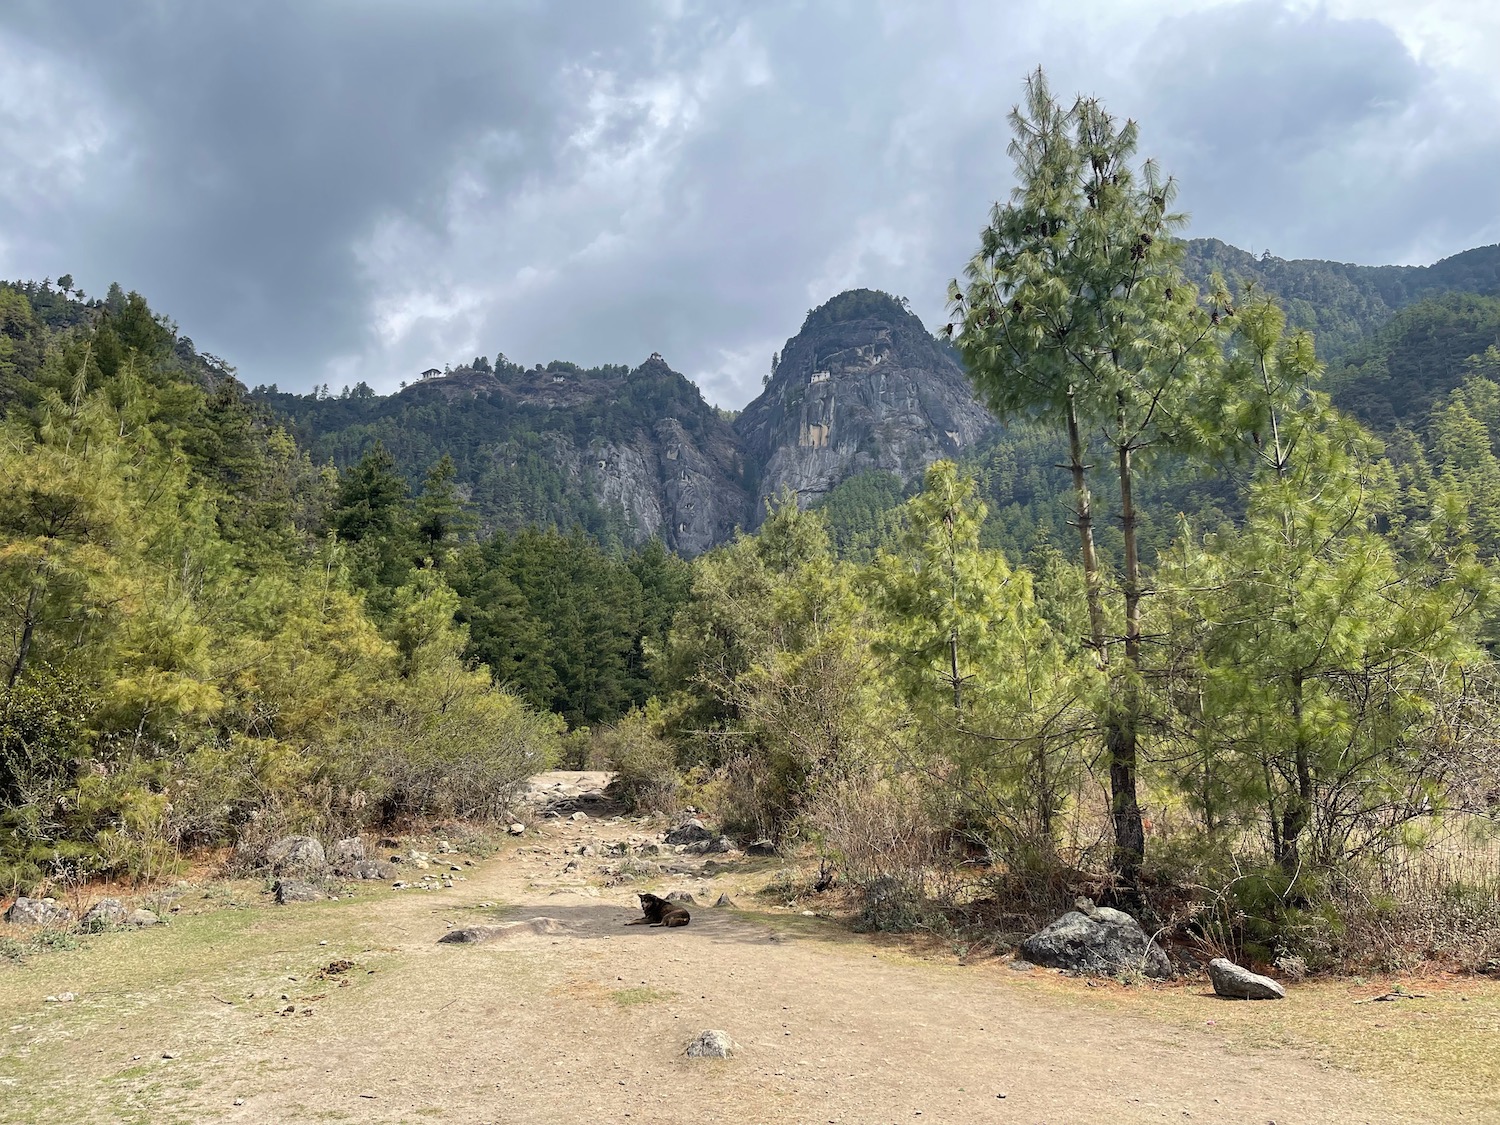

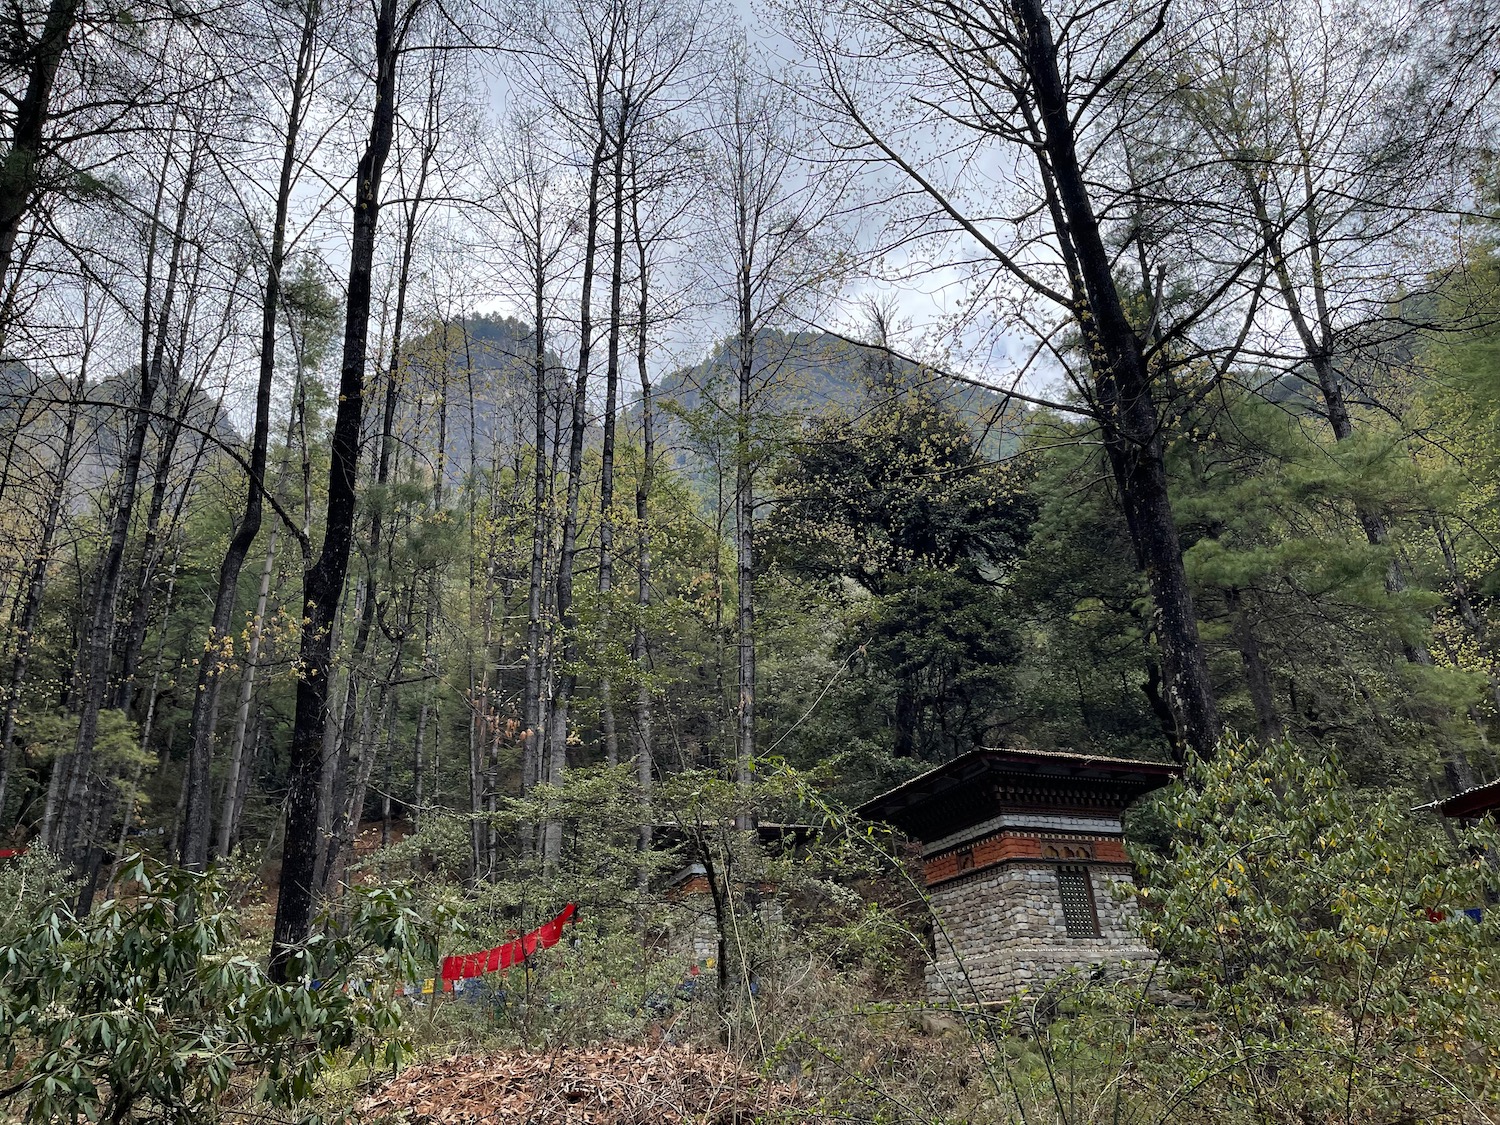

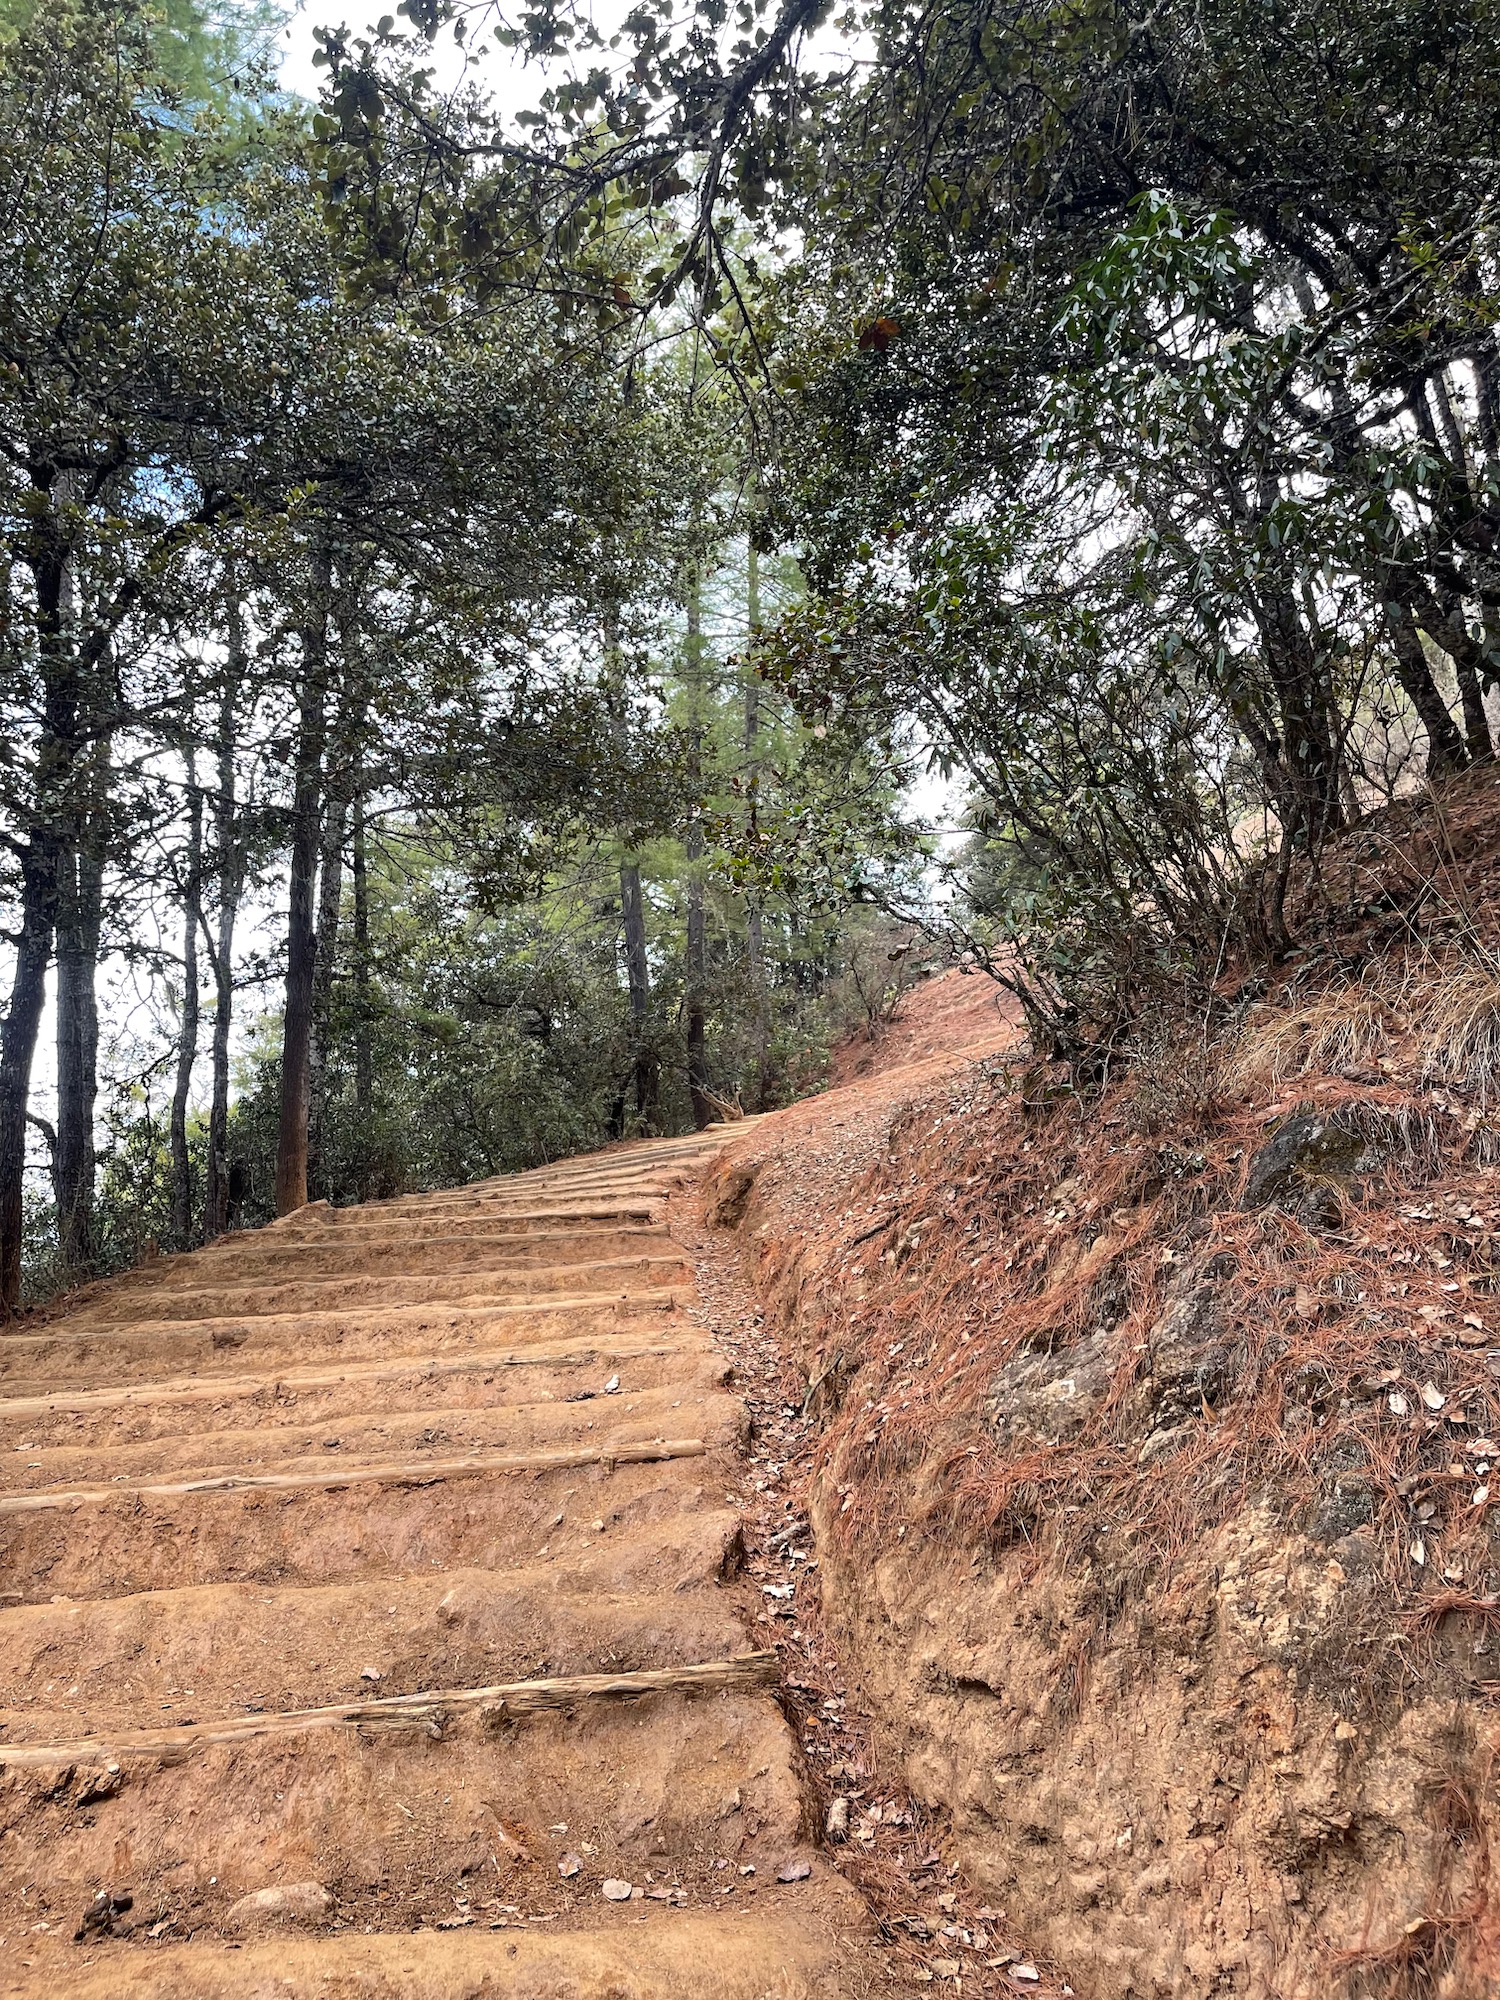
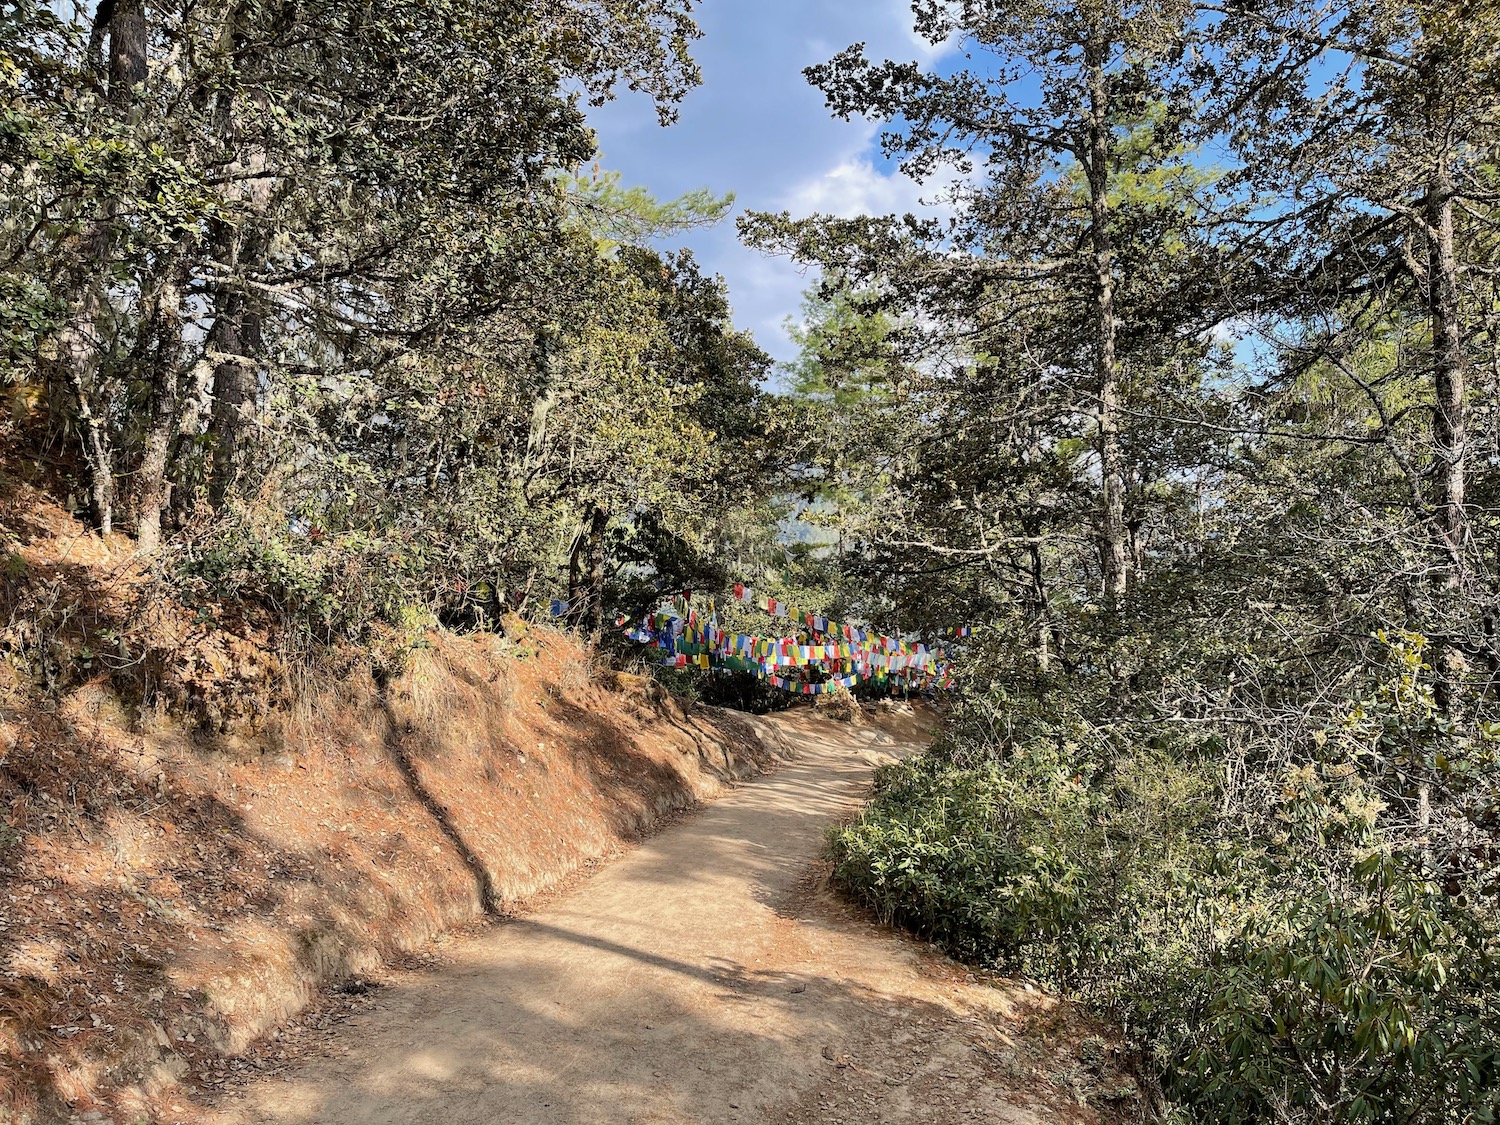
There’s a lot of shade on the way up and the climb is moderate to medium in terms of intensity. Do be warned that we (even though it was only midday) came across a number of dejected tourists who had given up because the hike was too much. Condition yourself before your trip!



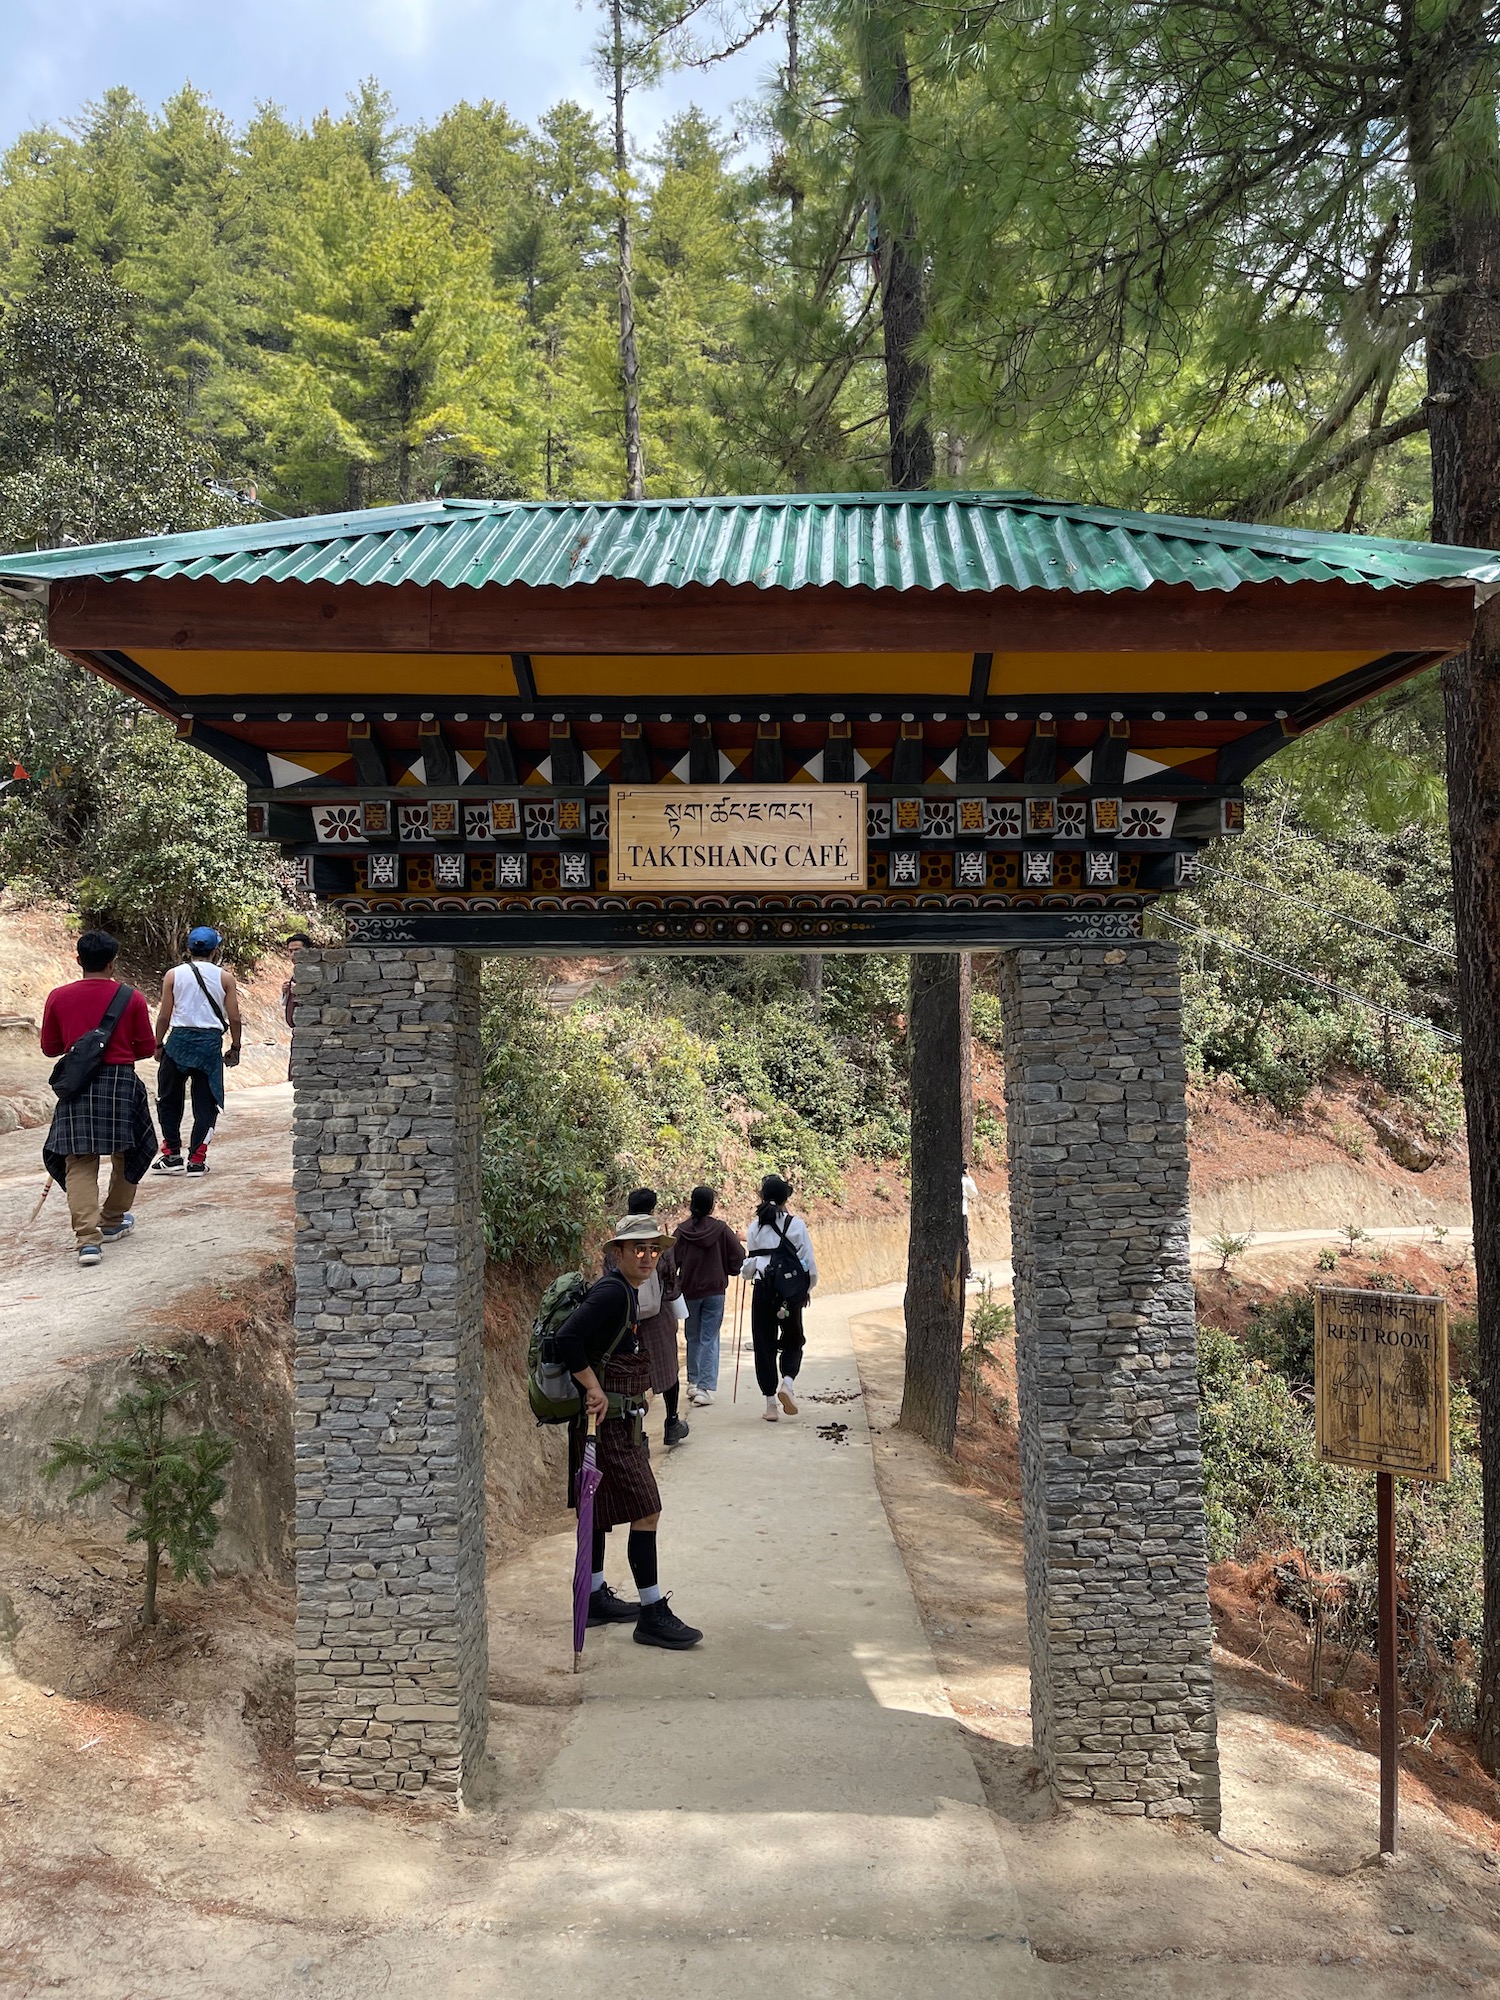
About halfway up is a resting point called Taktshang Café. Here you can enjoy, coffee, tea, or even lunch.
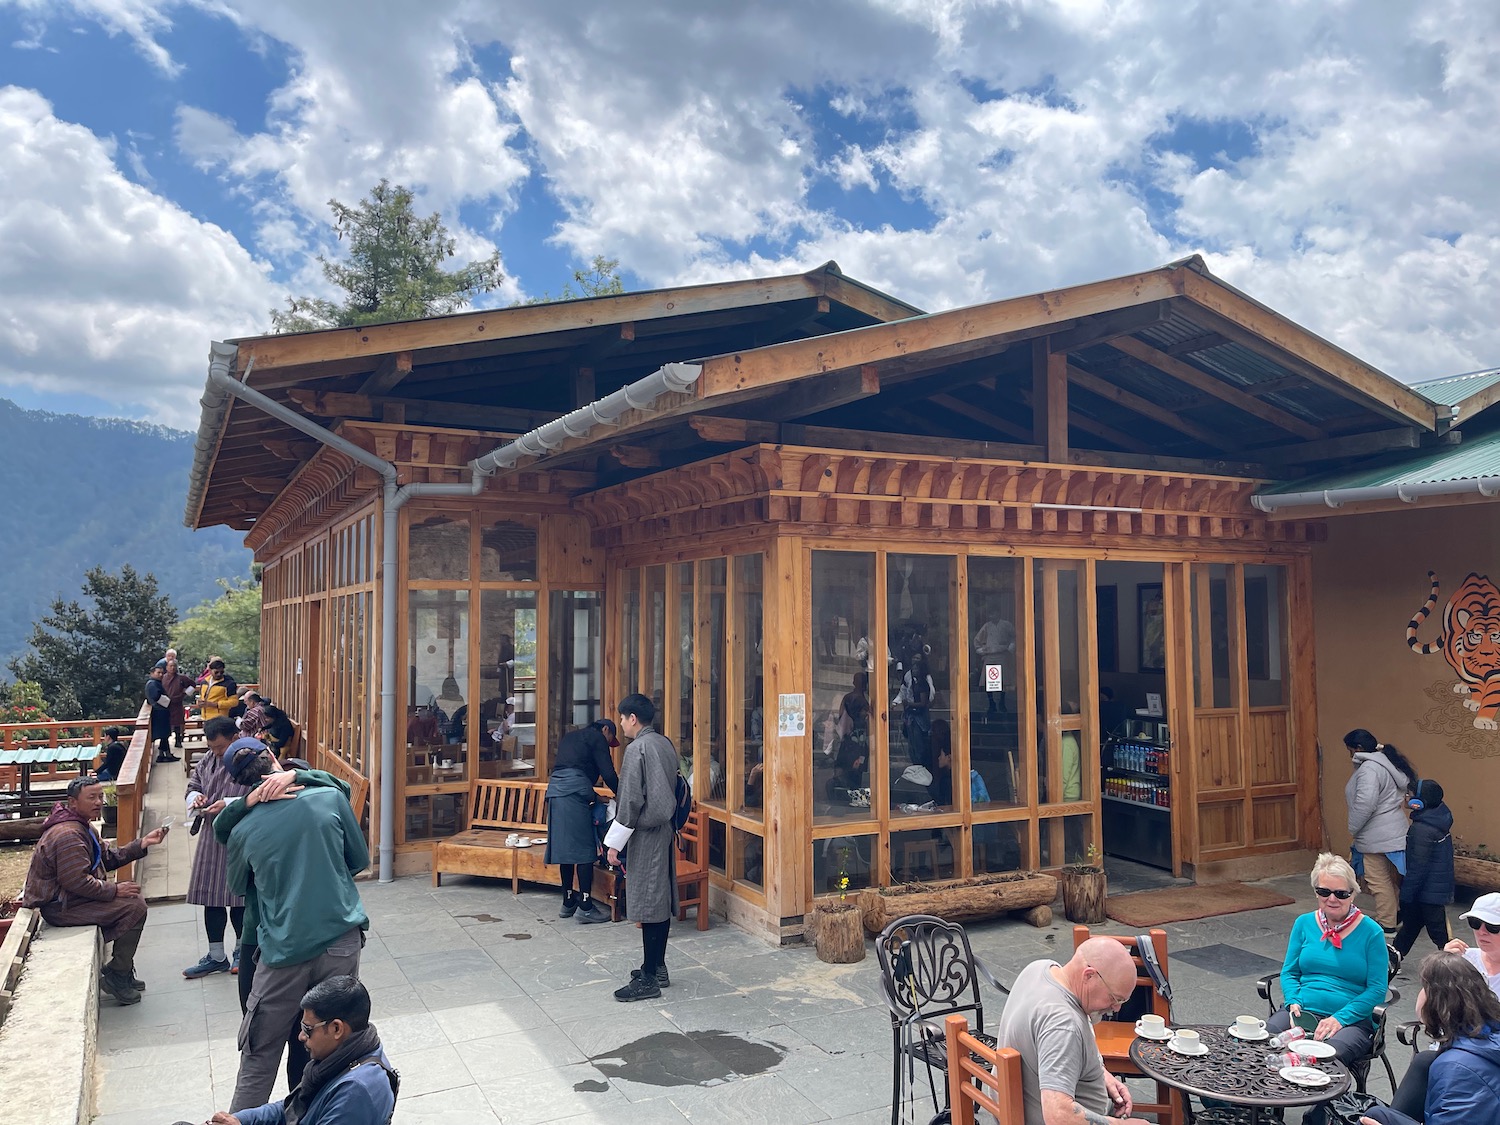
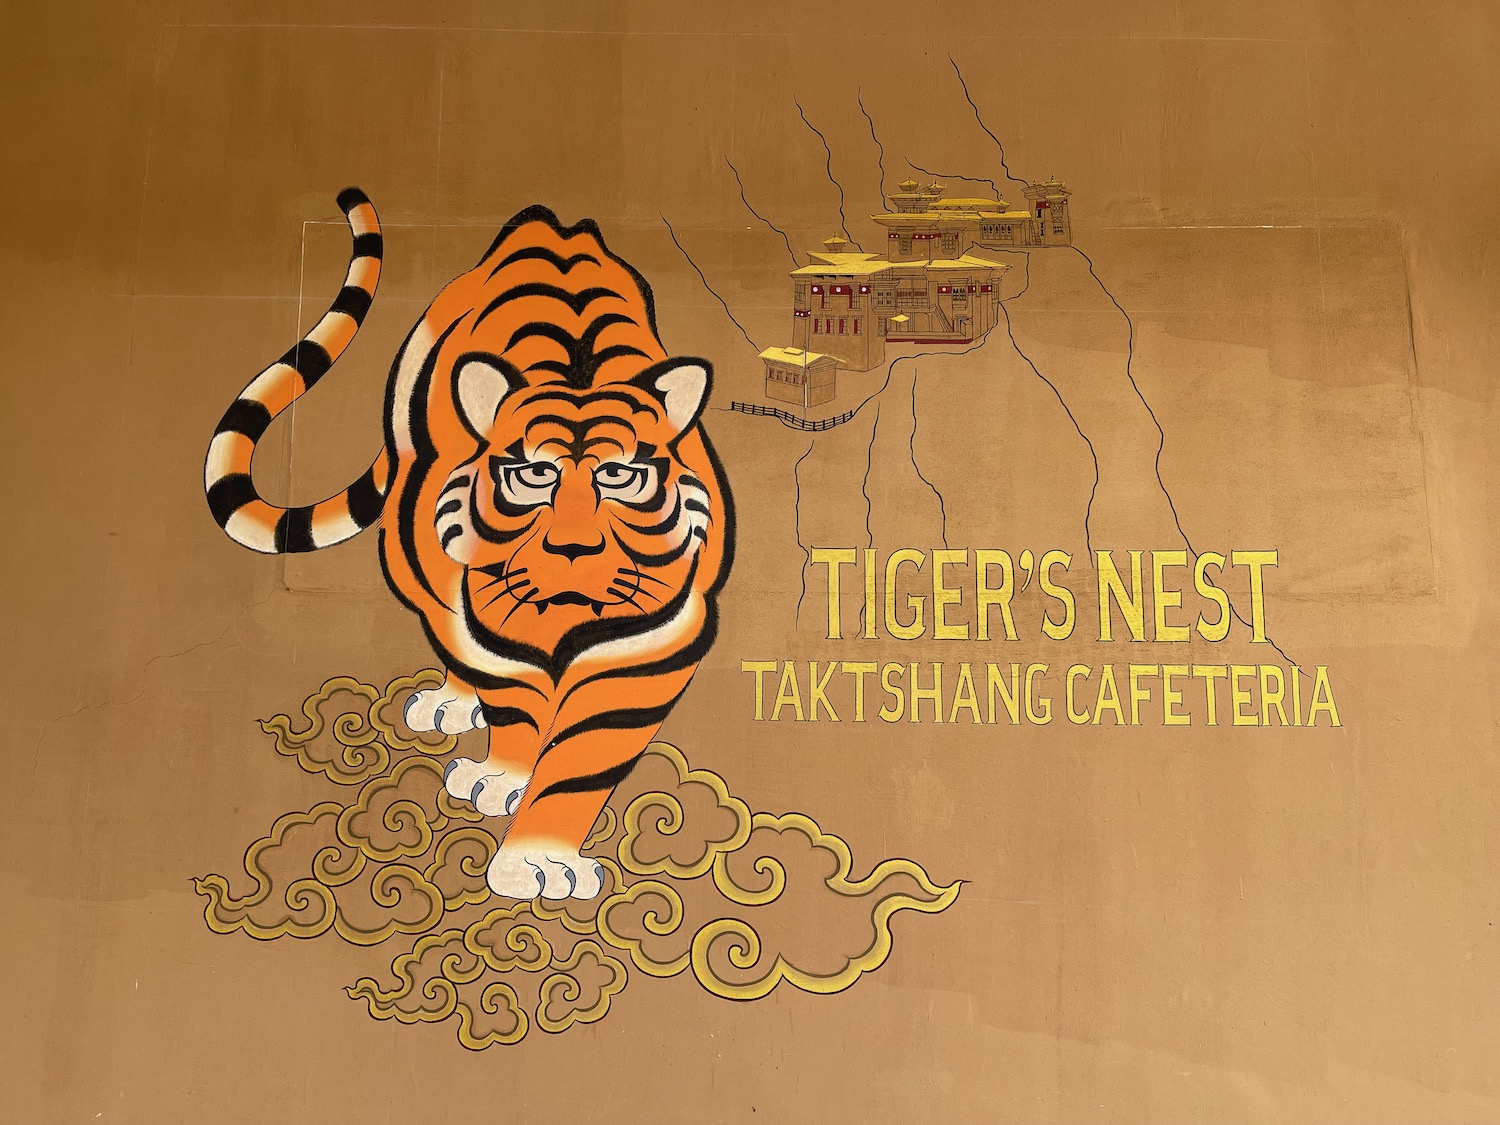
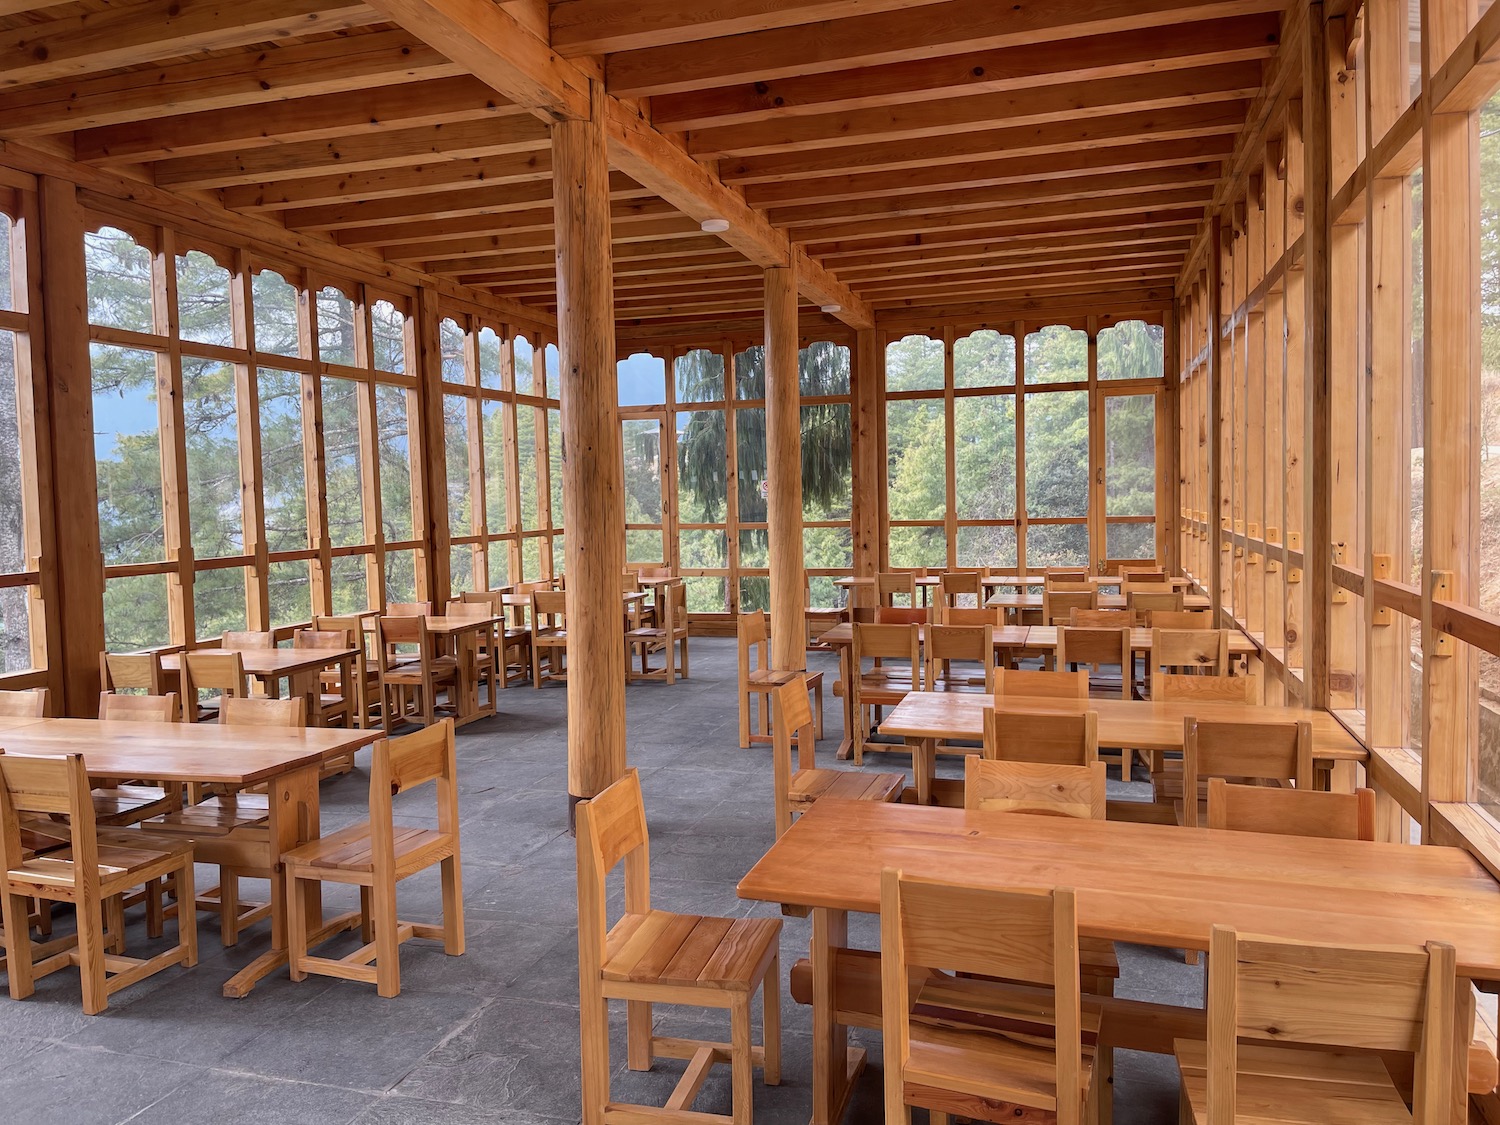

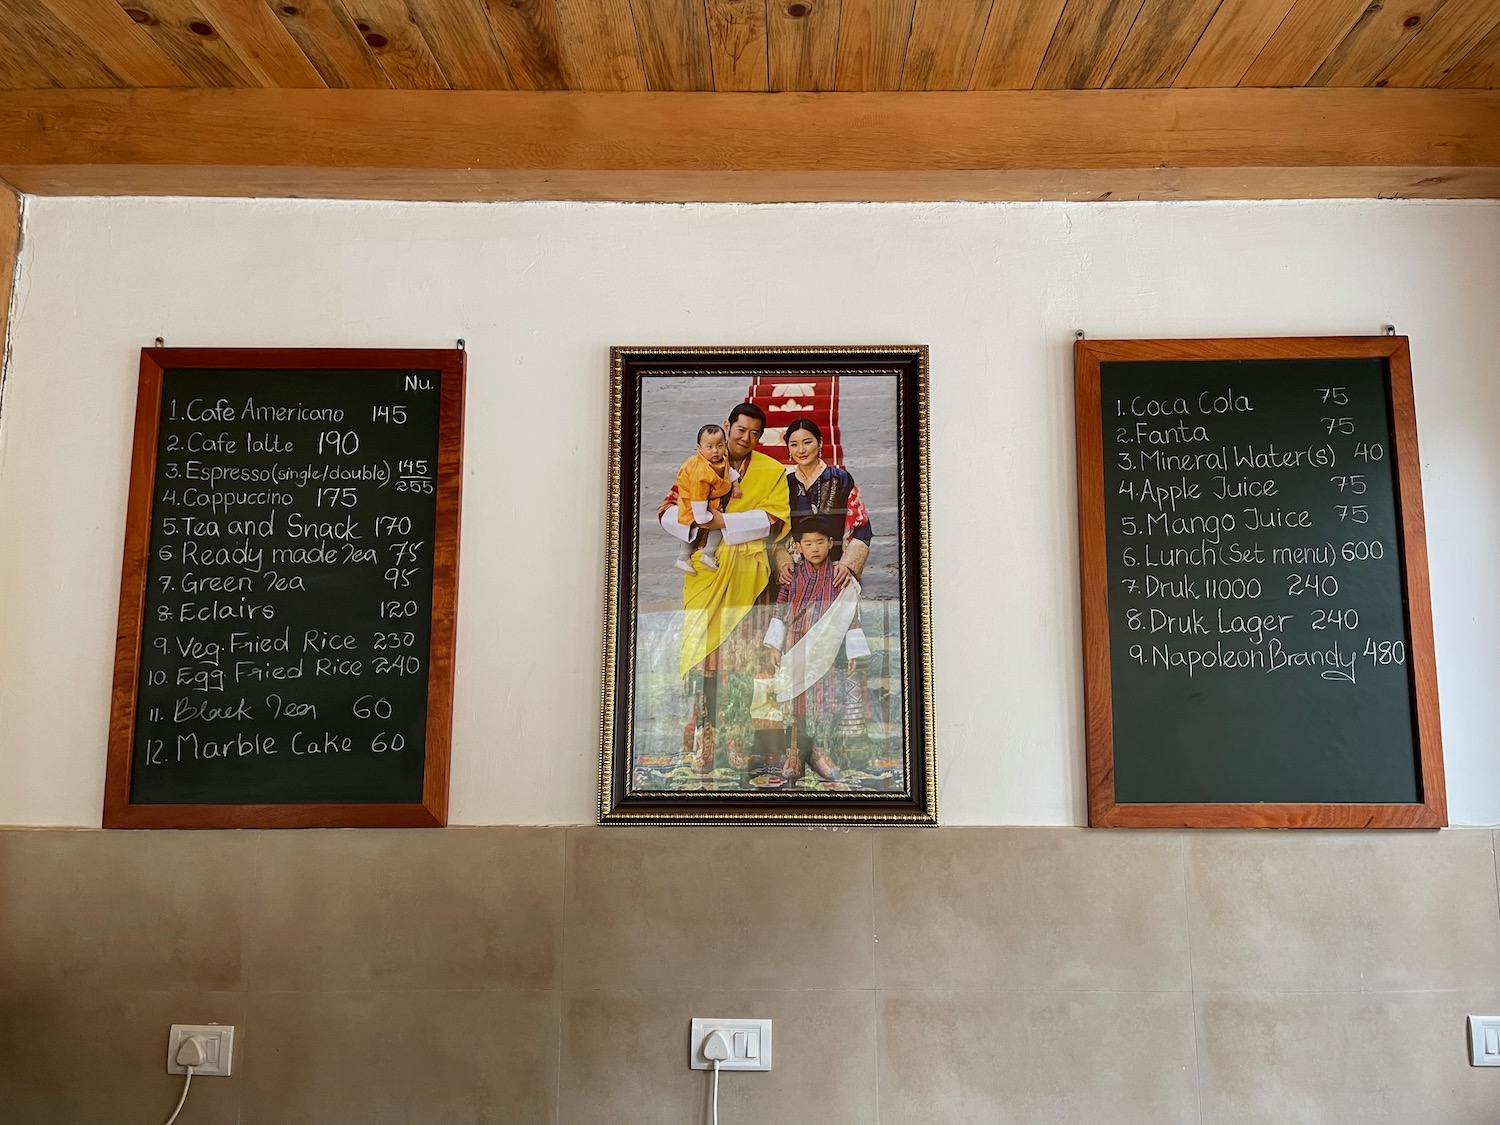


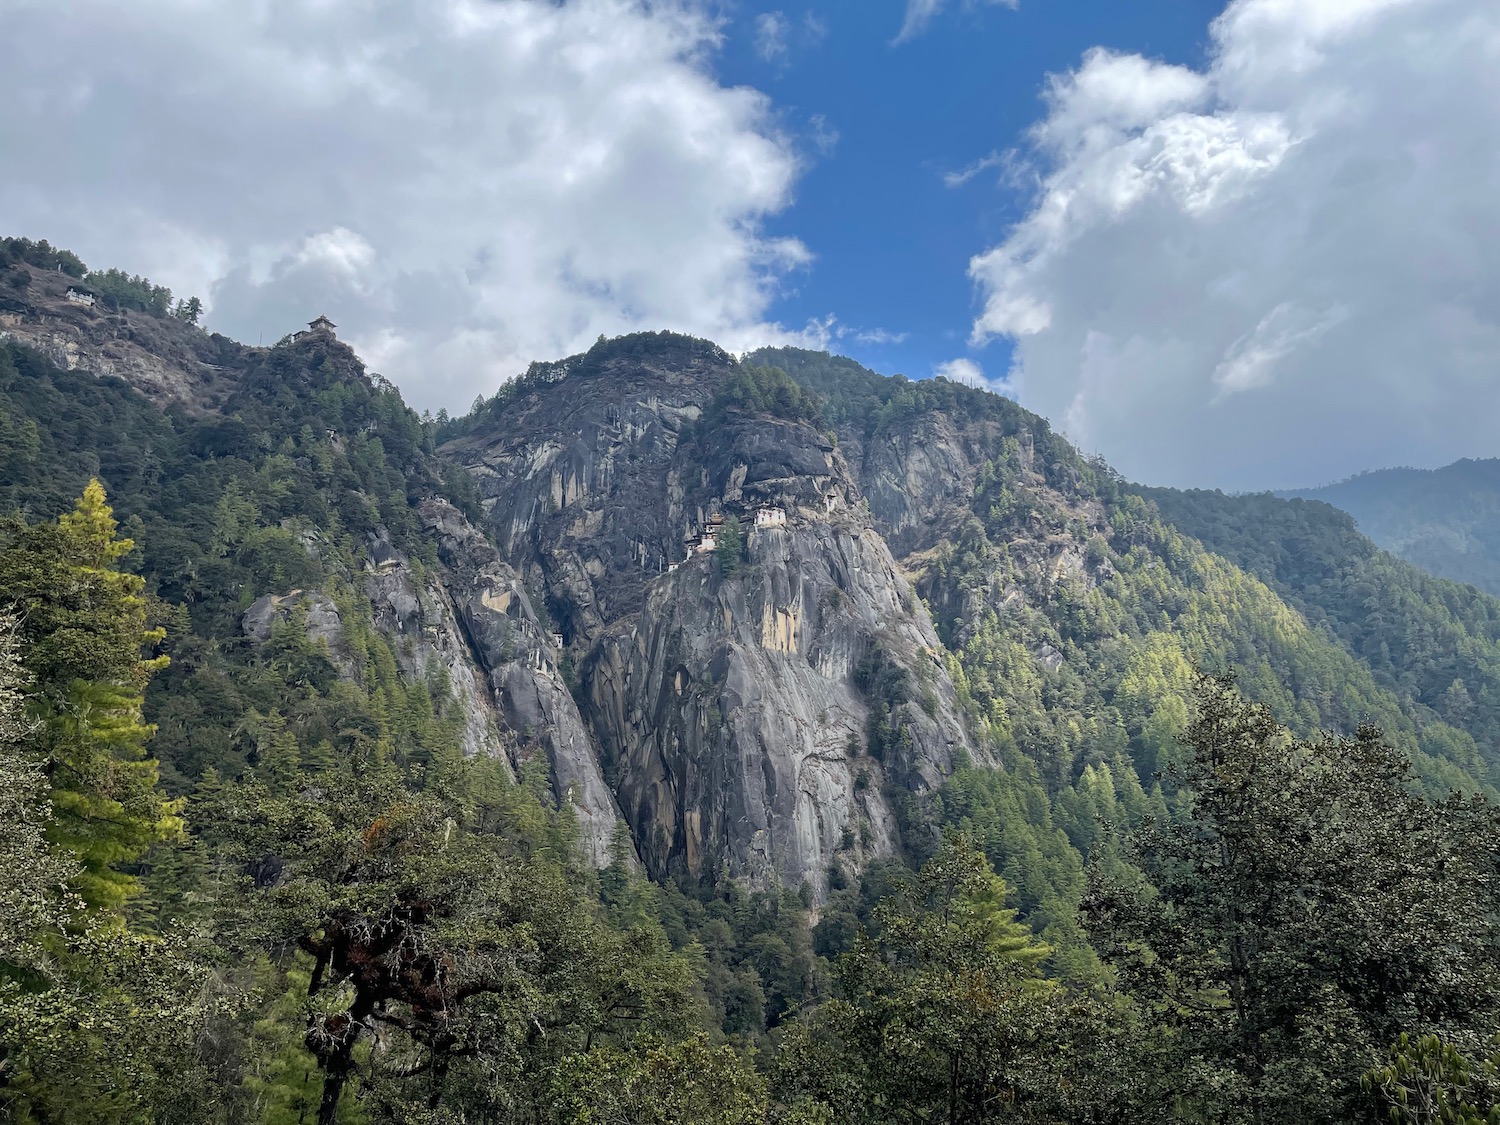
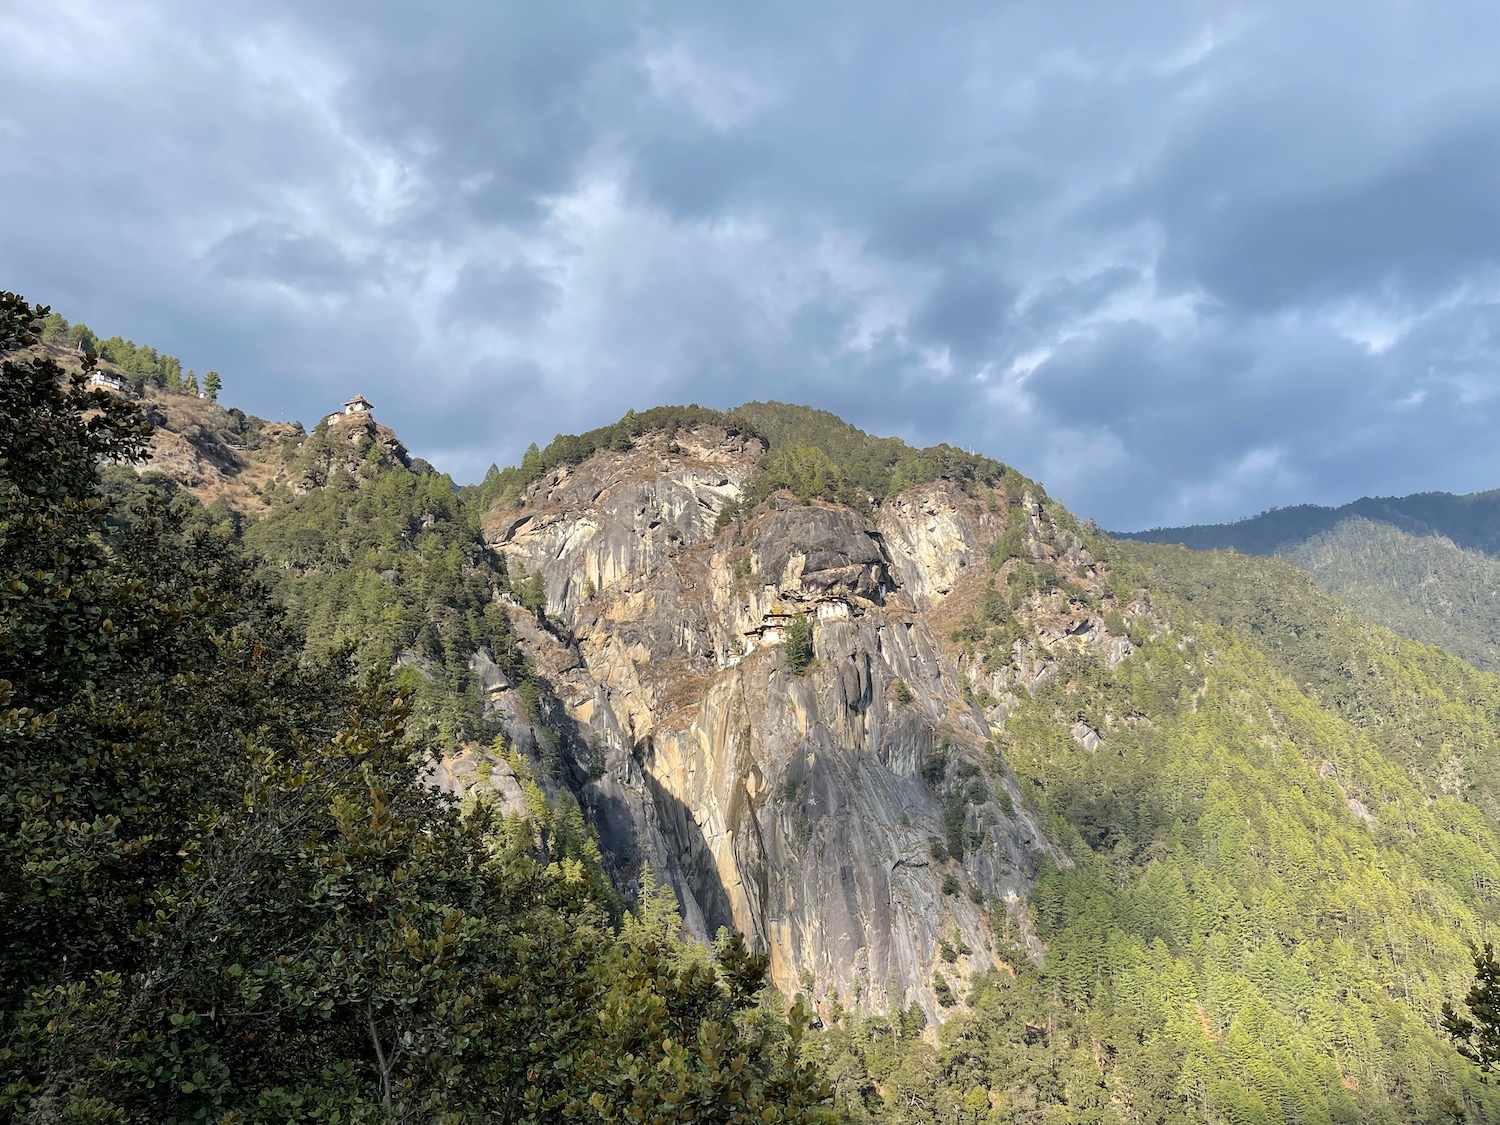
Great views of Tiger’s Nest from this resting point, but you can see you are still very far off.
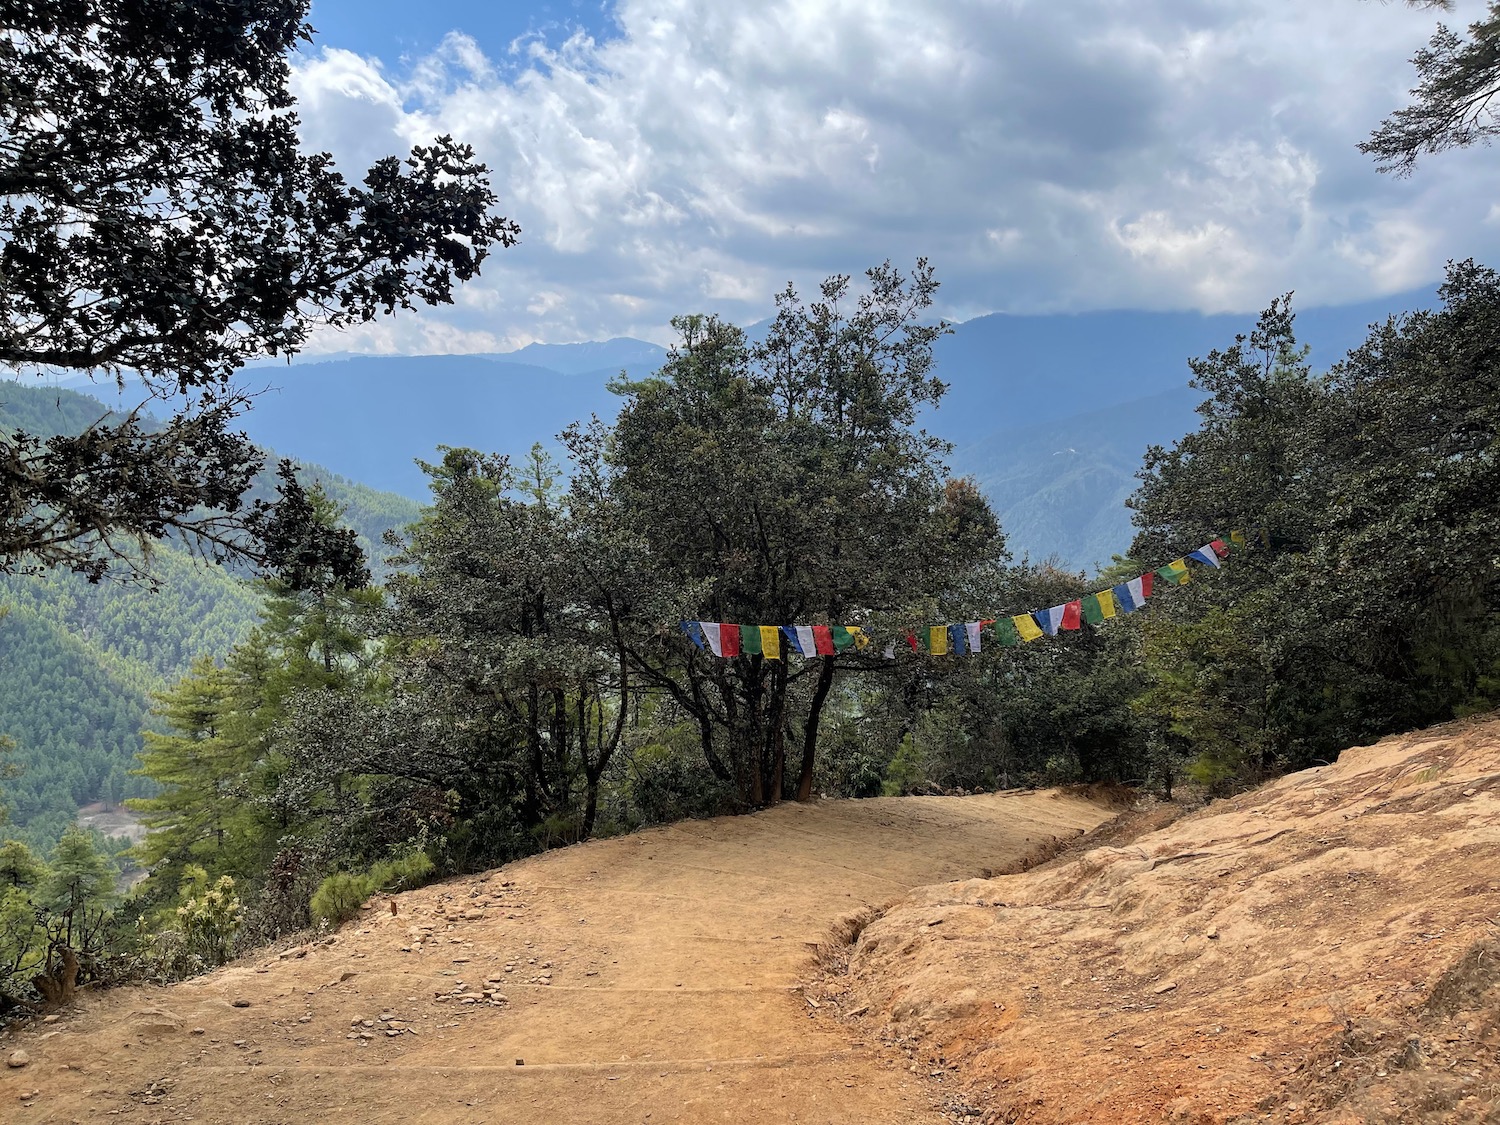
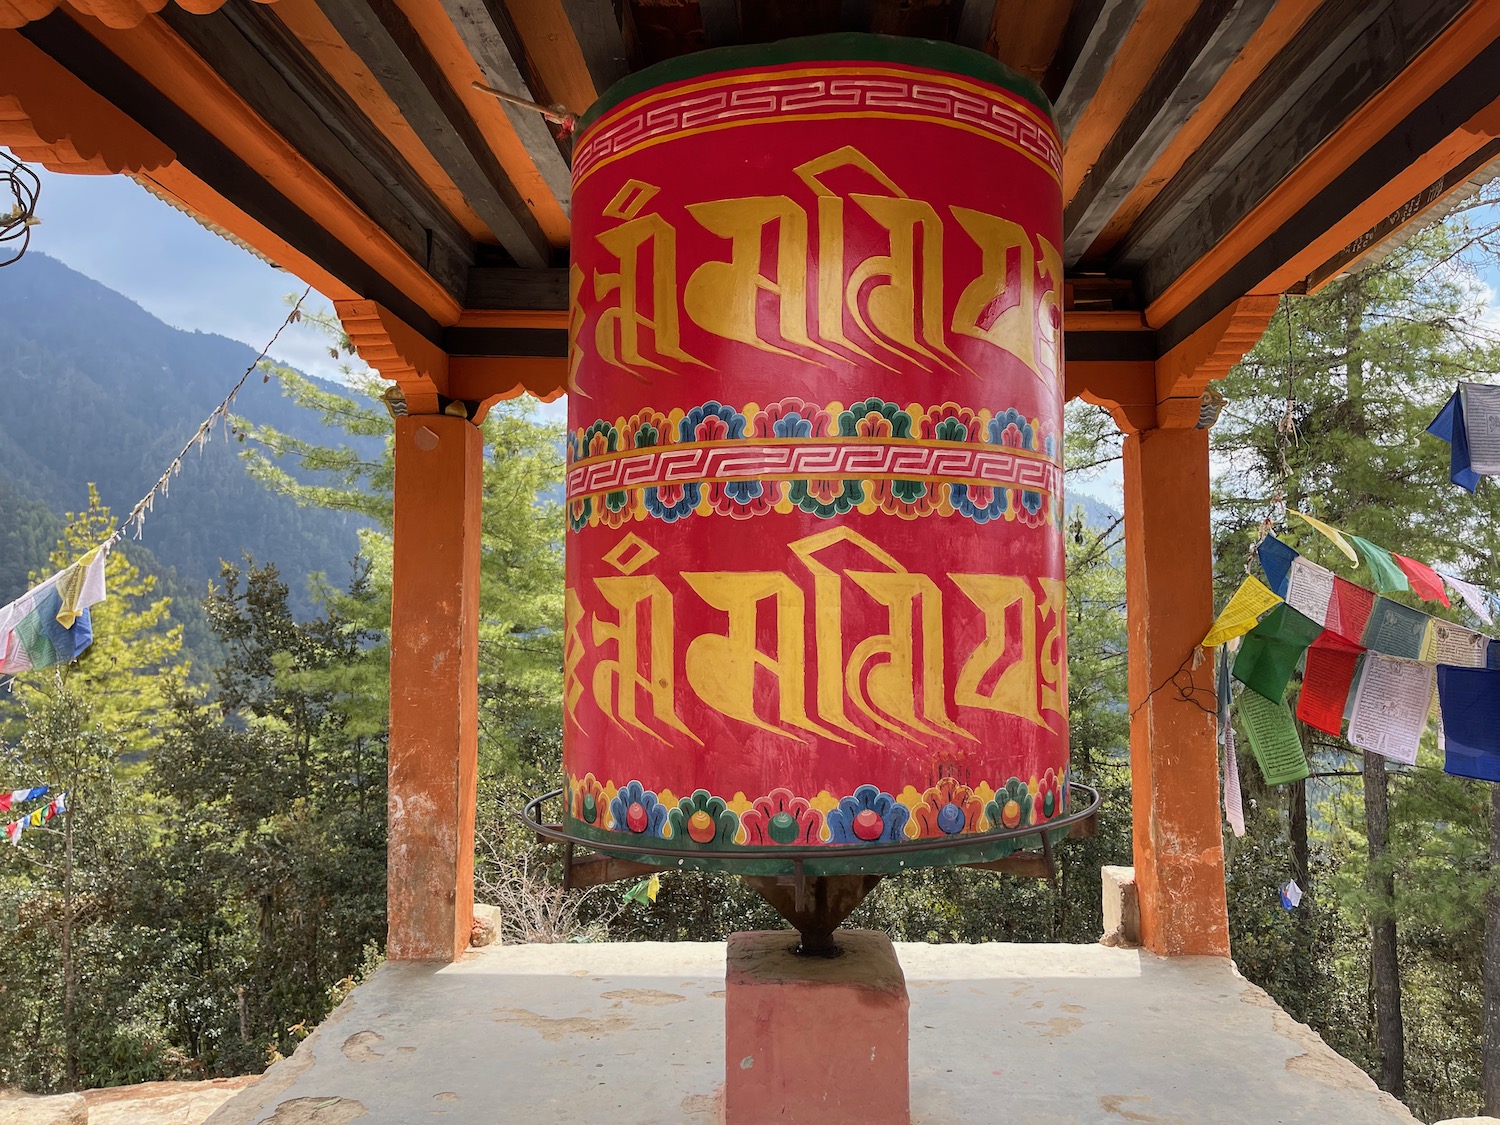
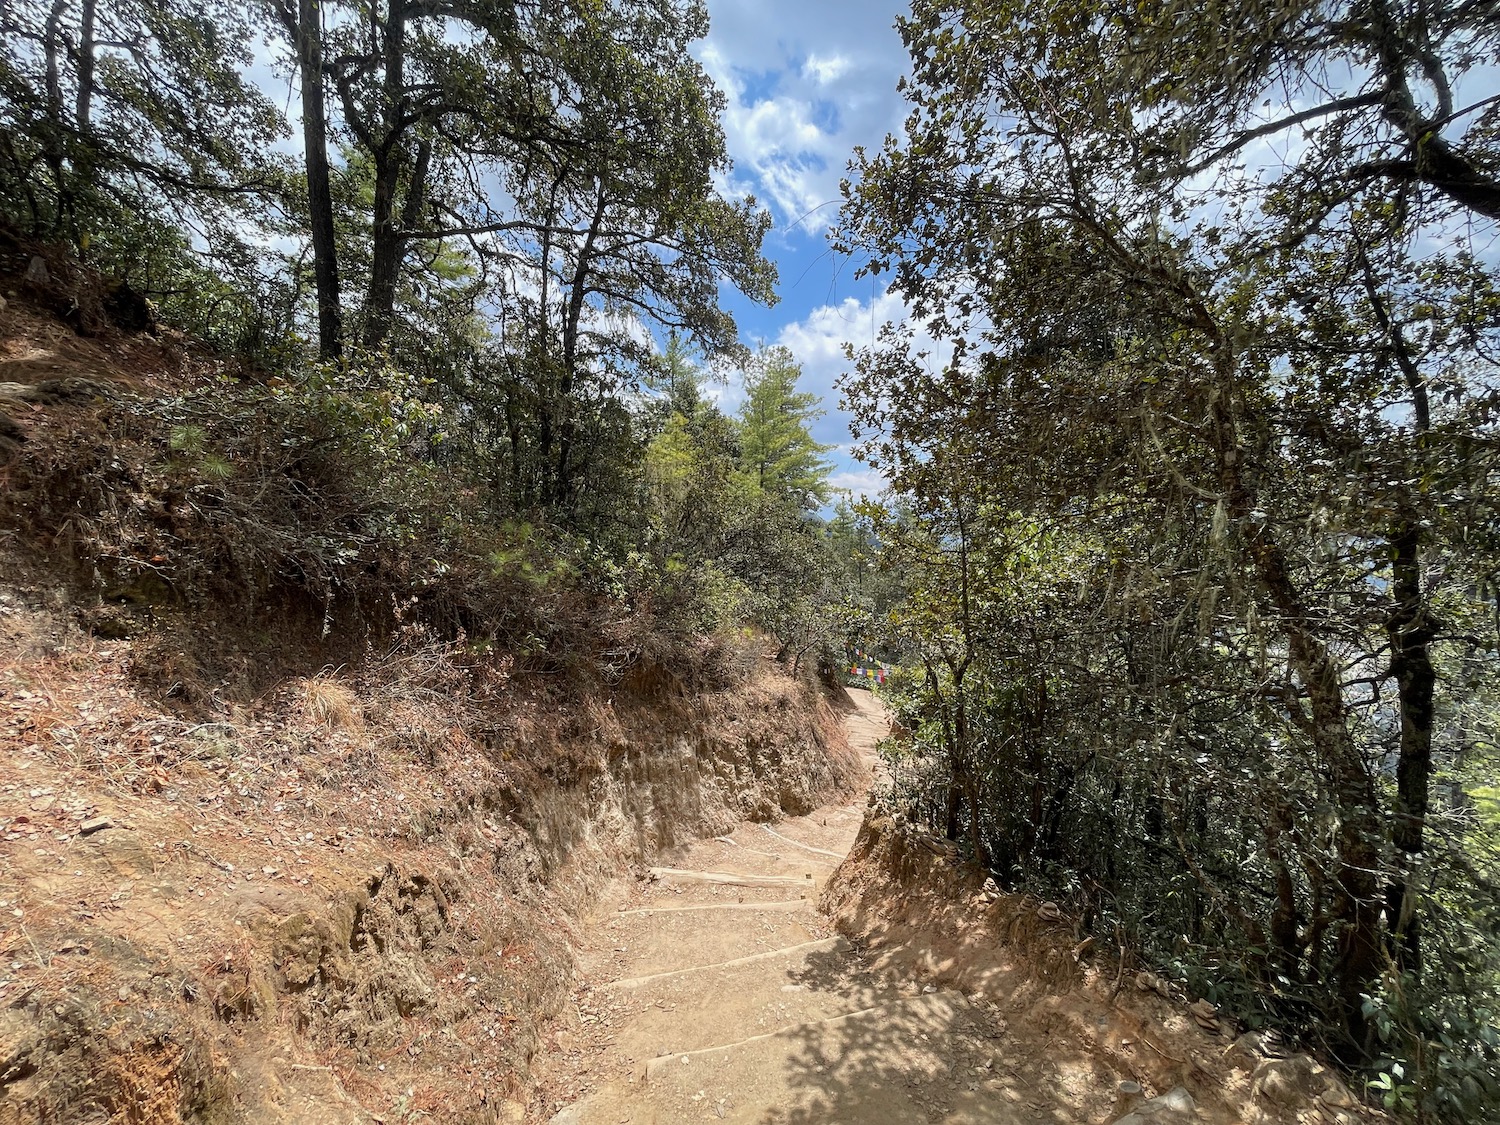
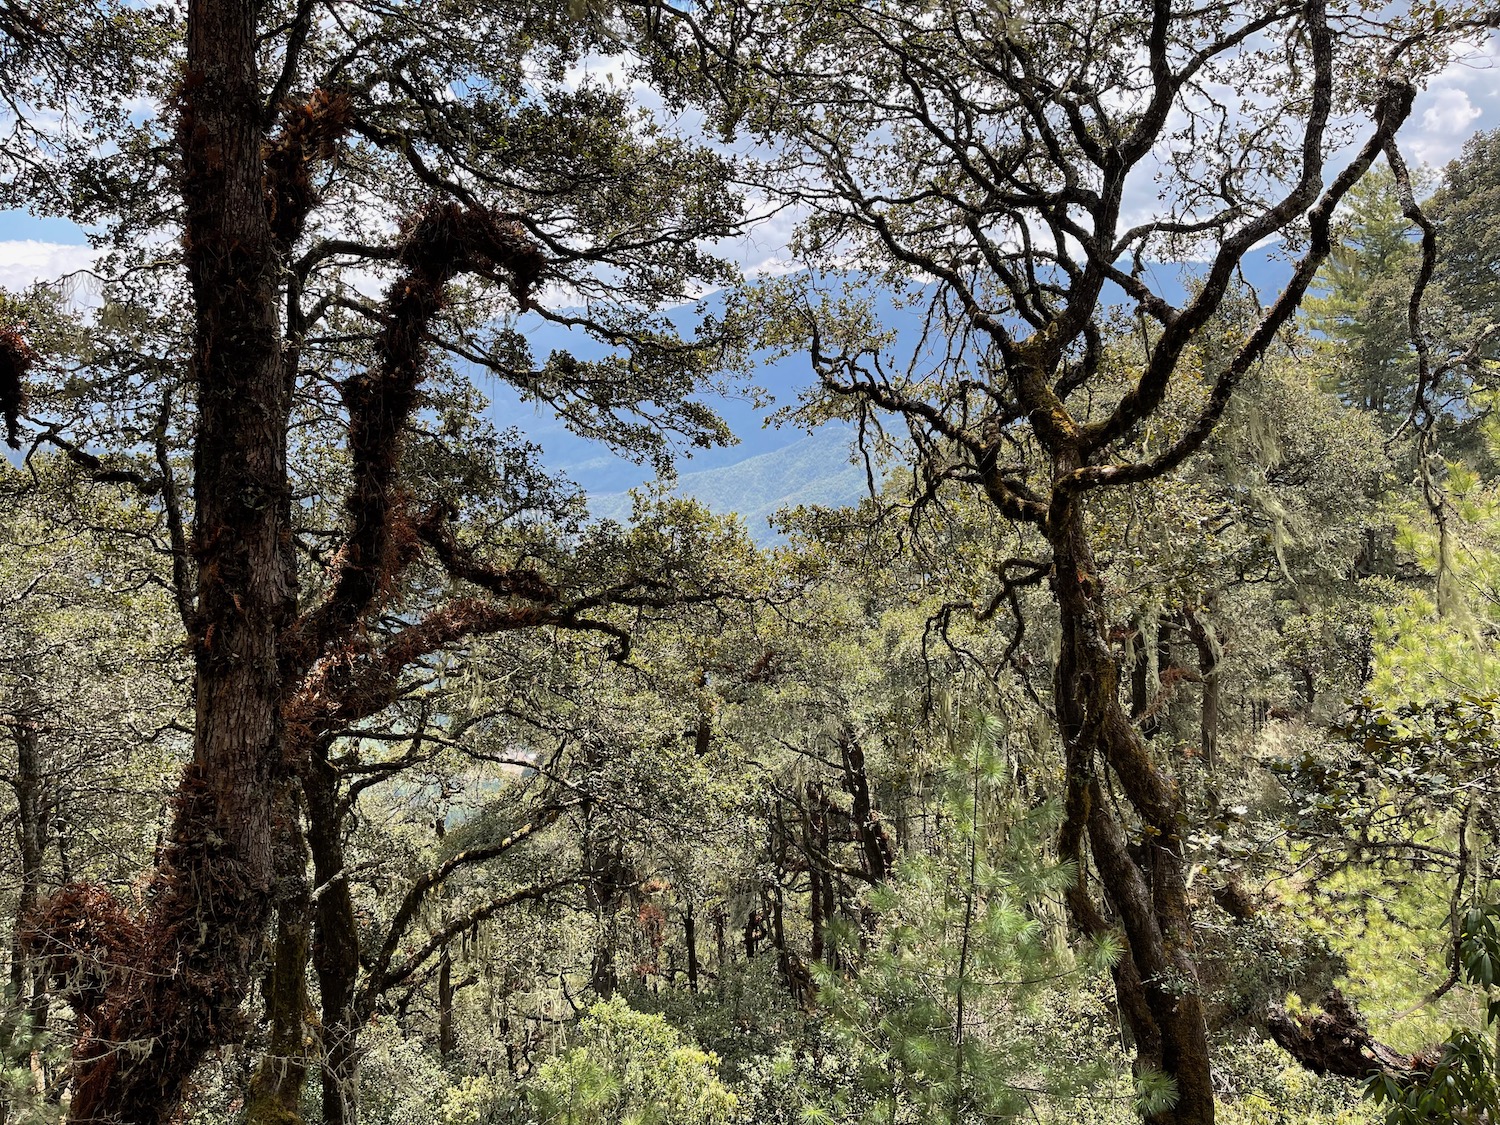
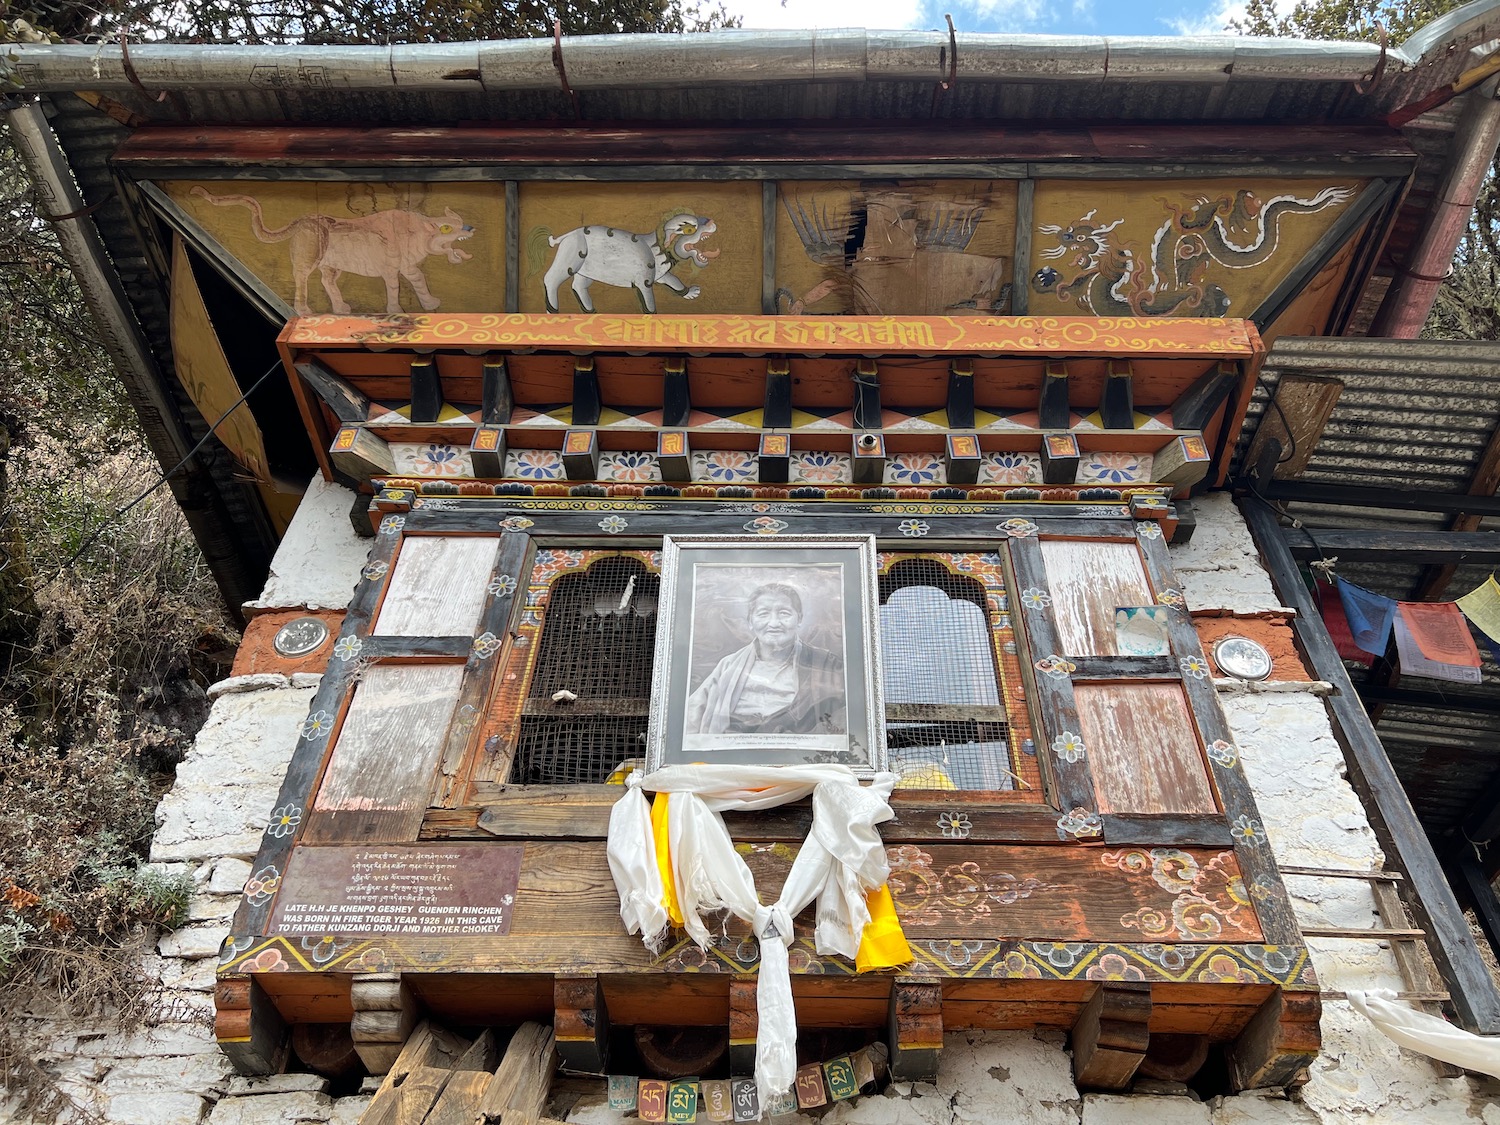
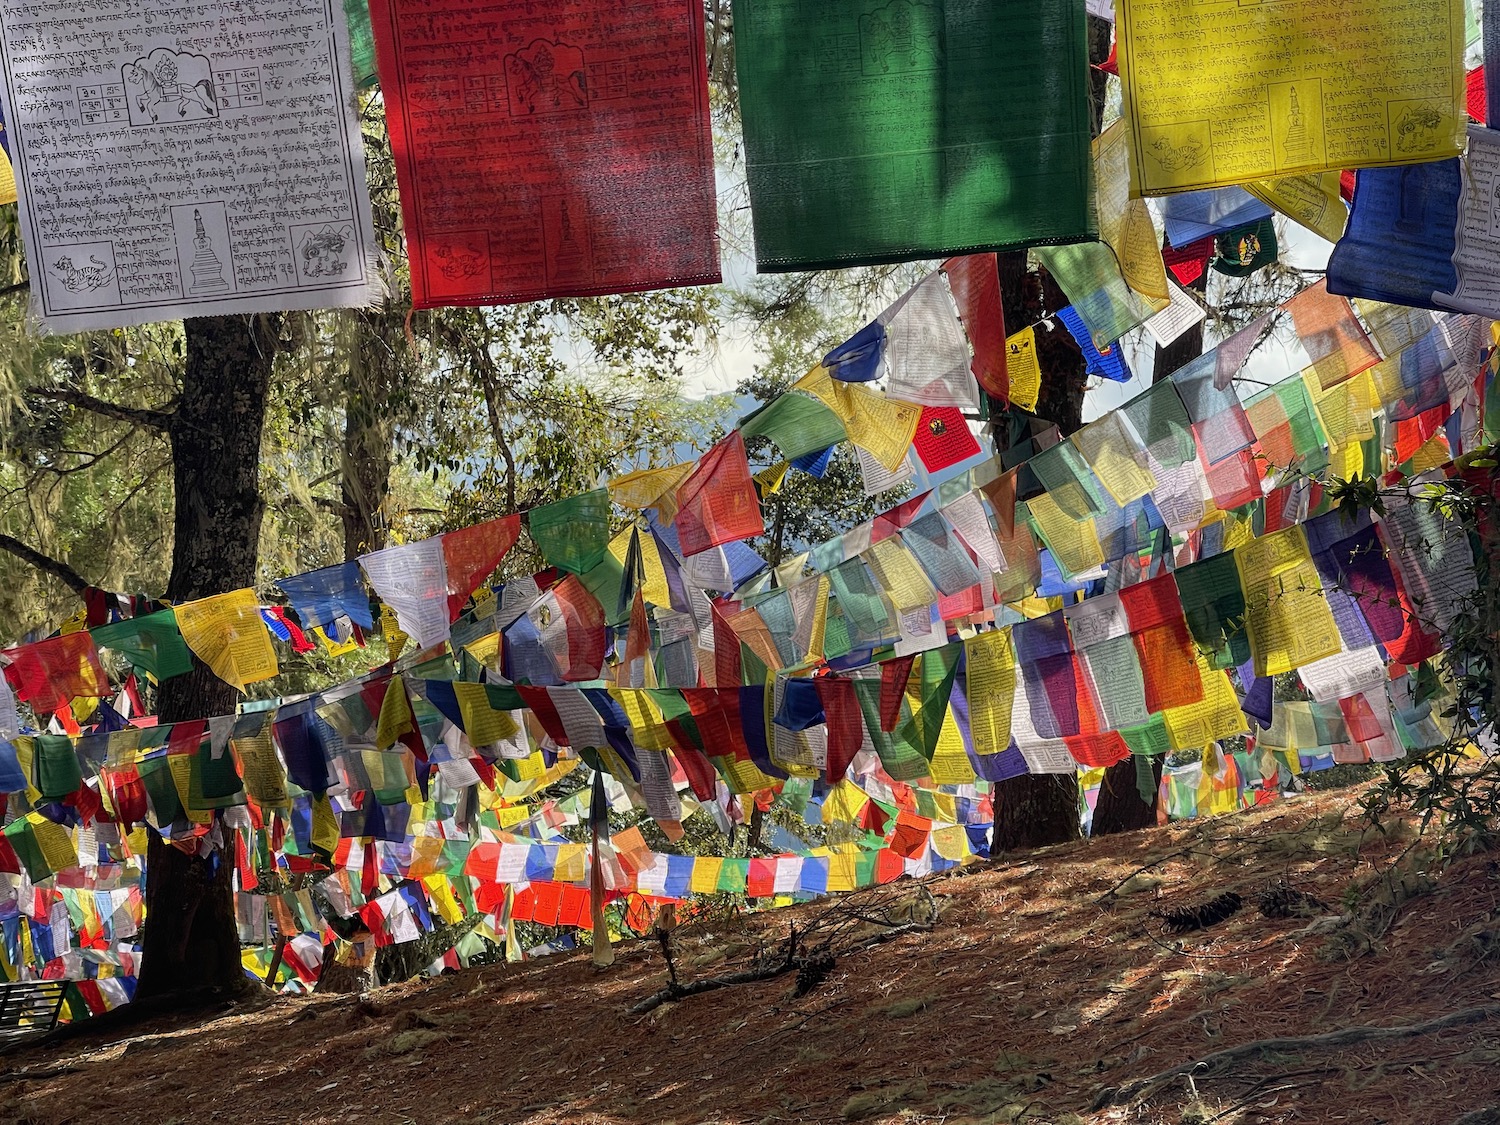
The more strenuous climb (that cannot be completed with mules) is the second half, but it is doable…especially if you take it slow. It’s again mostly shaded and you’ll pass many prayer flags and shrines along the way.

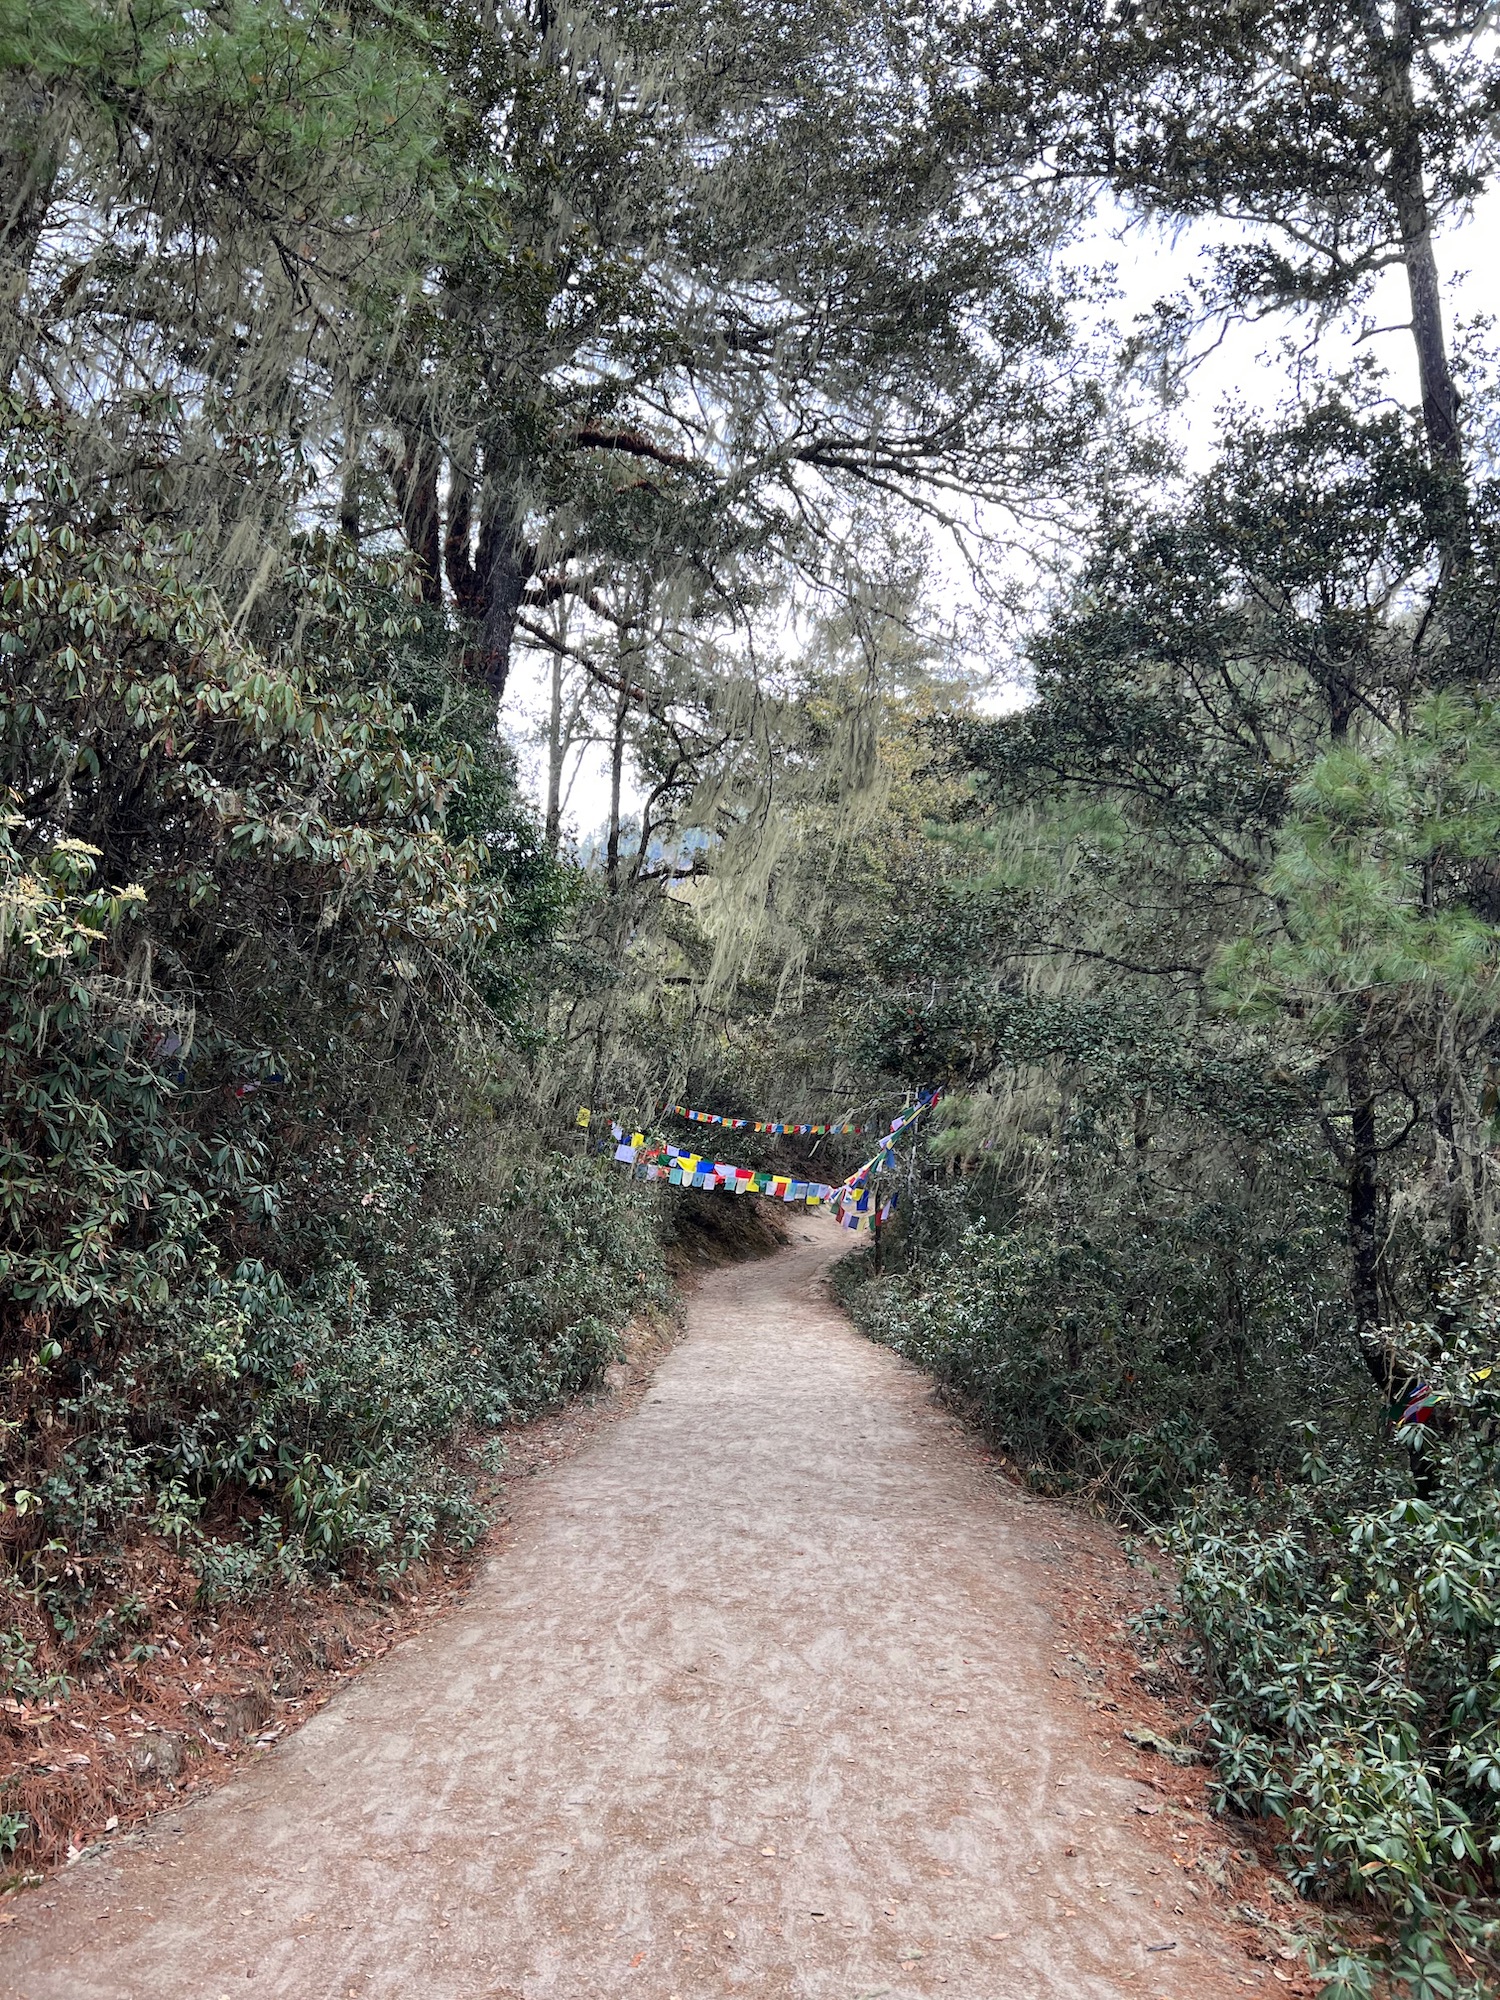
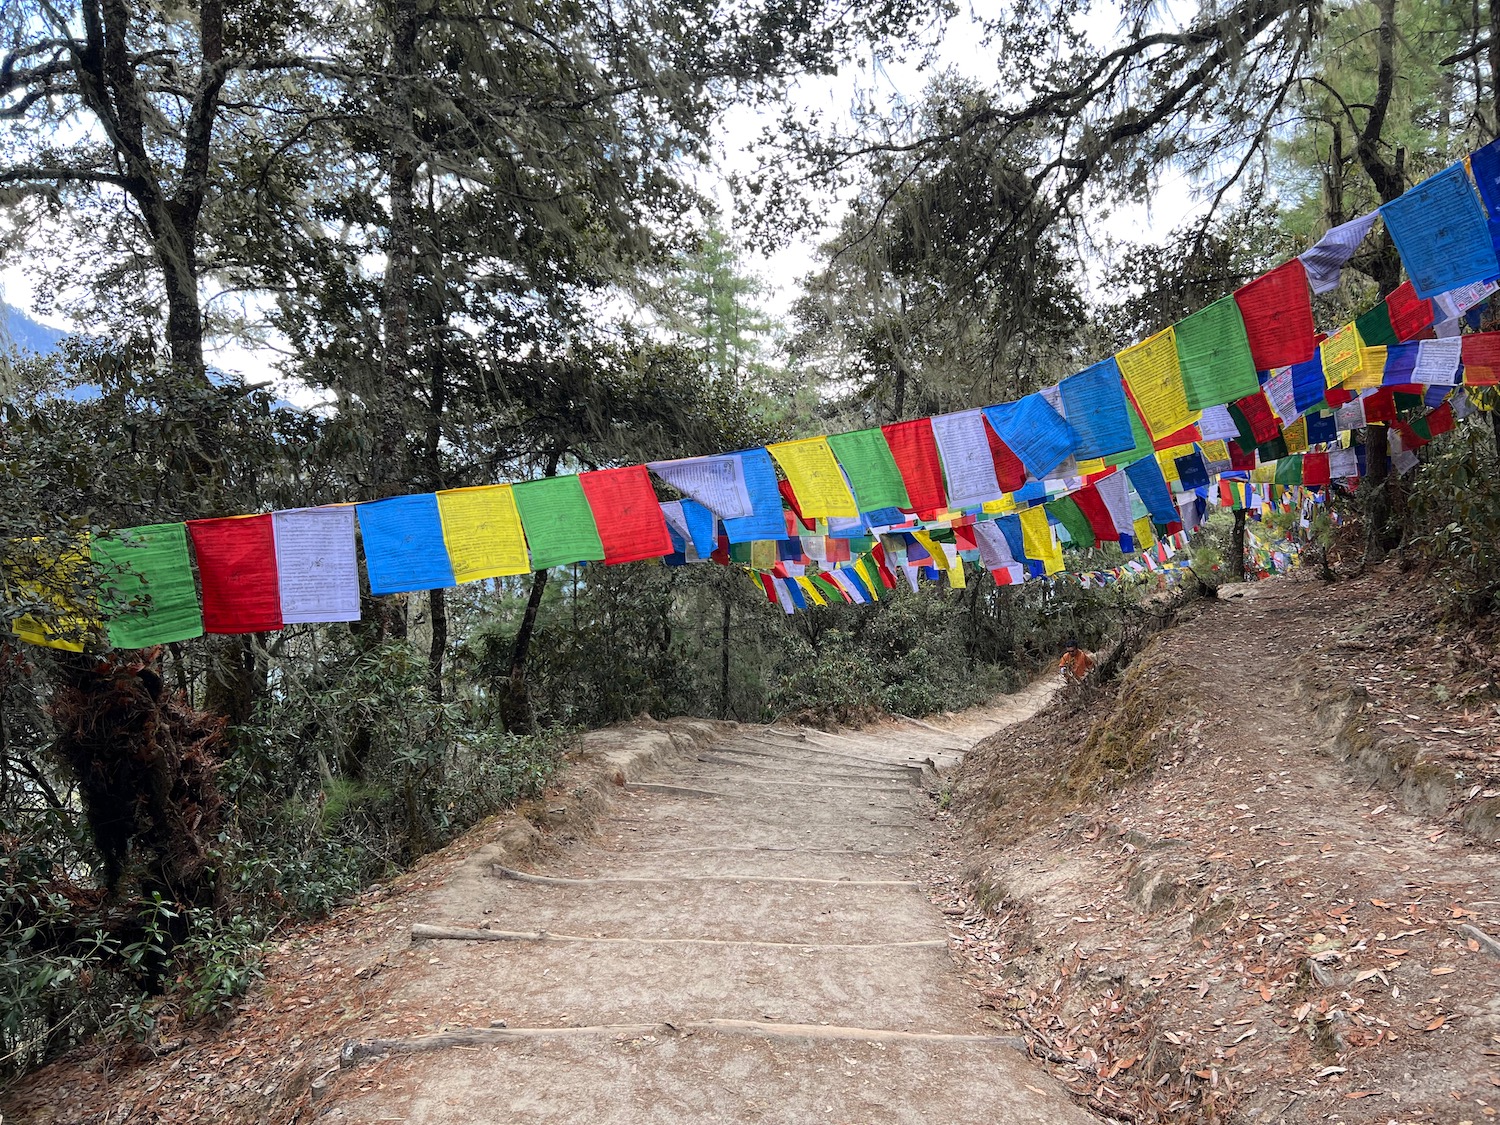

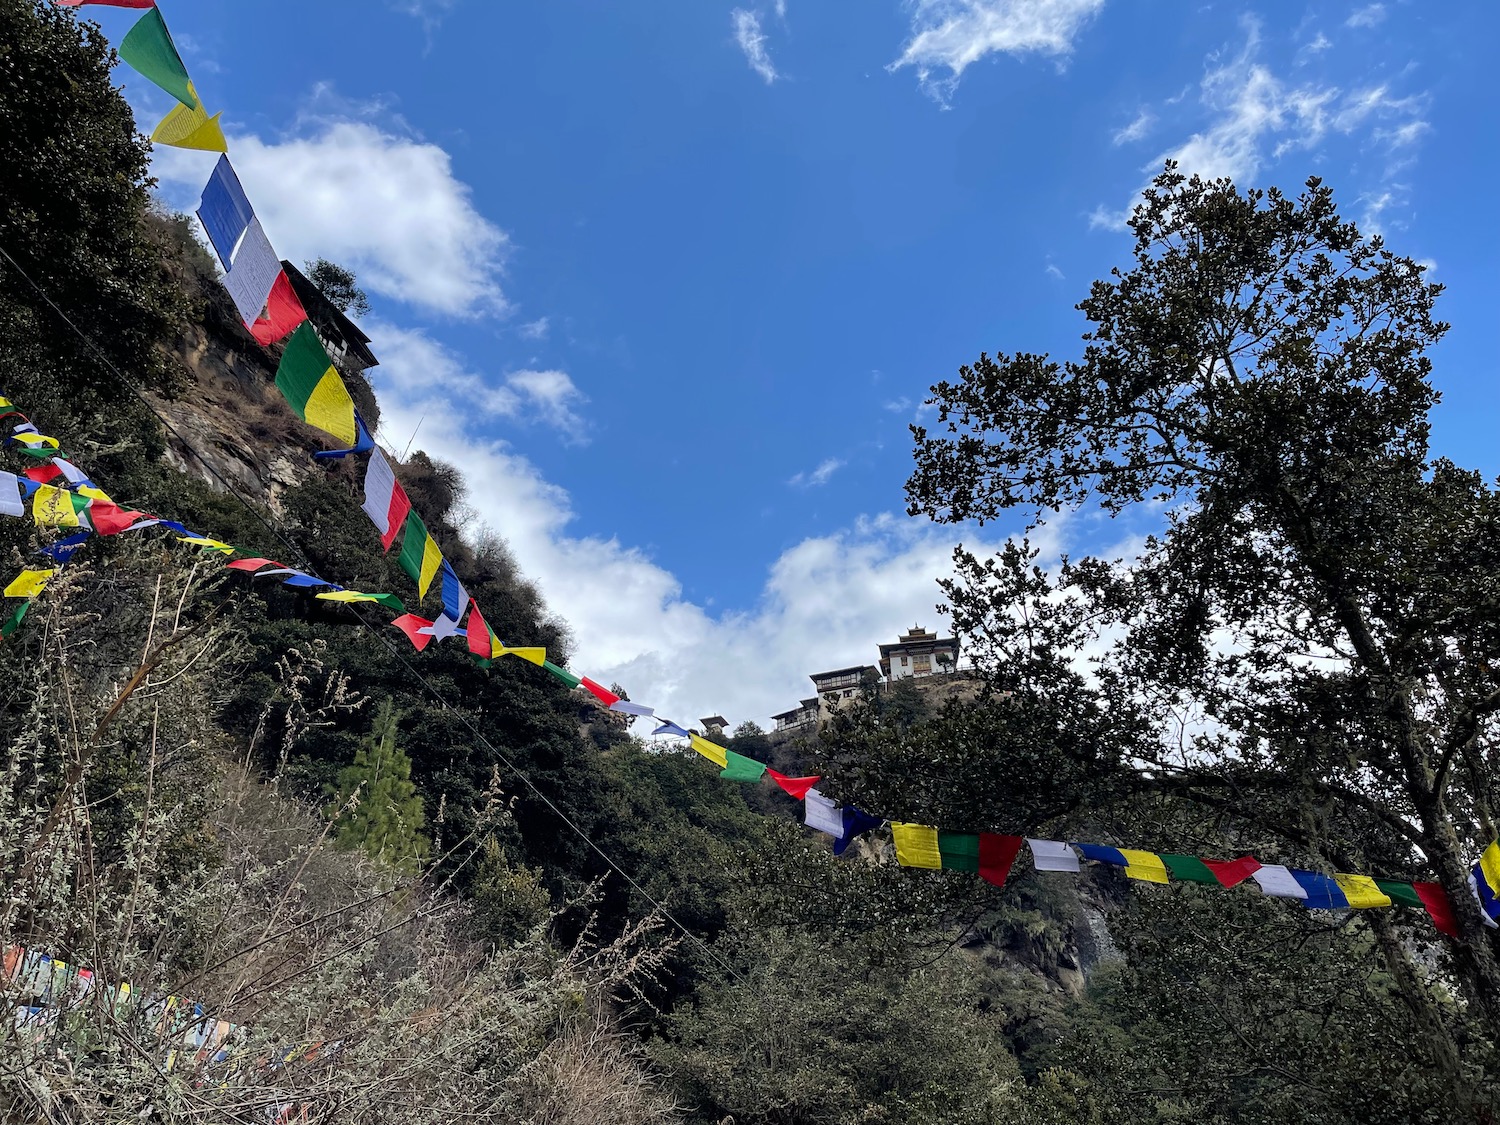
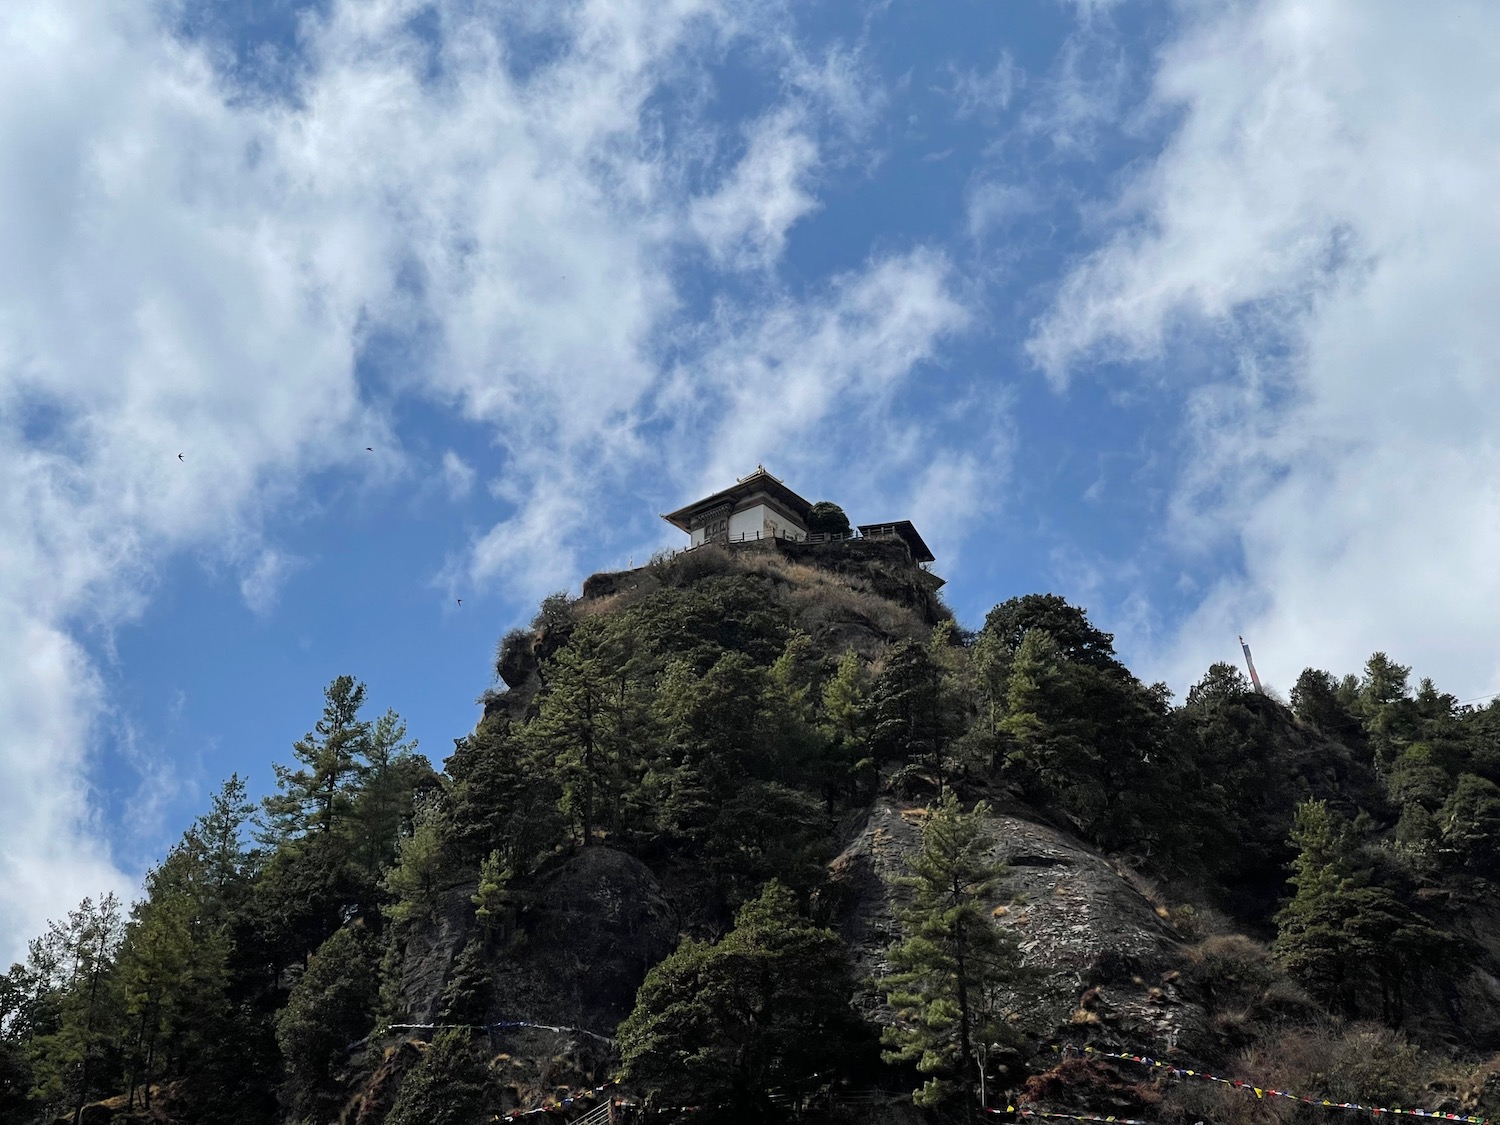
Presently, the monastery complex will come into view again…and is breathtaking in person.
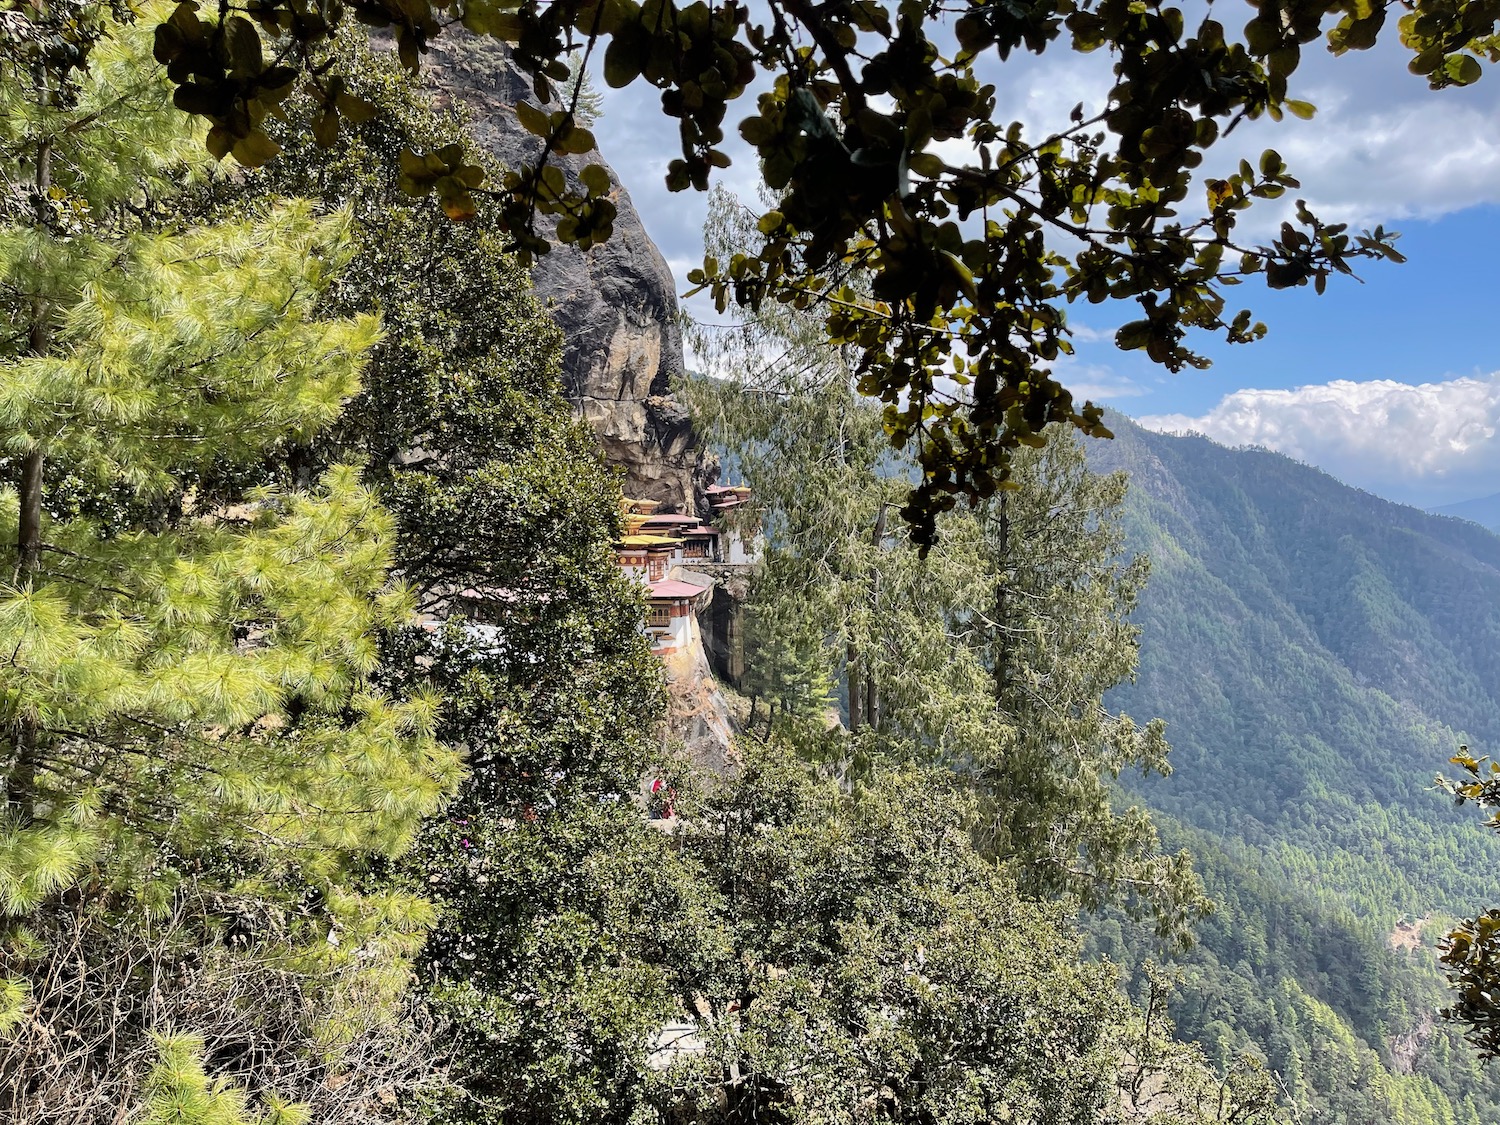
You can stop here for pictures: it is a great vantage point although there will be more opportunities as you draw closer.
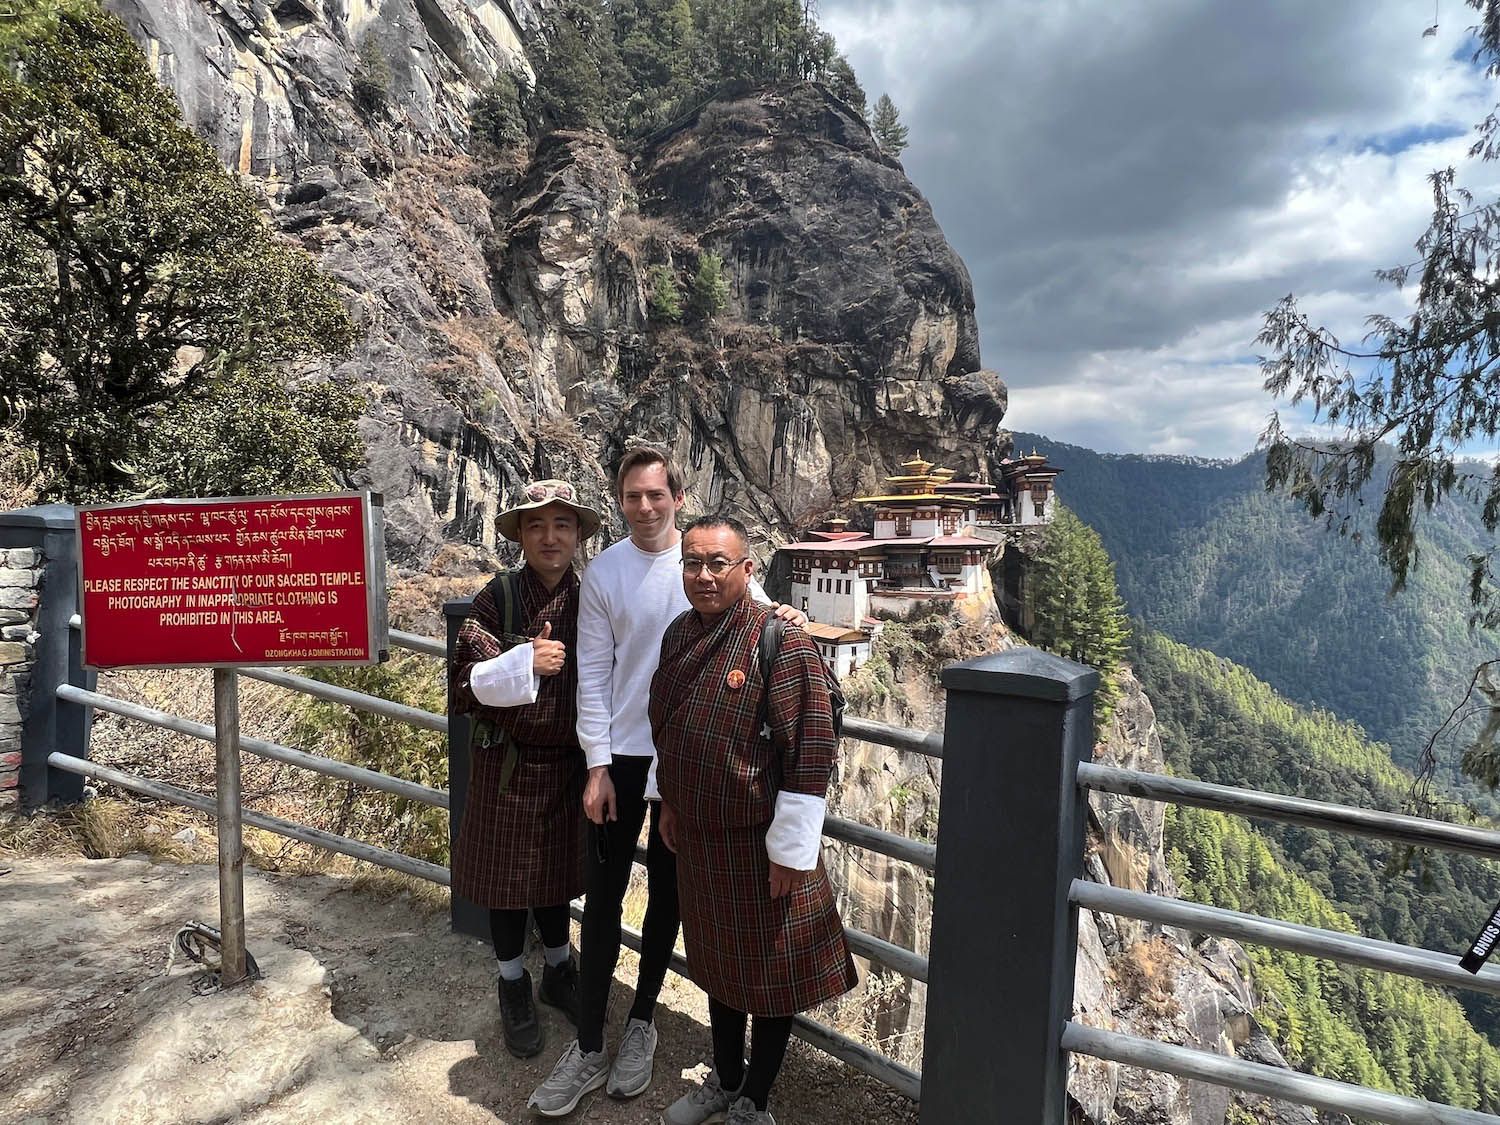
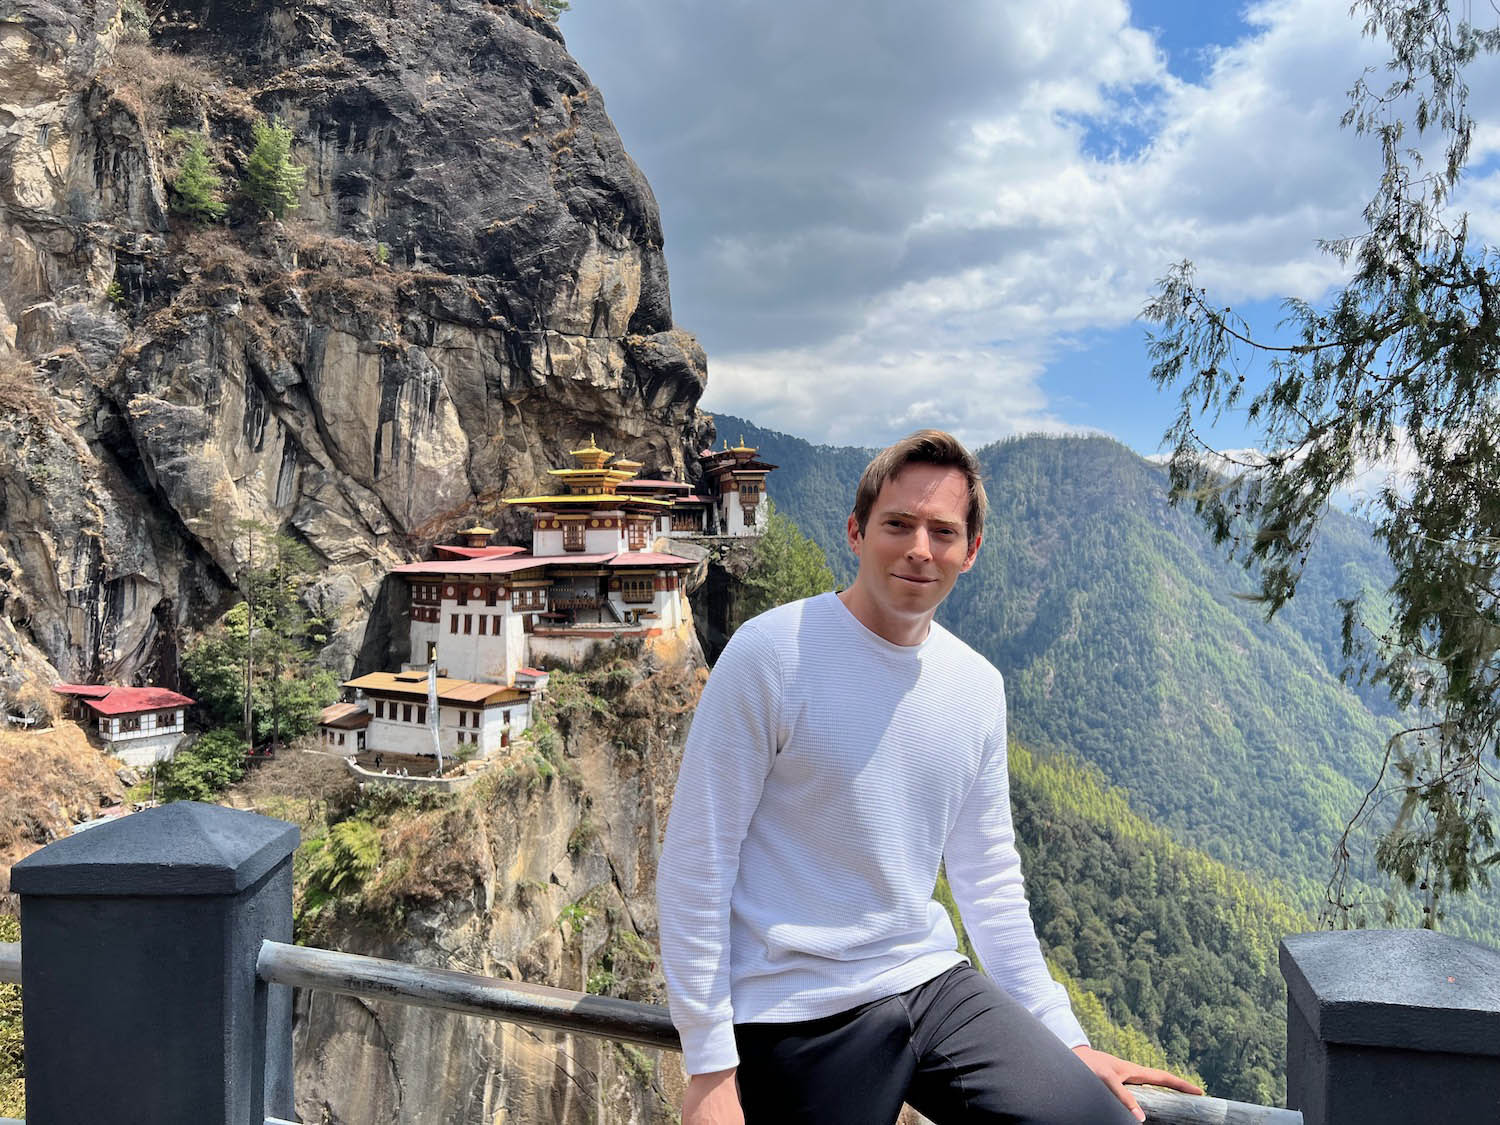

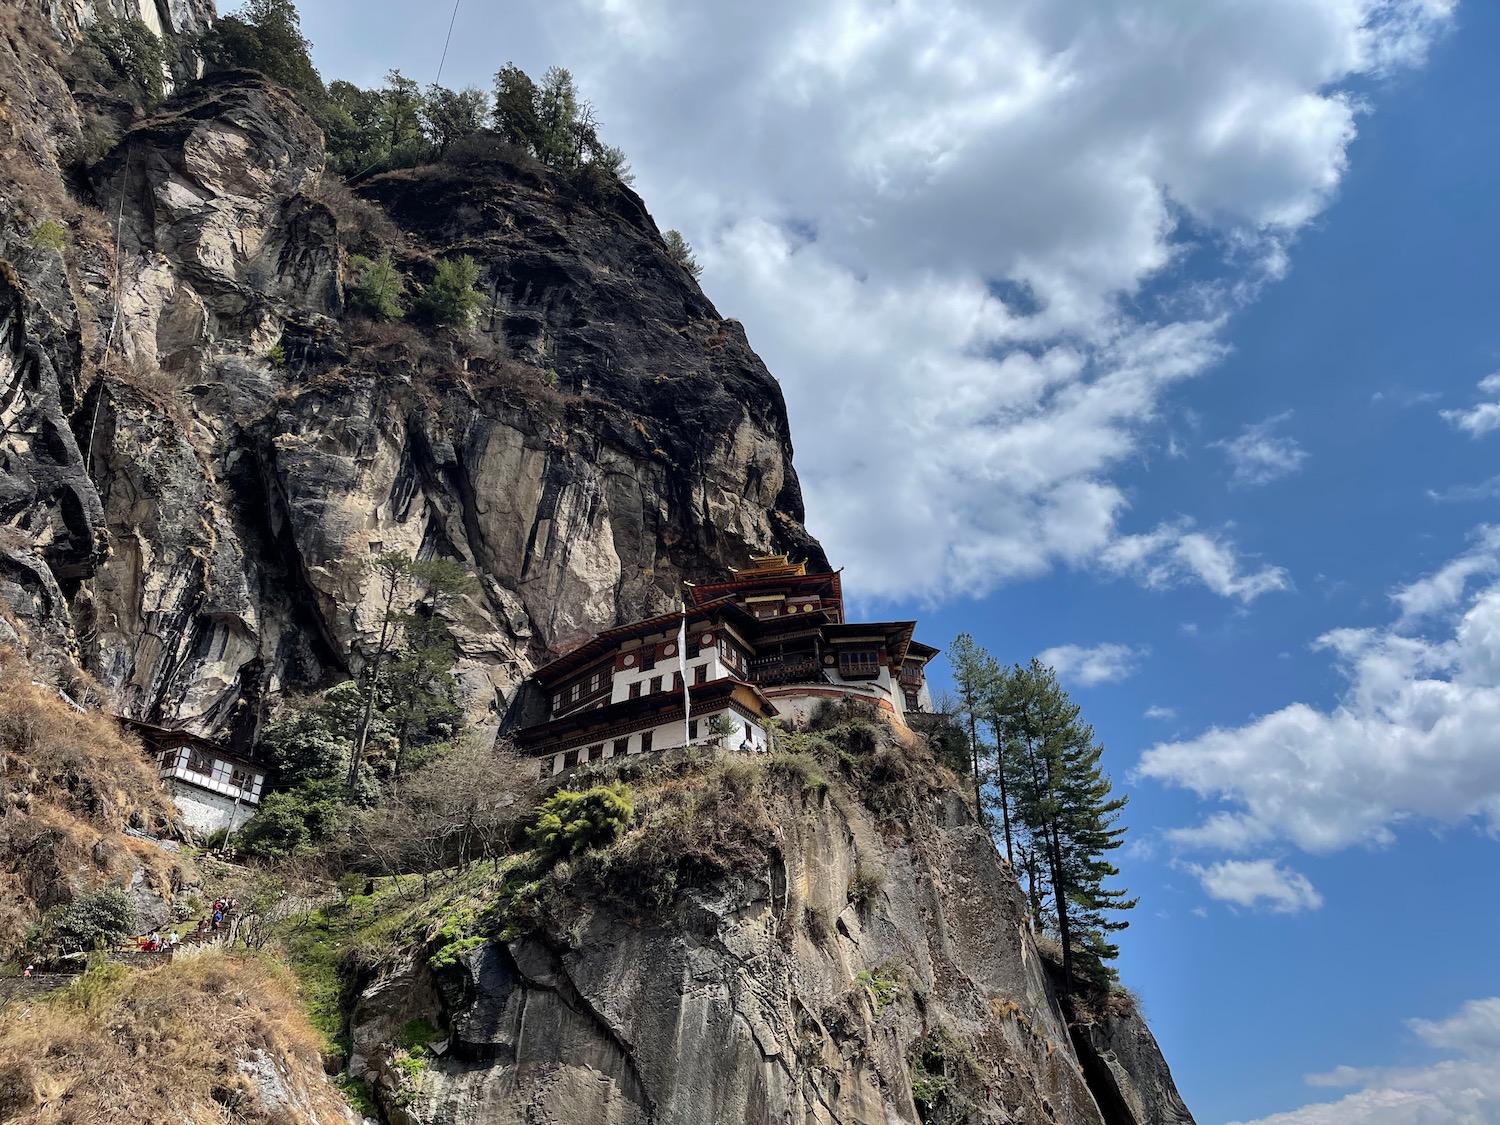


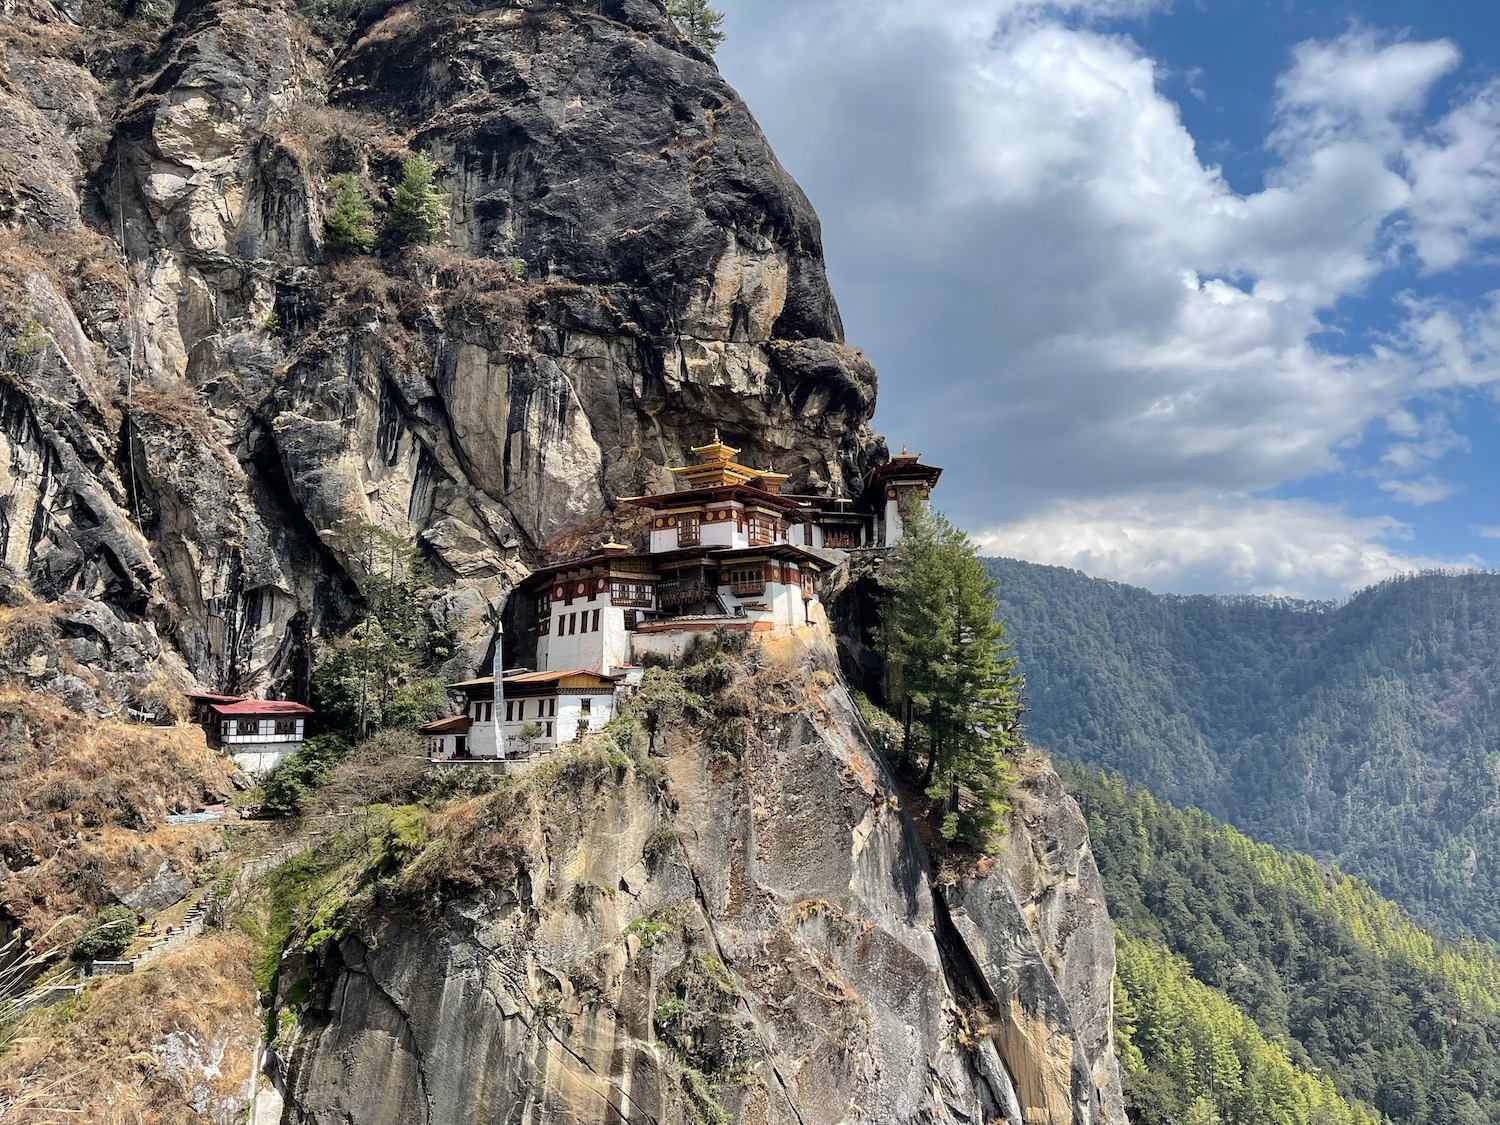
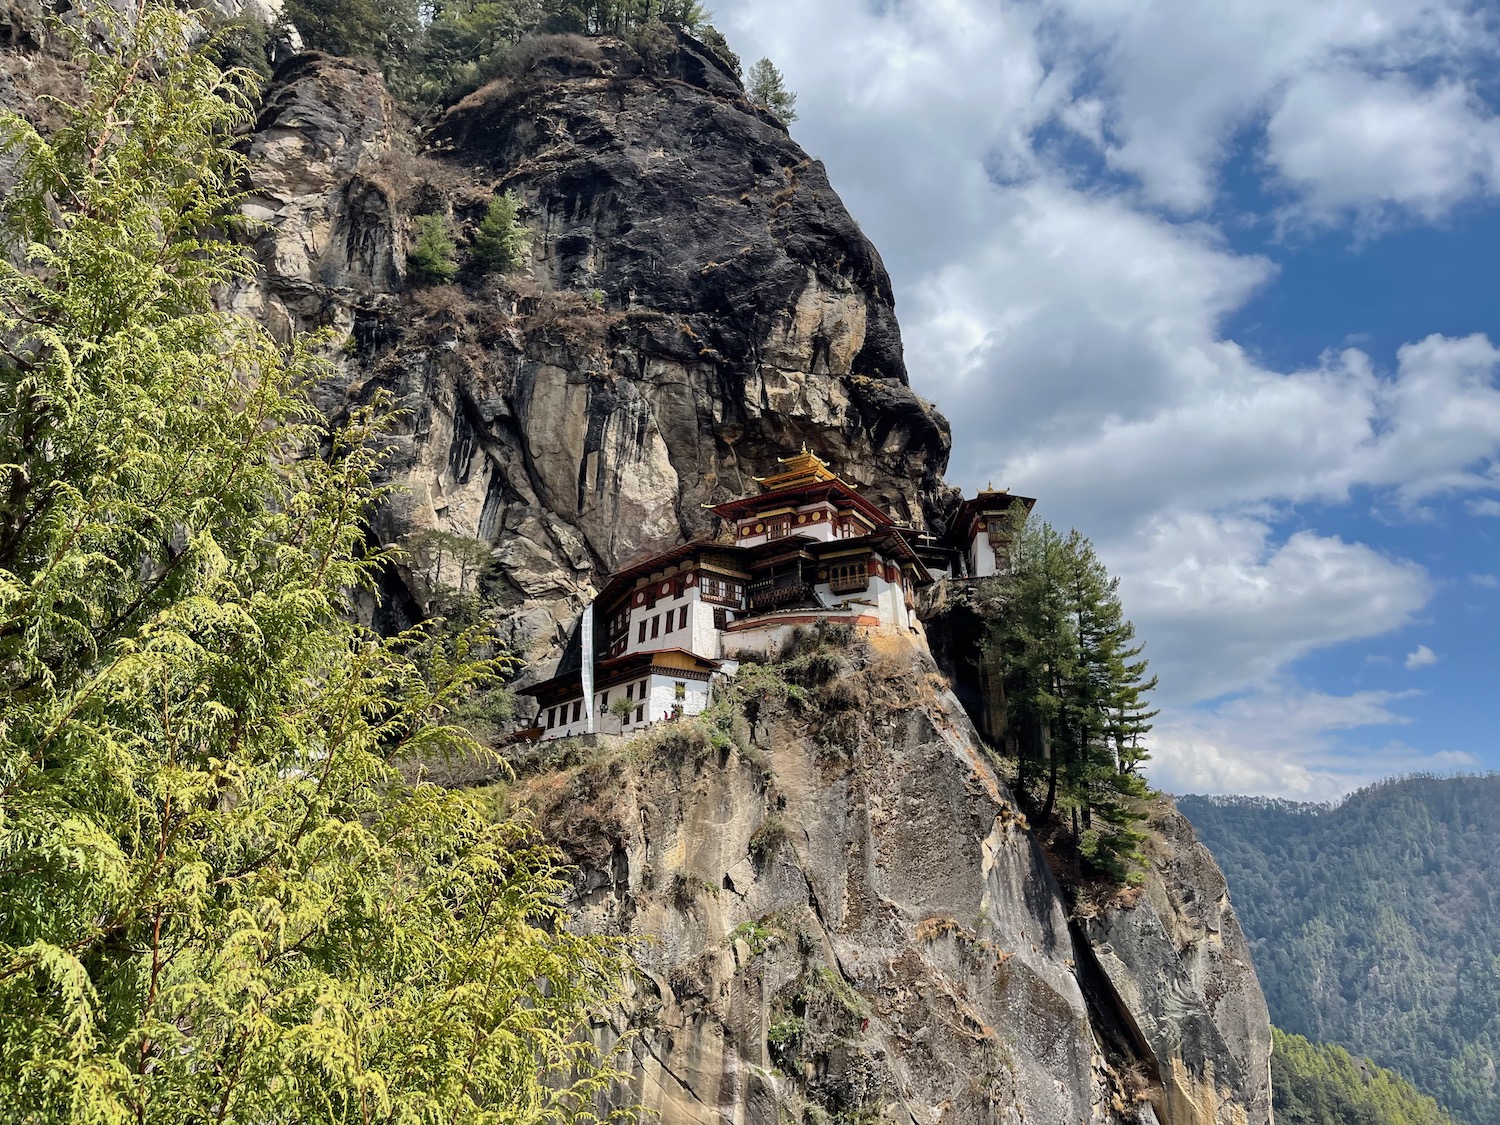
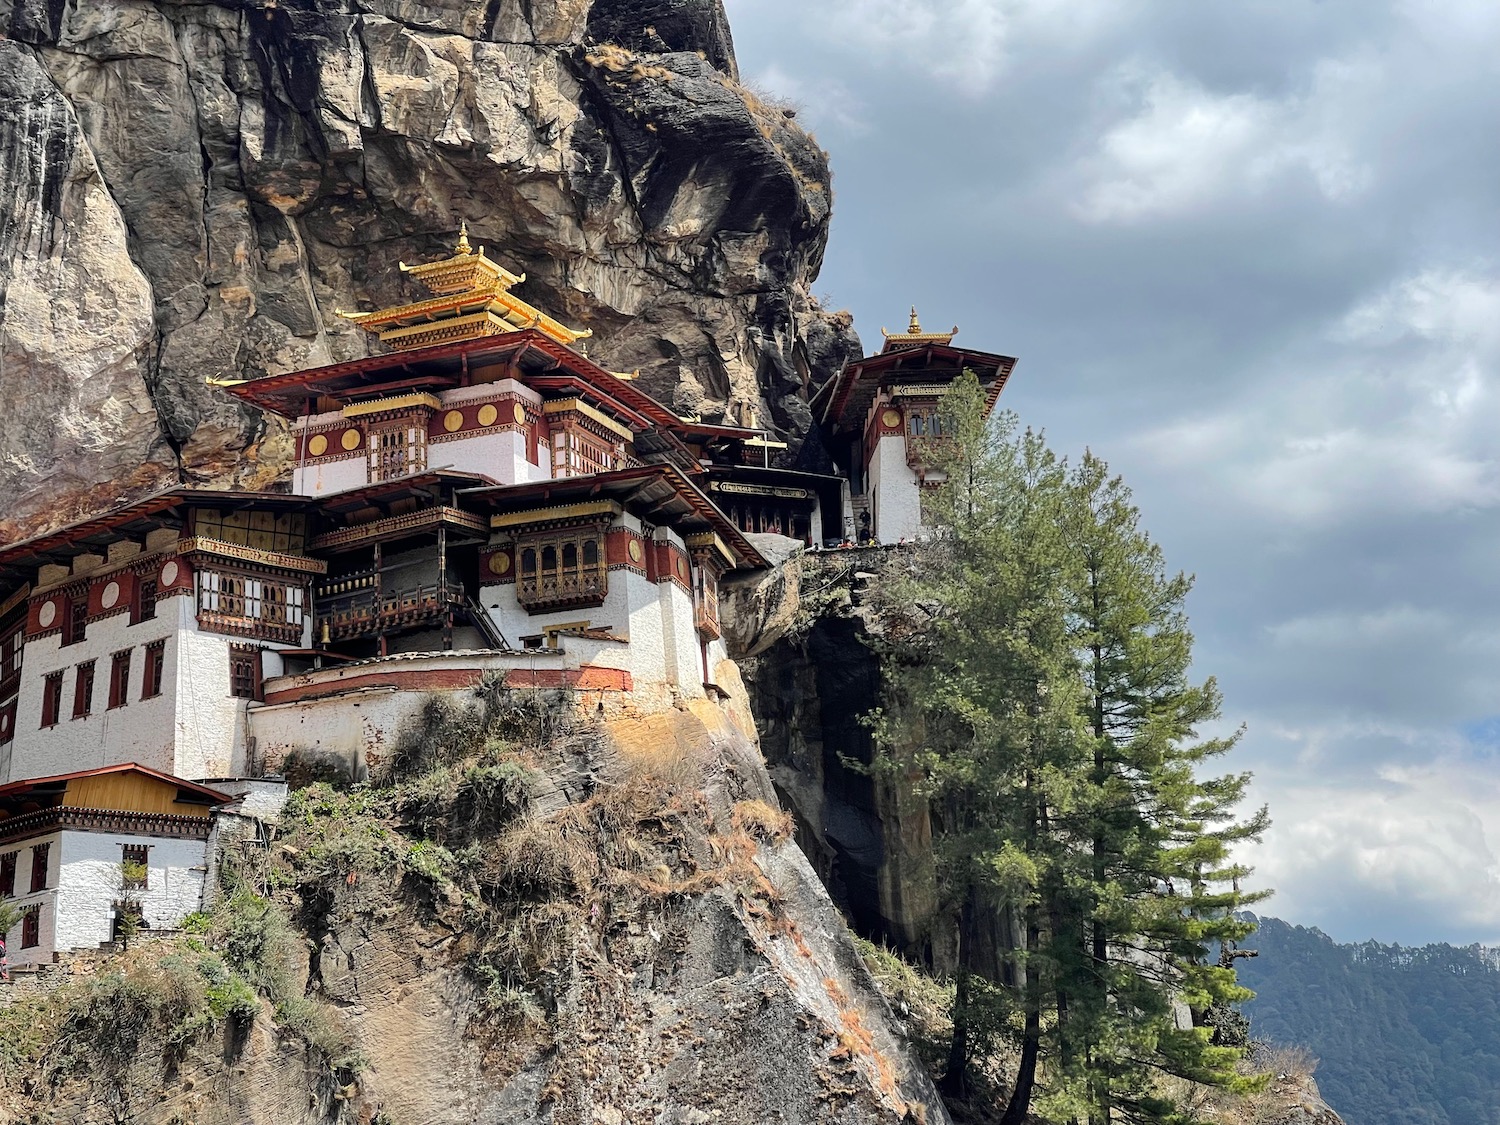
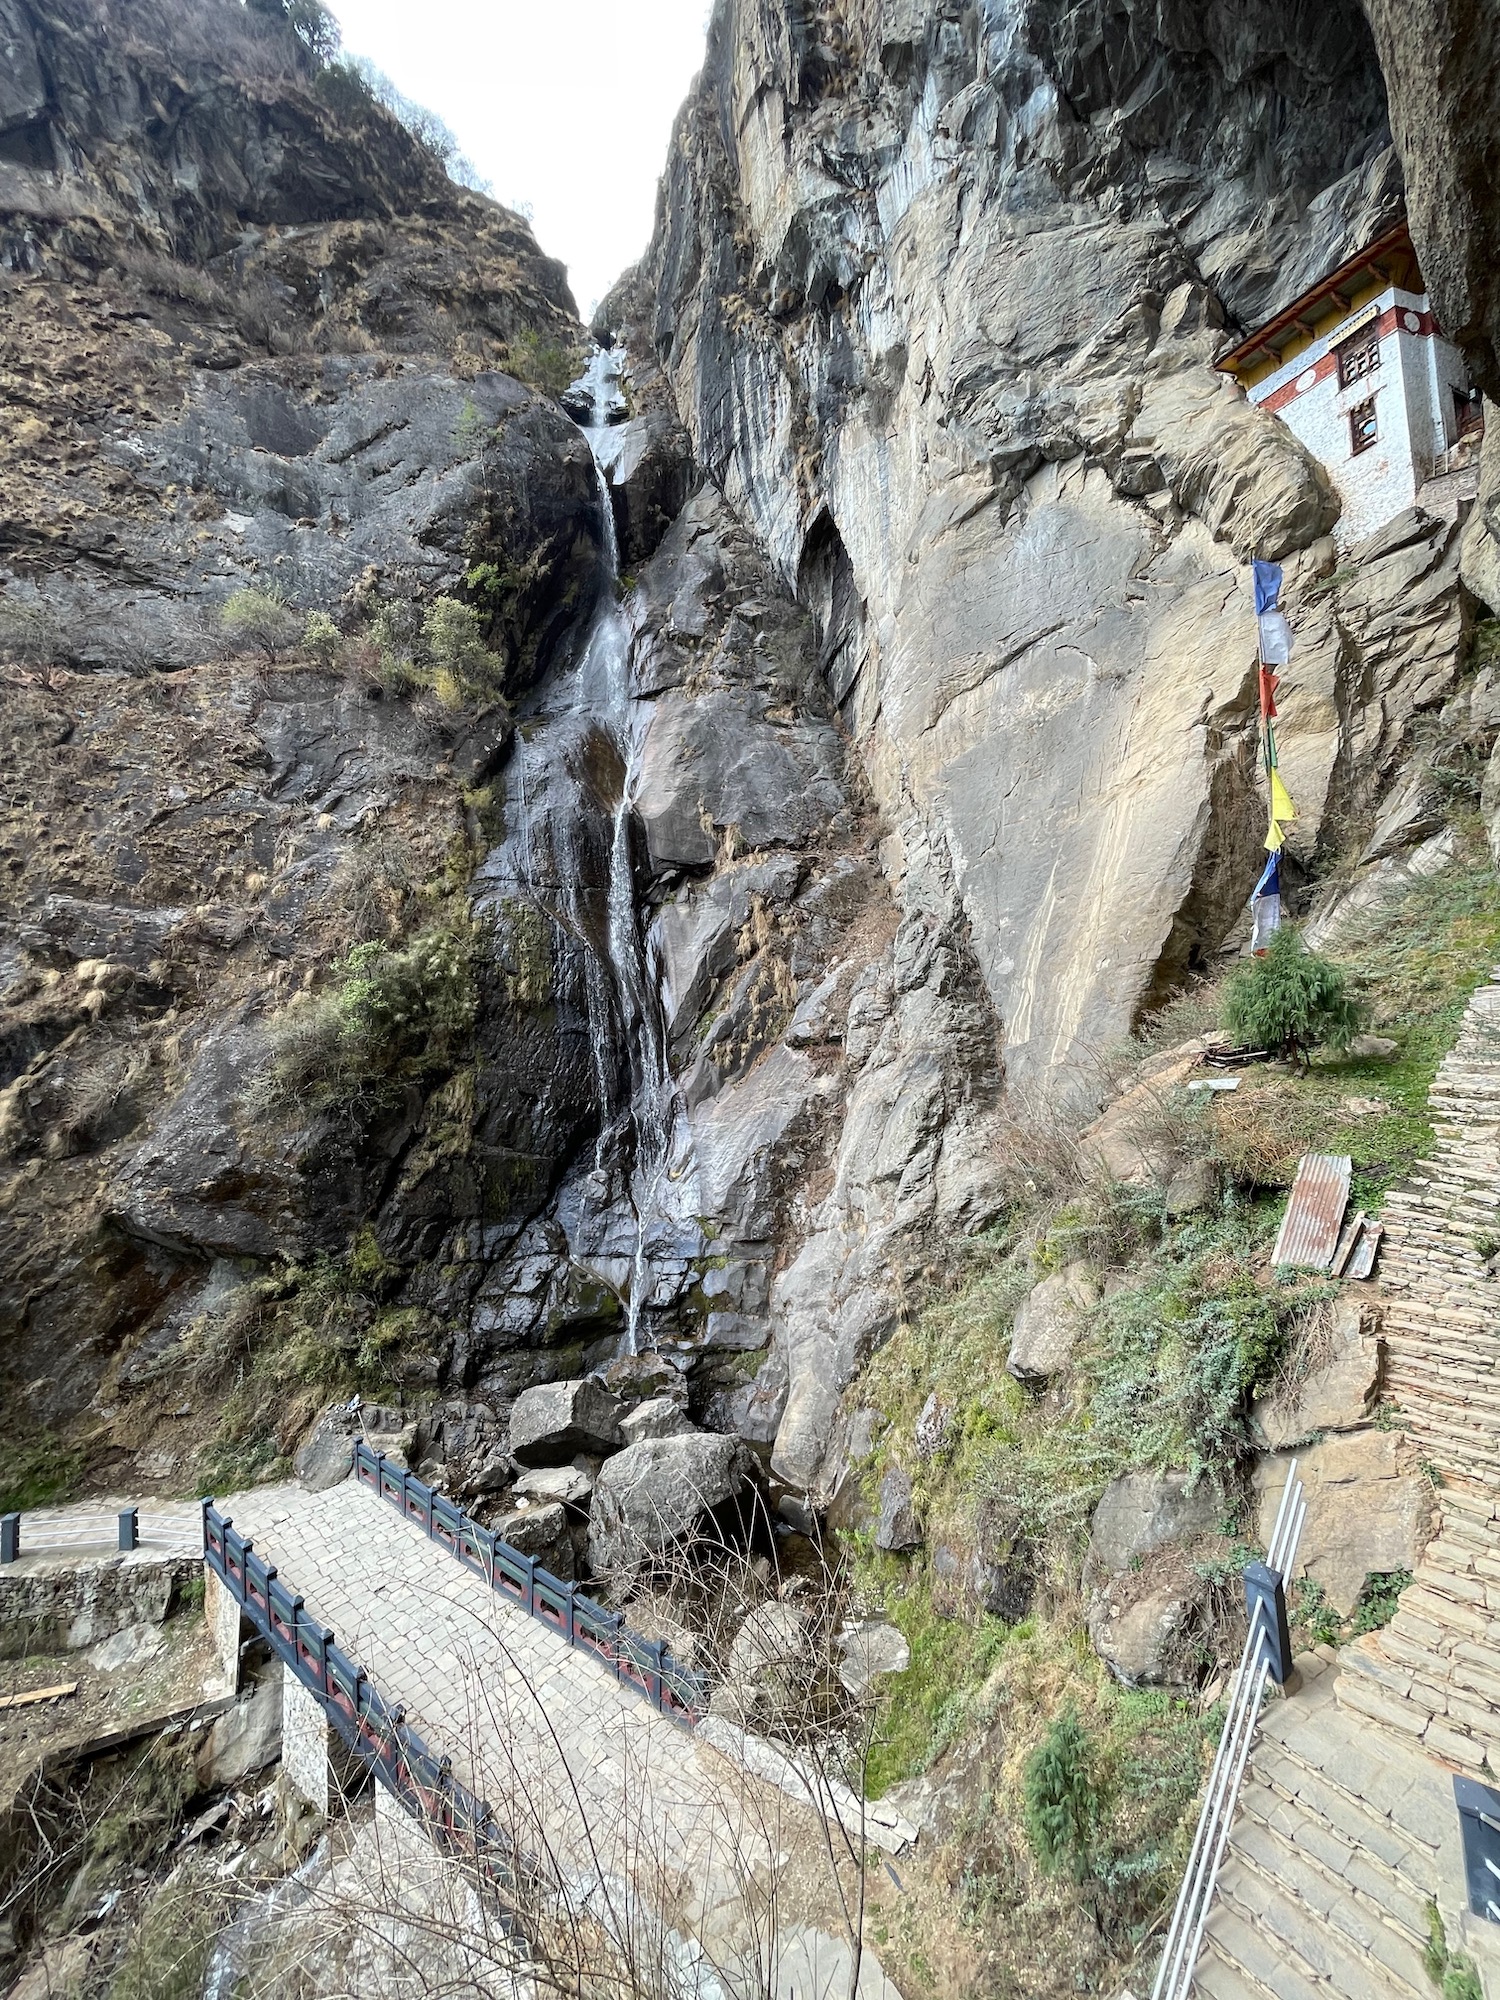
When you think you’re almost there, you’ll have to descend down a long flight of stairs, cross a bridge, then climb back up to the monastery.
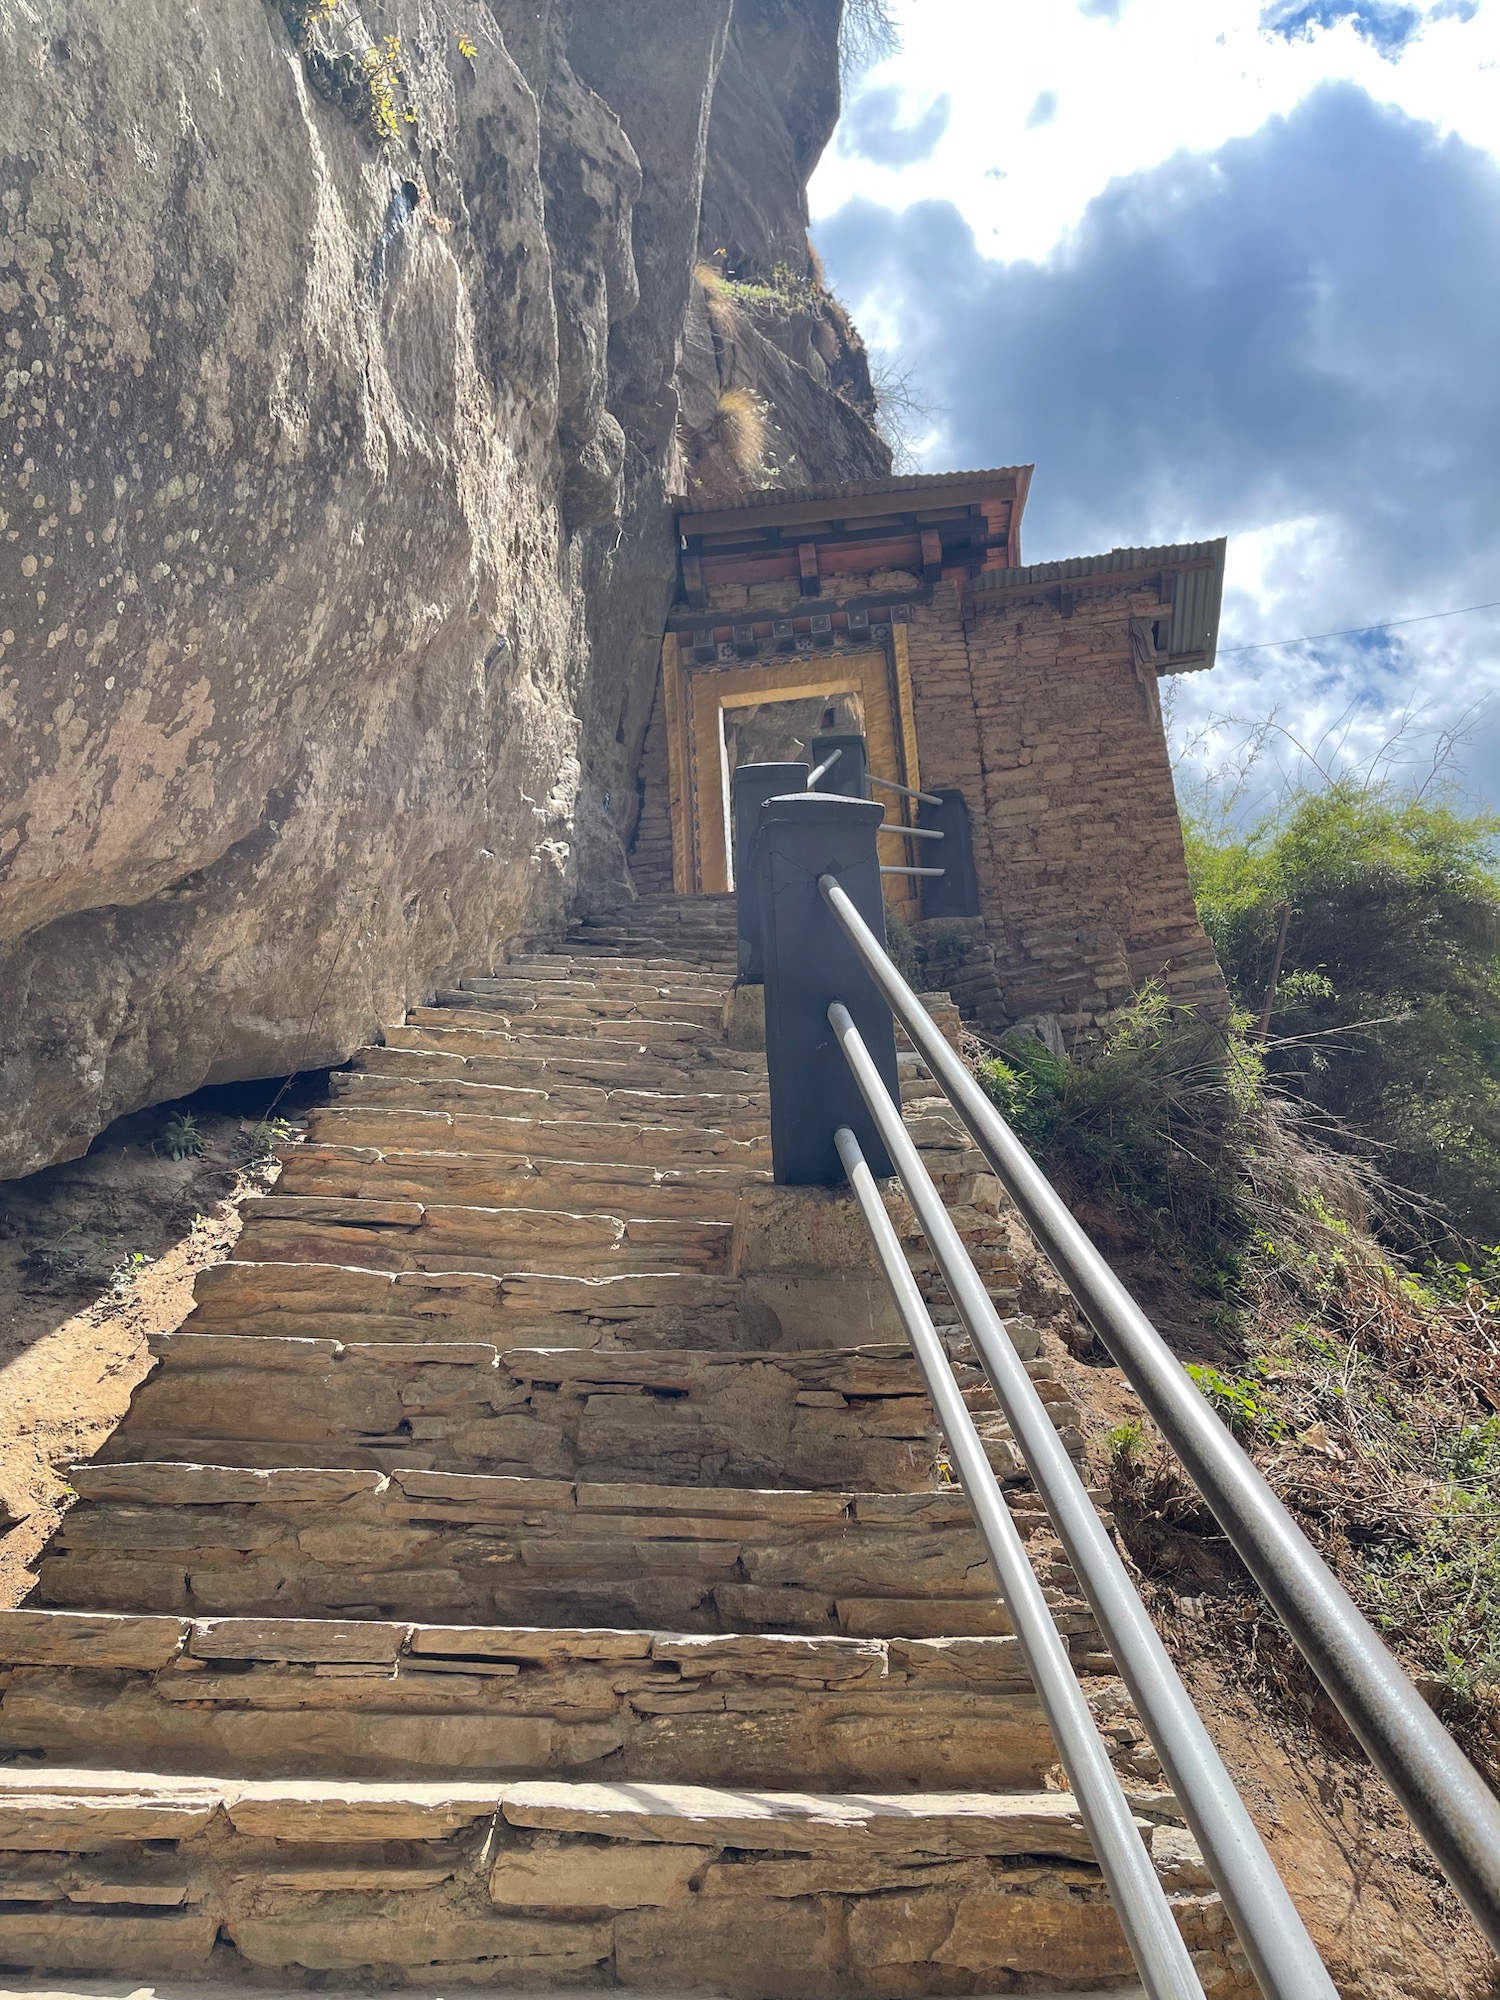
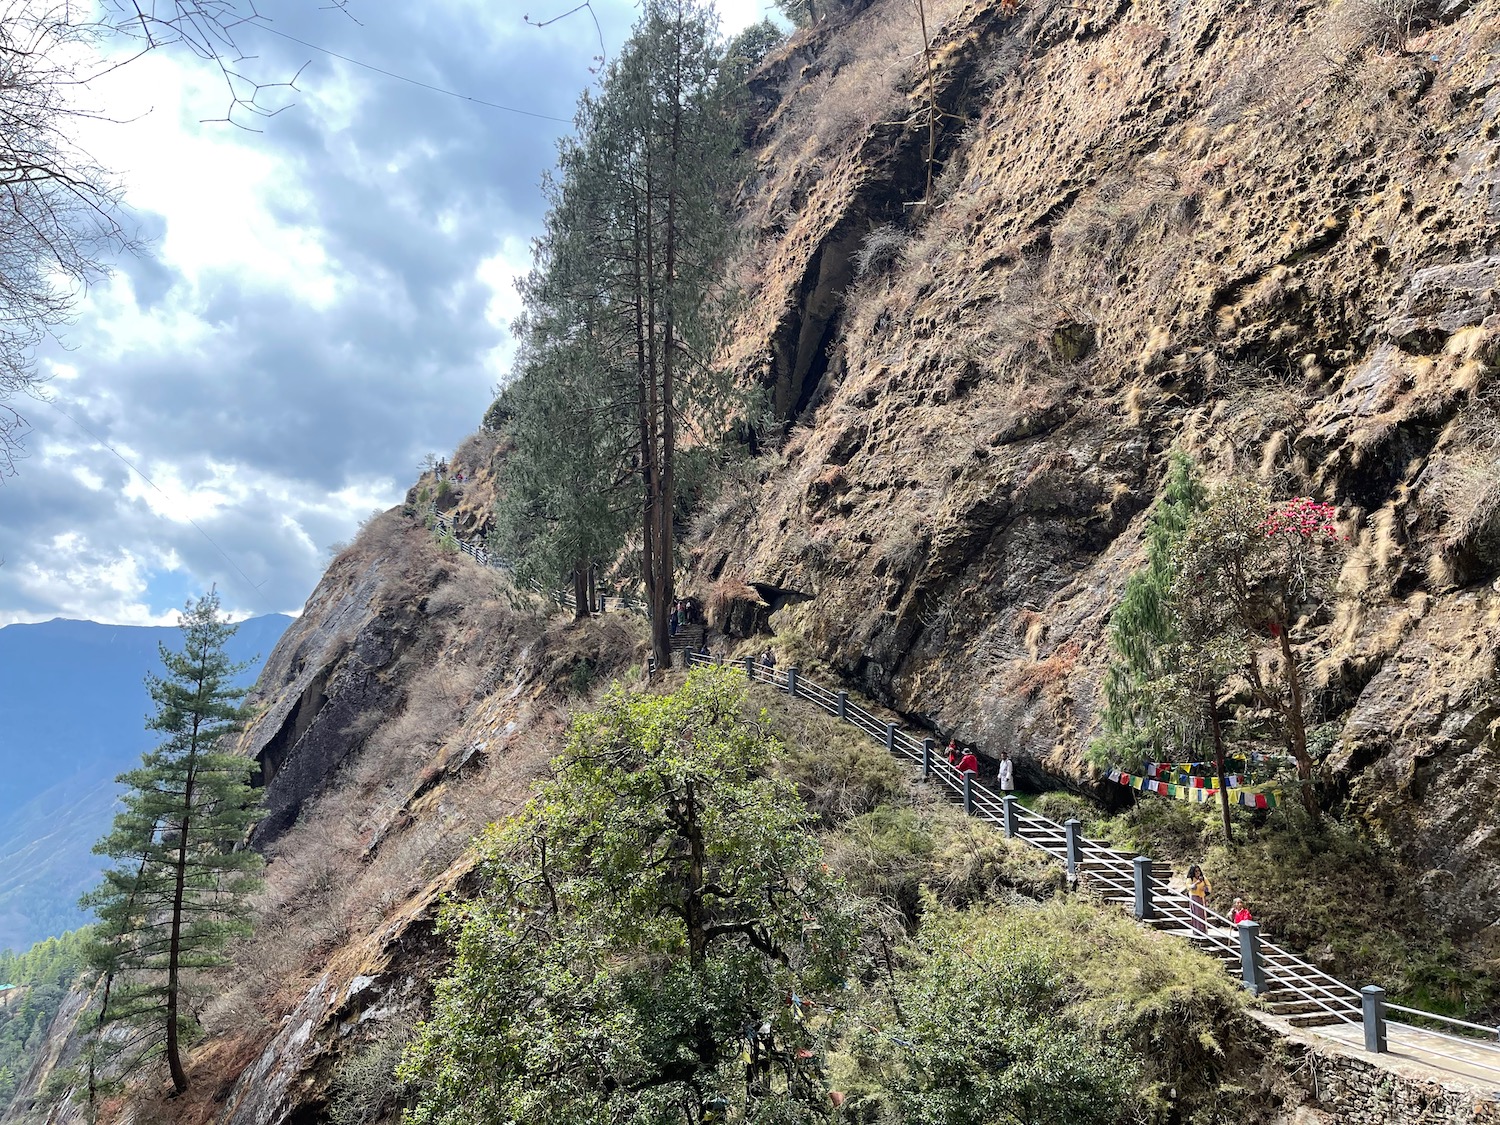

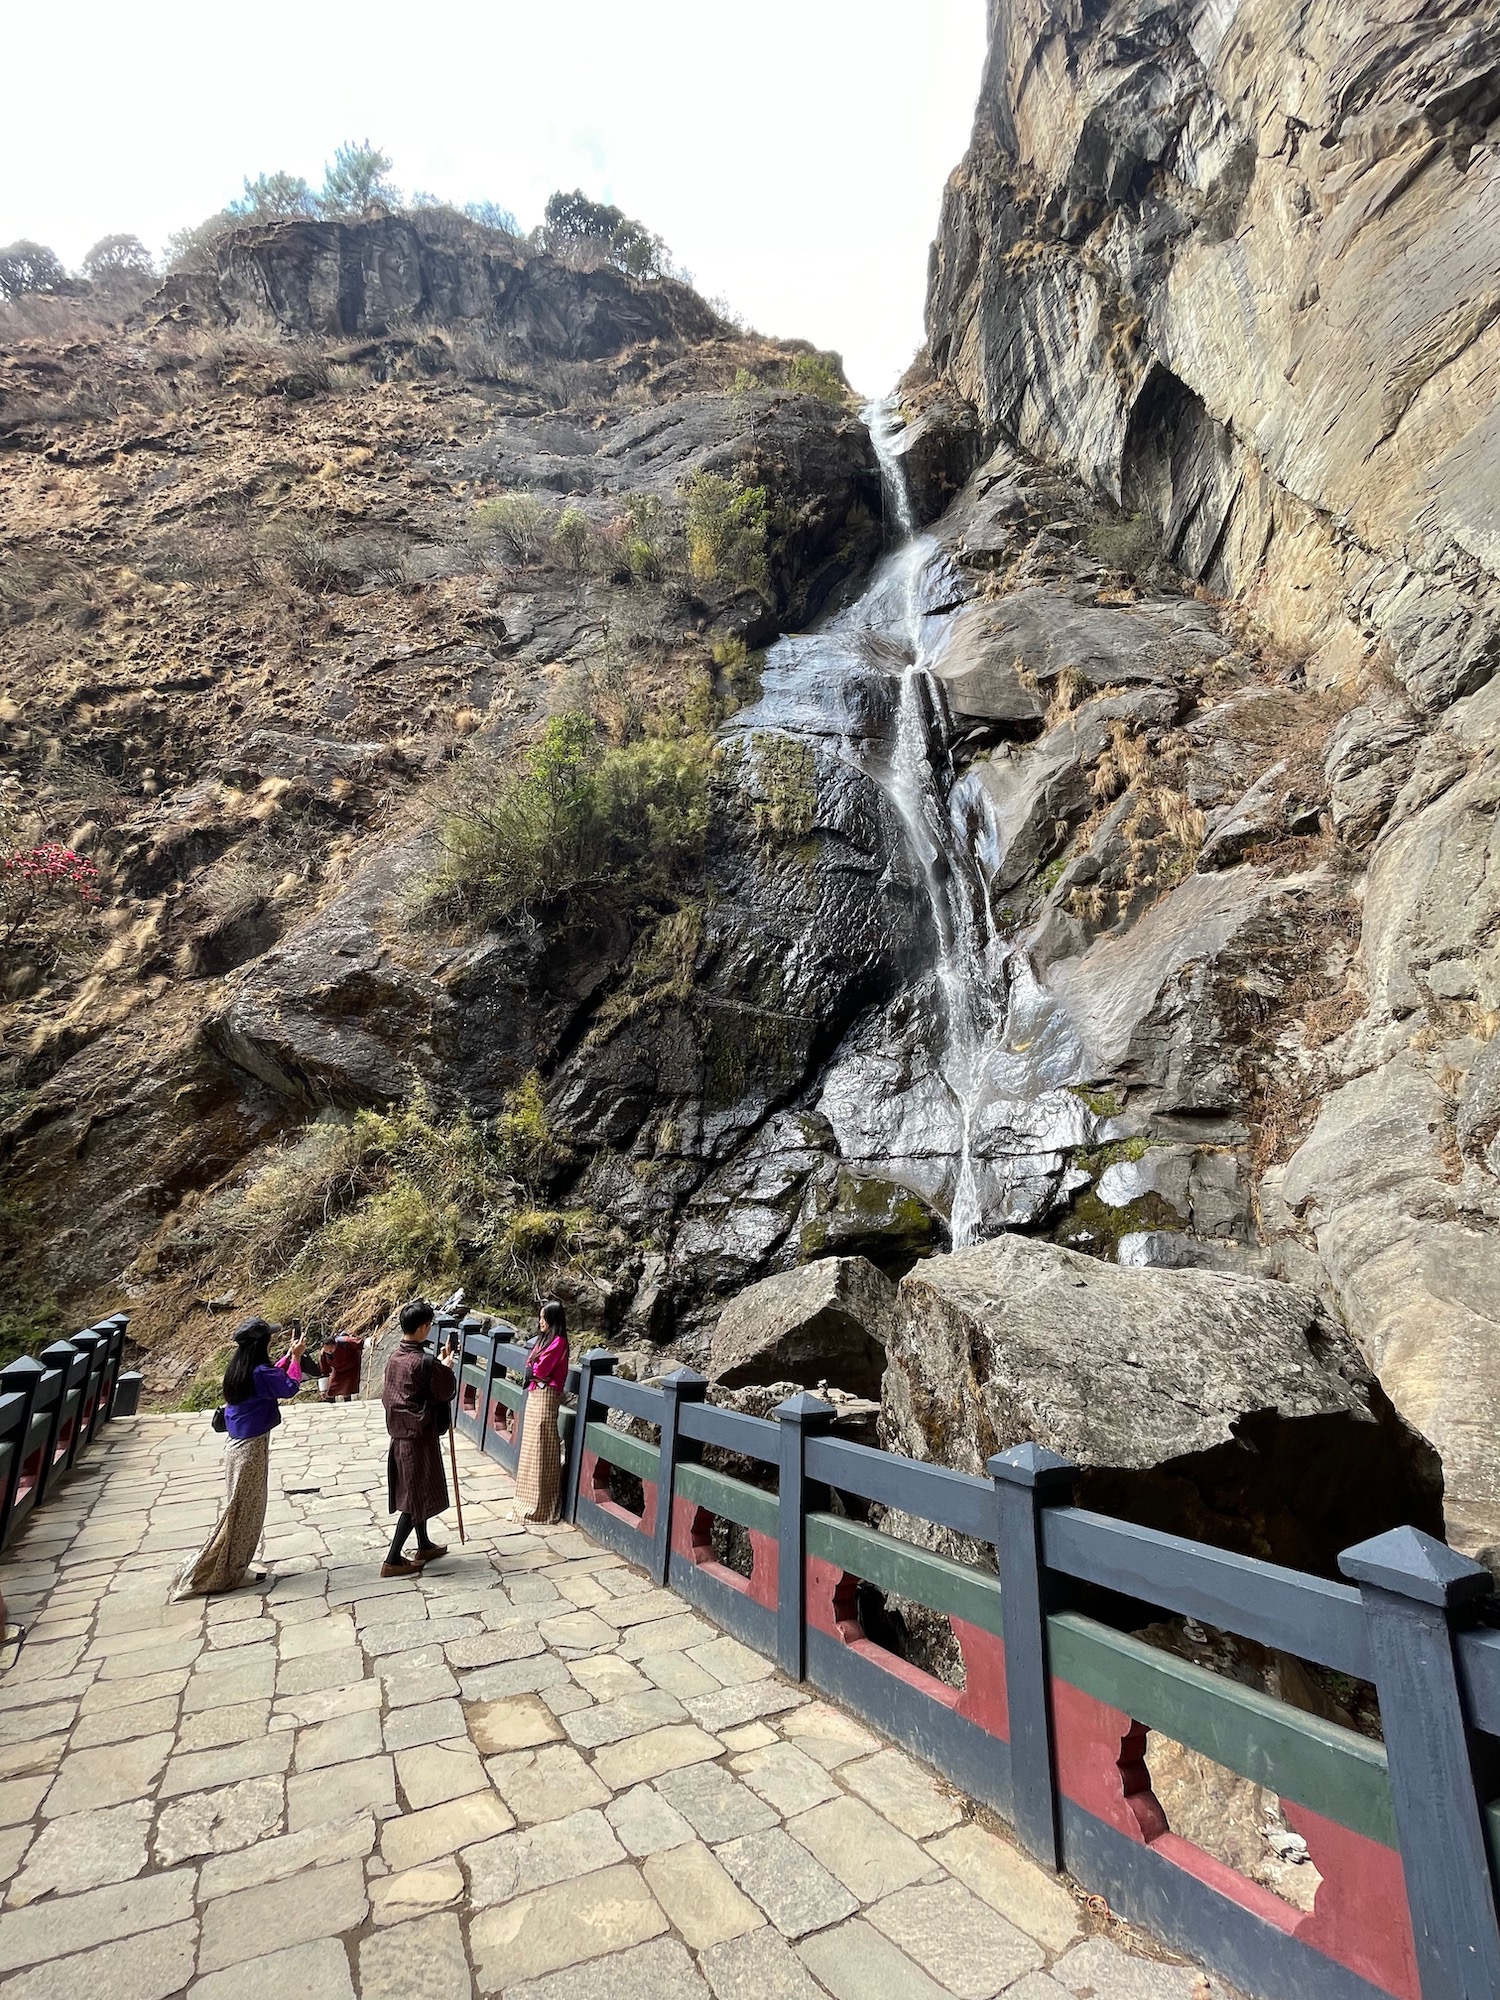
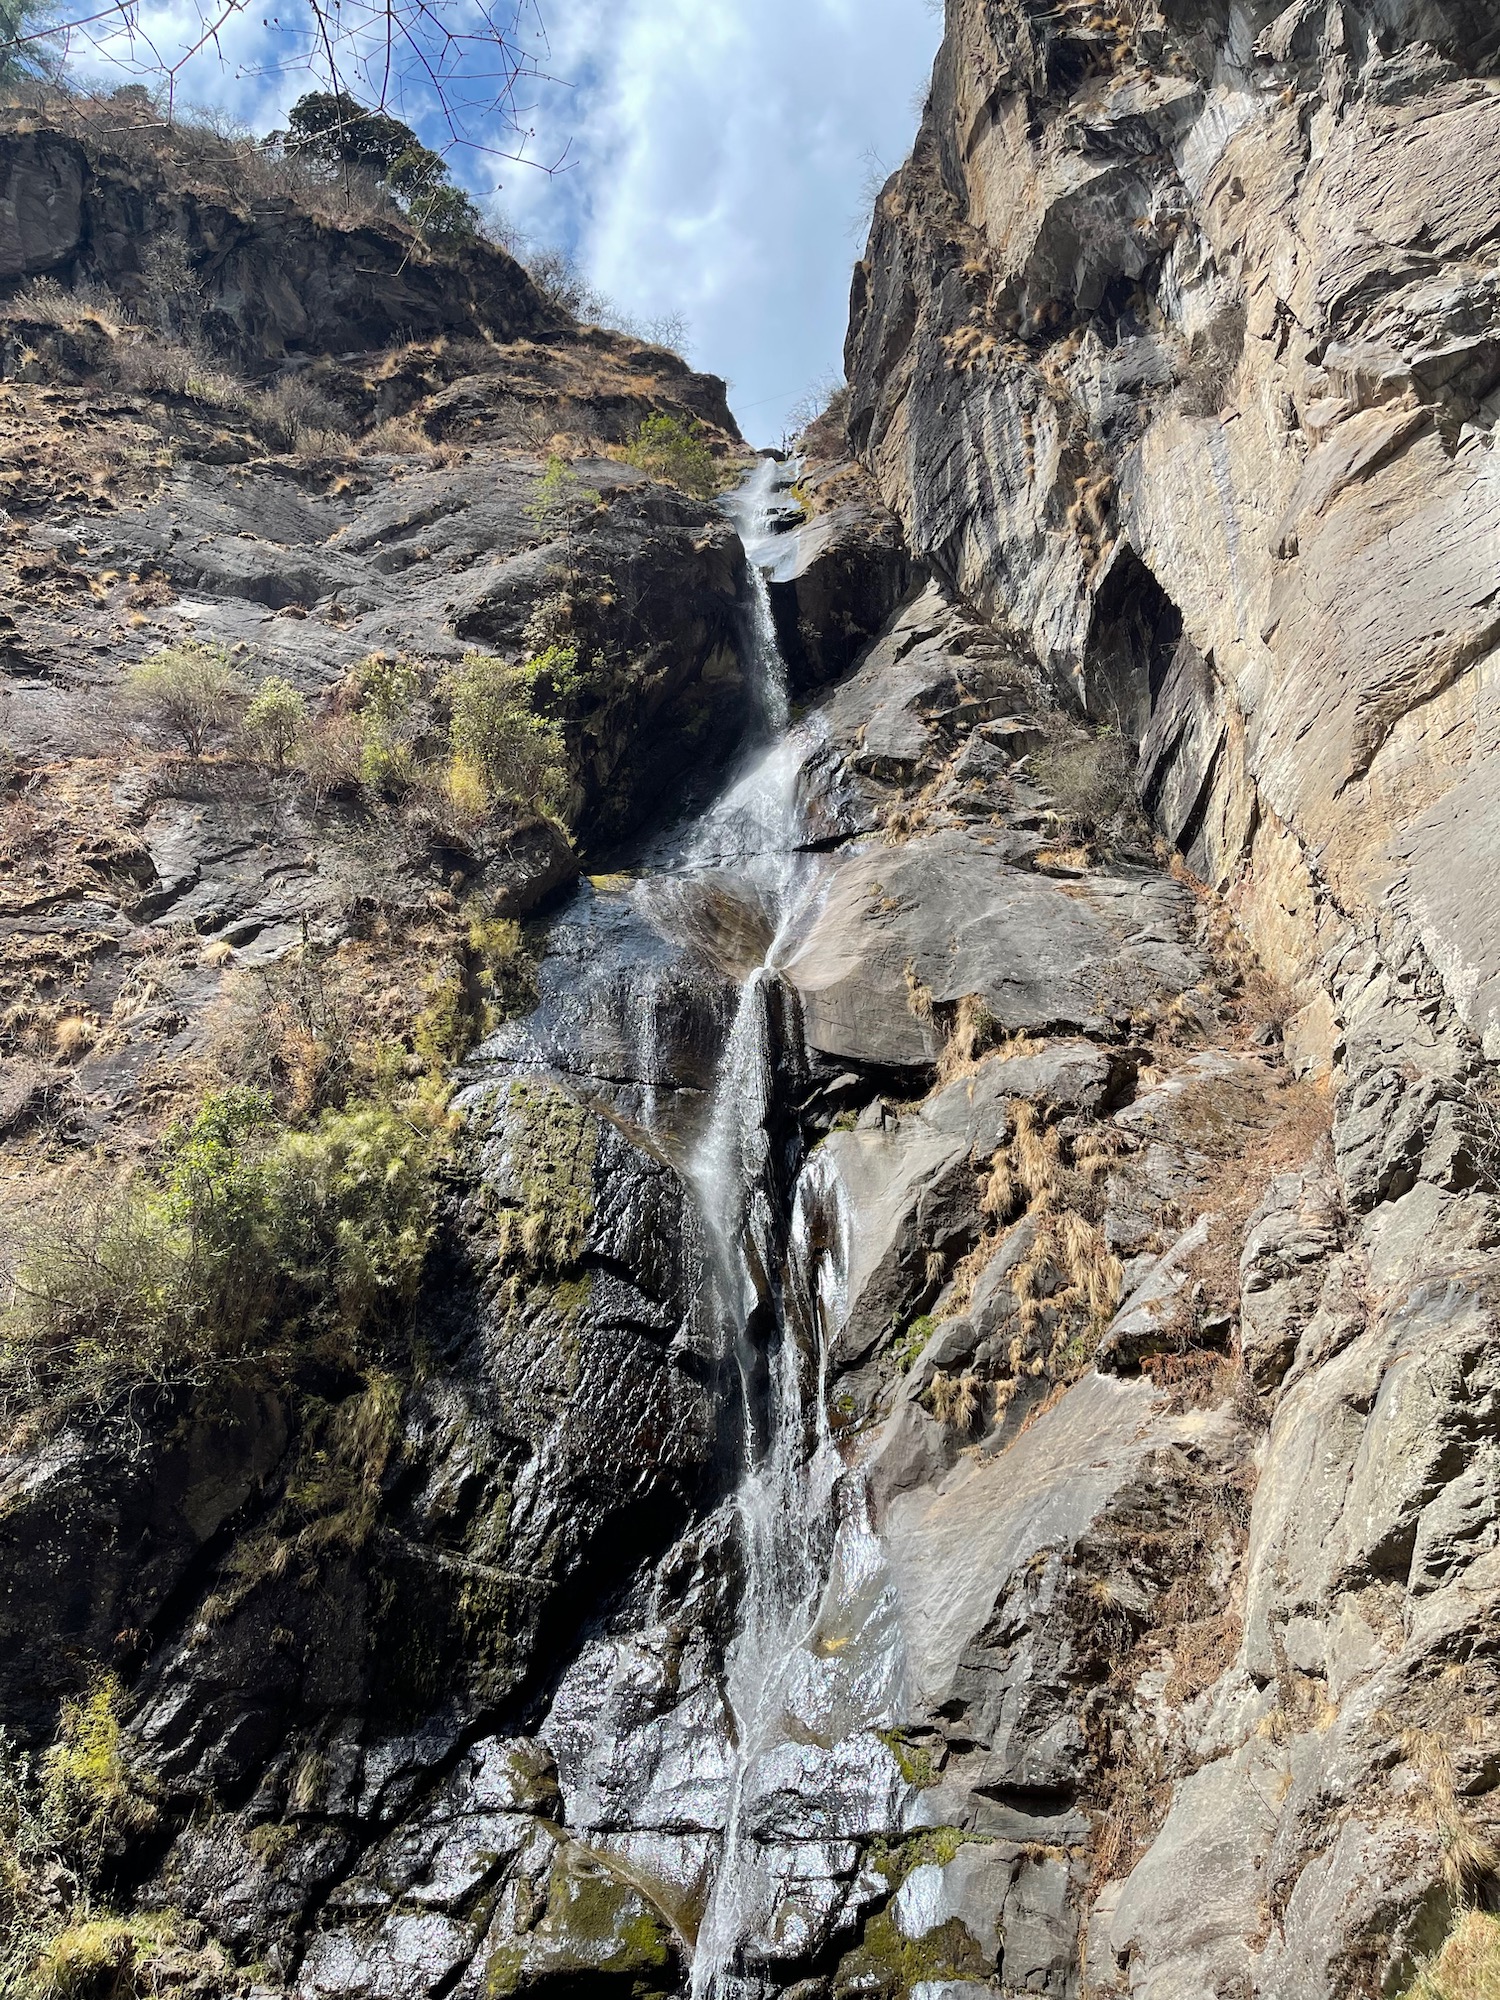
Once we reached the monastery, we stopped for a picnic lunch.
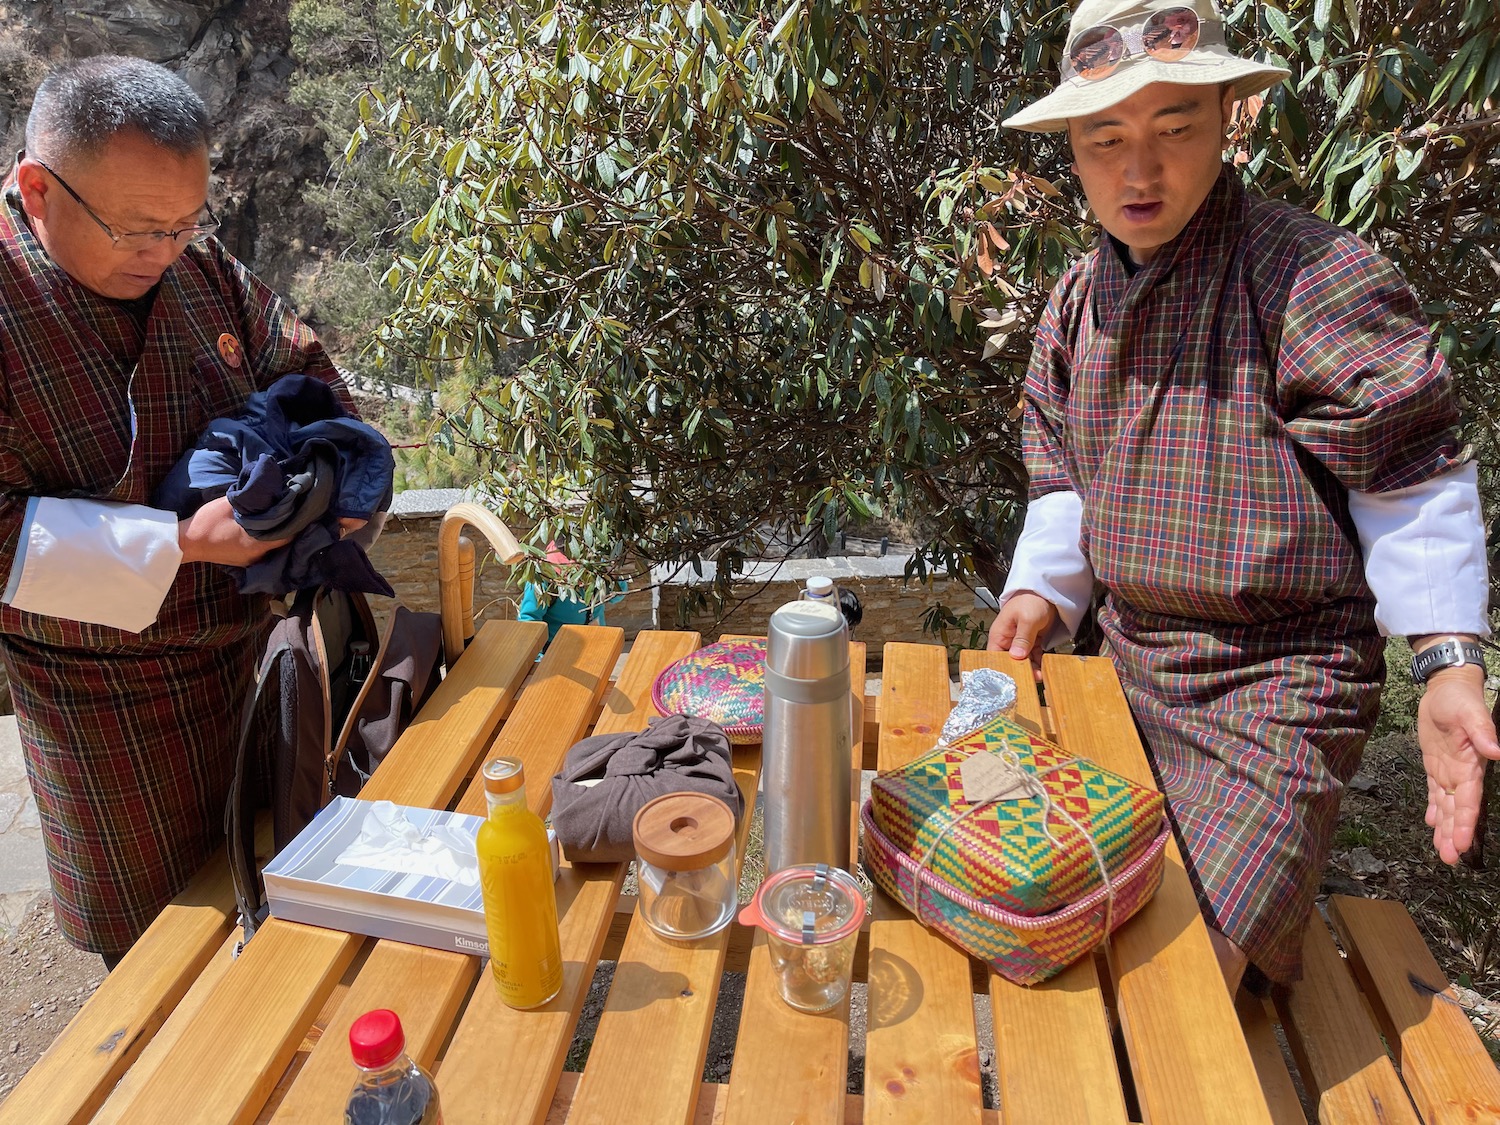
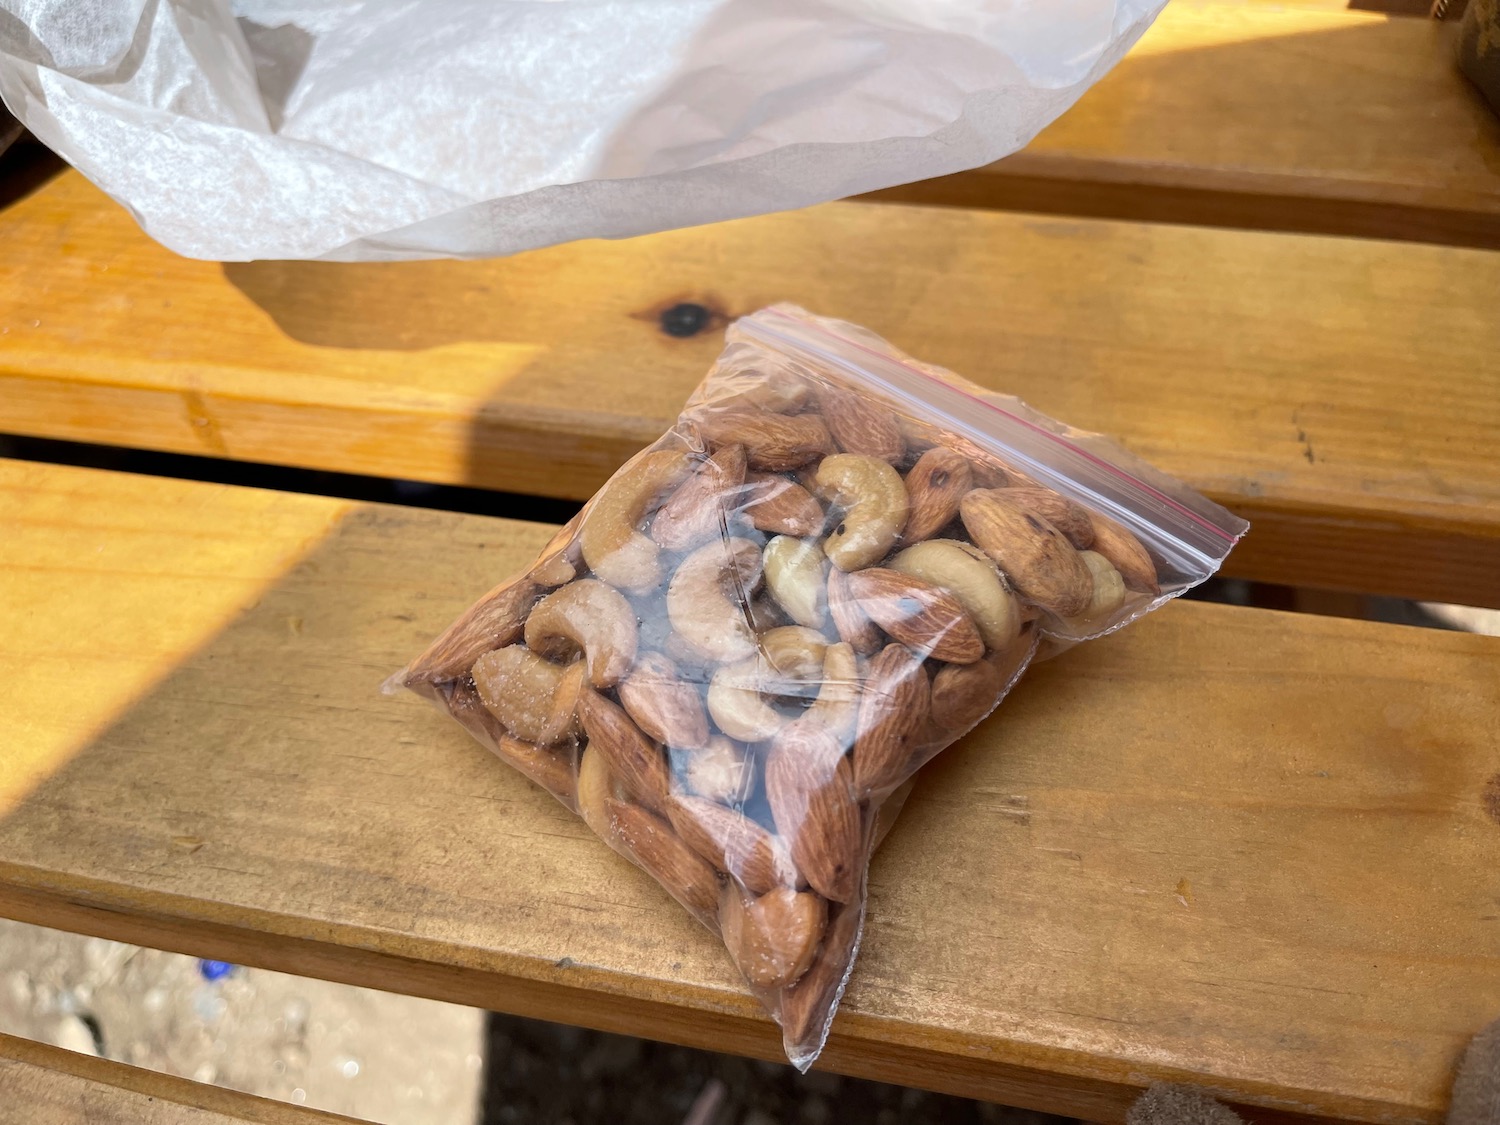
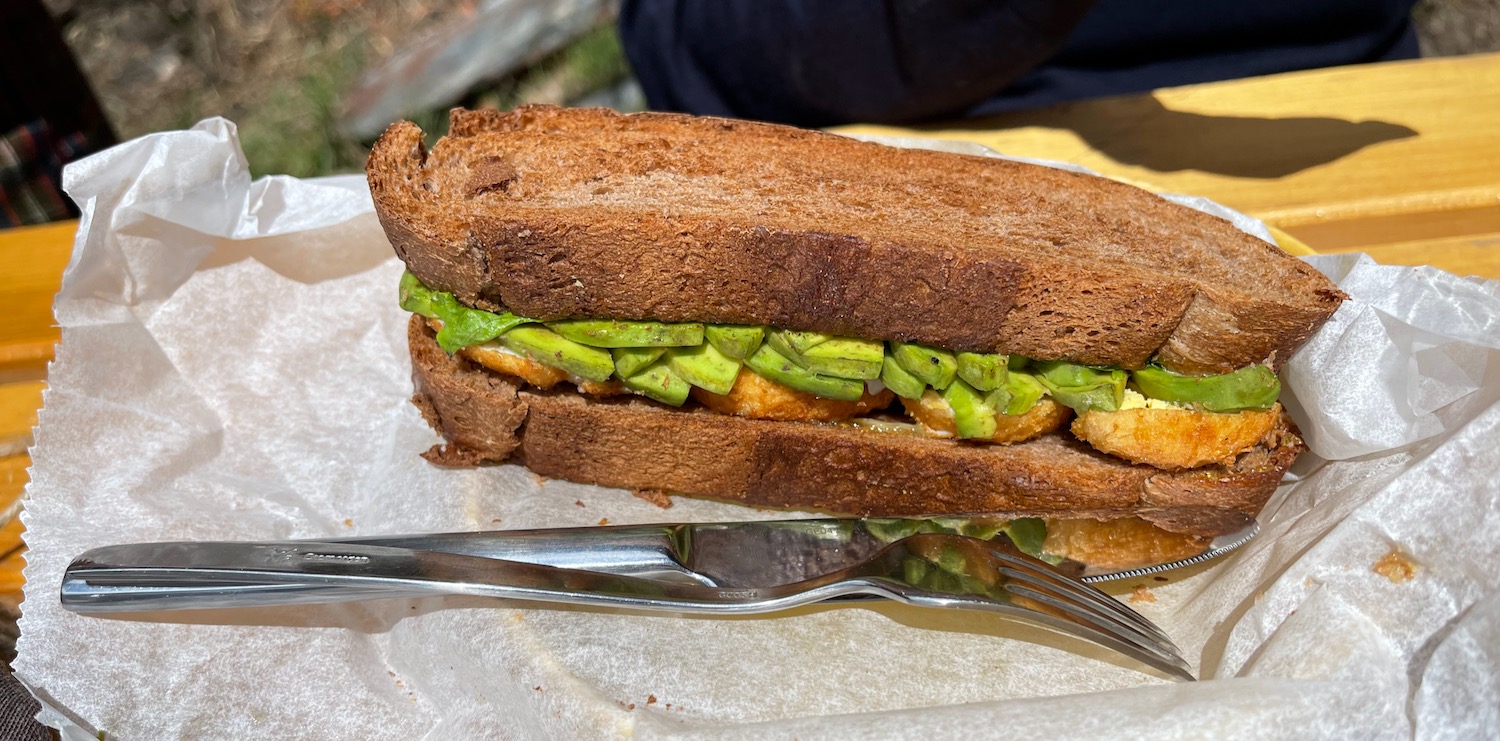
Way up above there is an even higher point that we never got to.
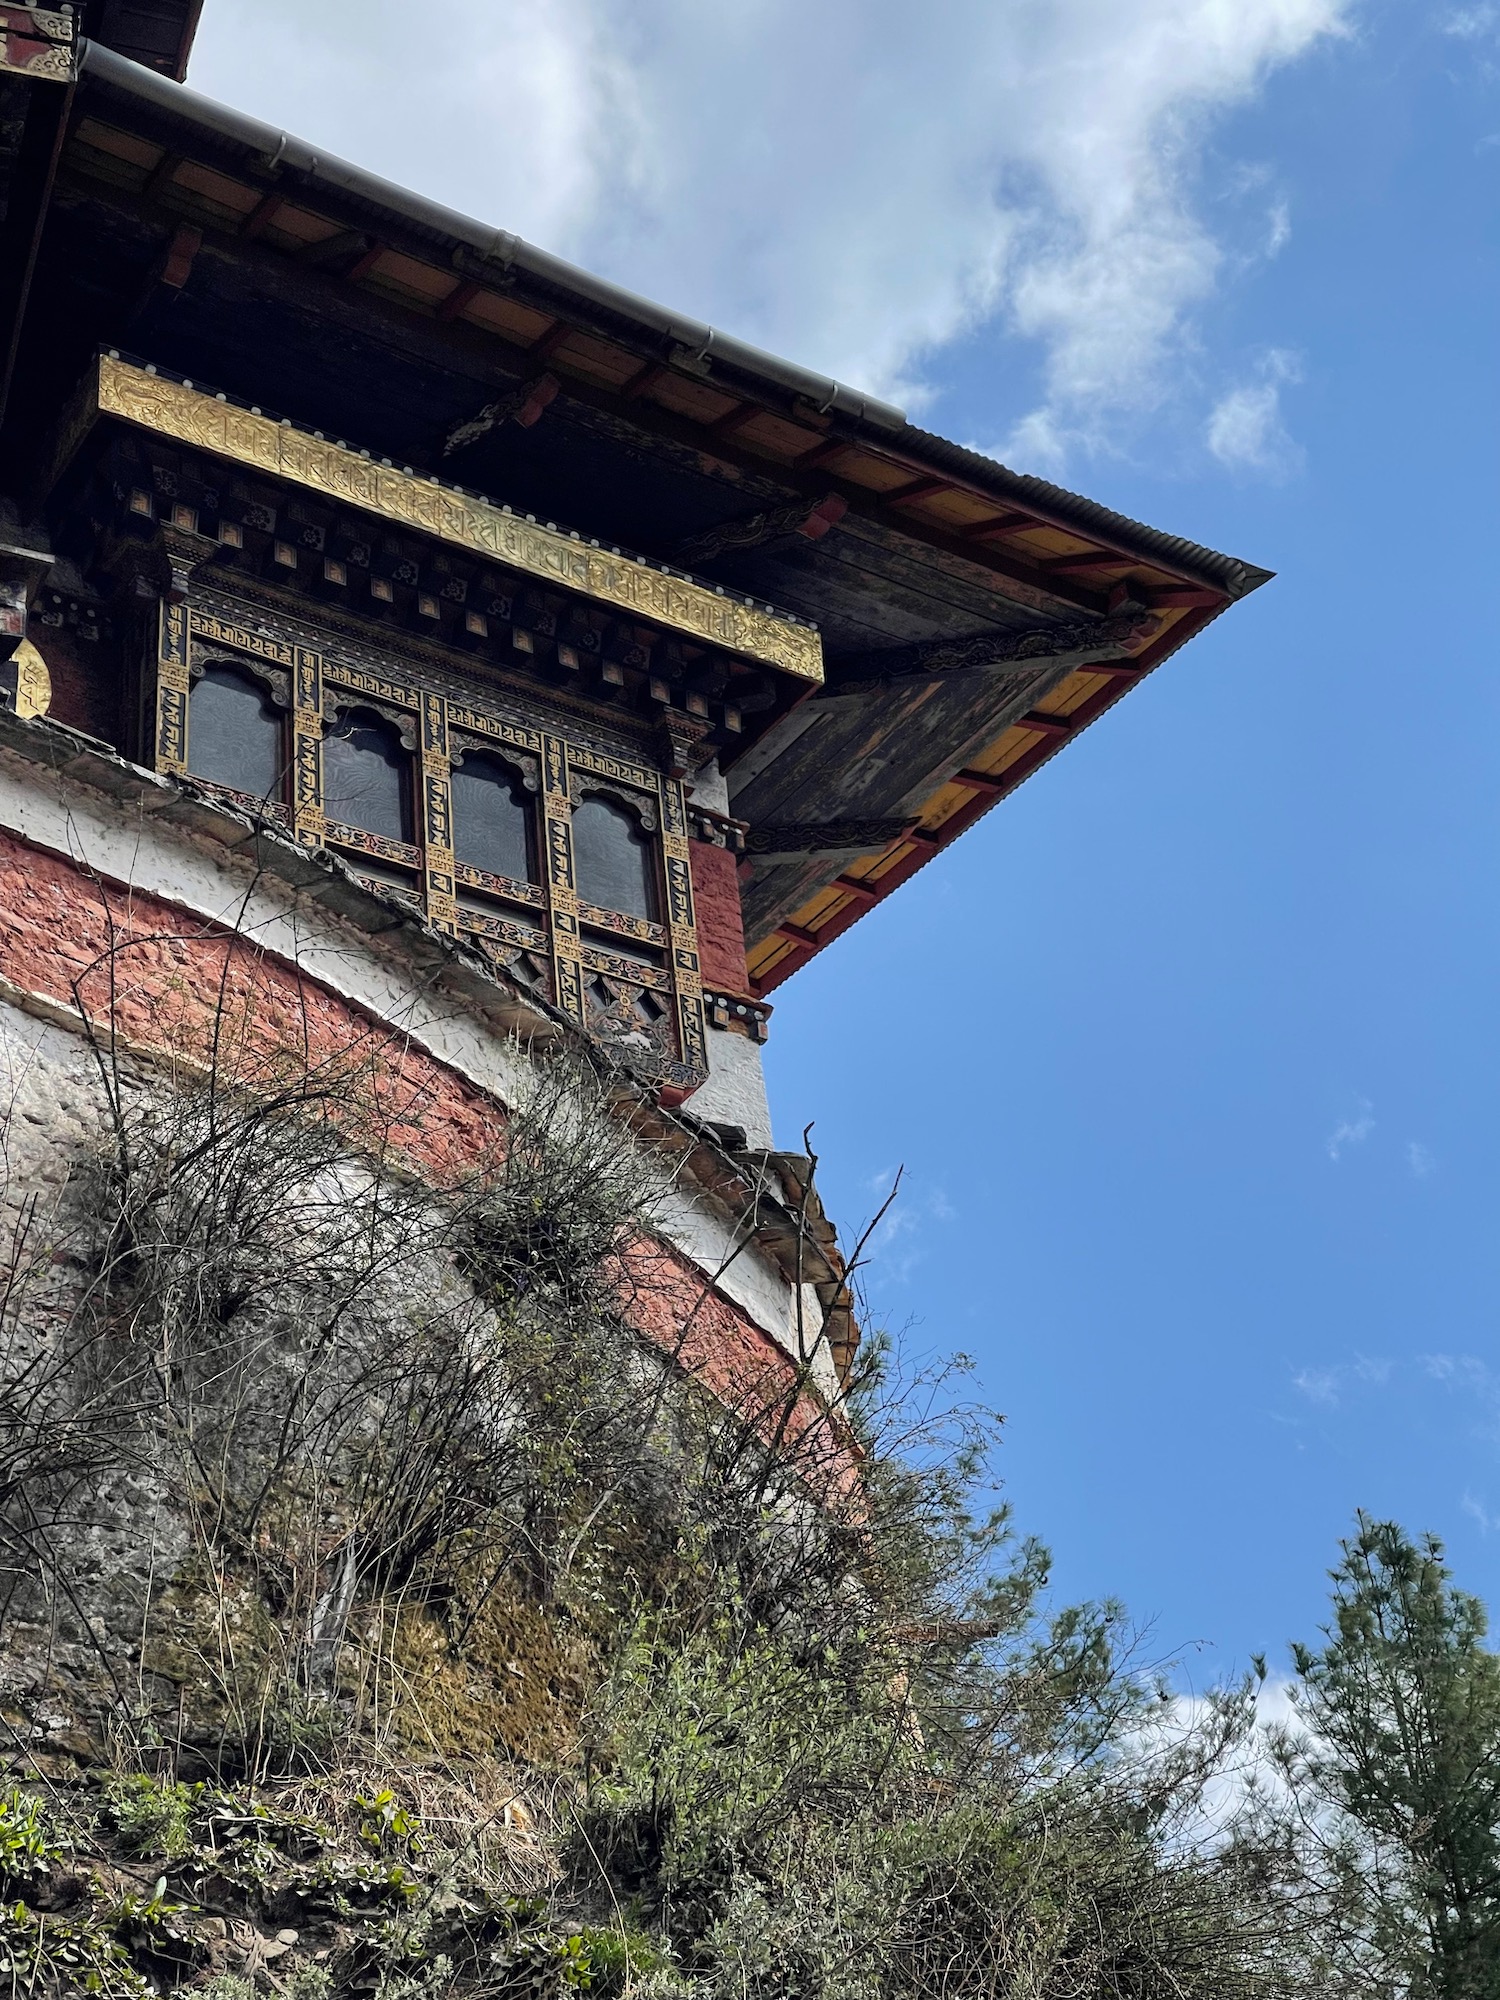
After lunch, though, we visited the monastic complex. No photography was allowed inside (some disrespected that rule, but I respected it). Shoes also had to remain off.
There were a lot of people praying inside…it is indeed more than just a tourist attraction for the faithful.
And just like that, we began the trip back down.
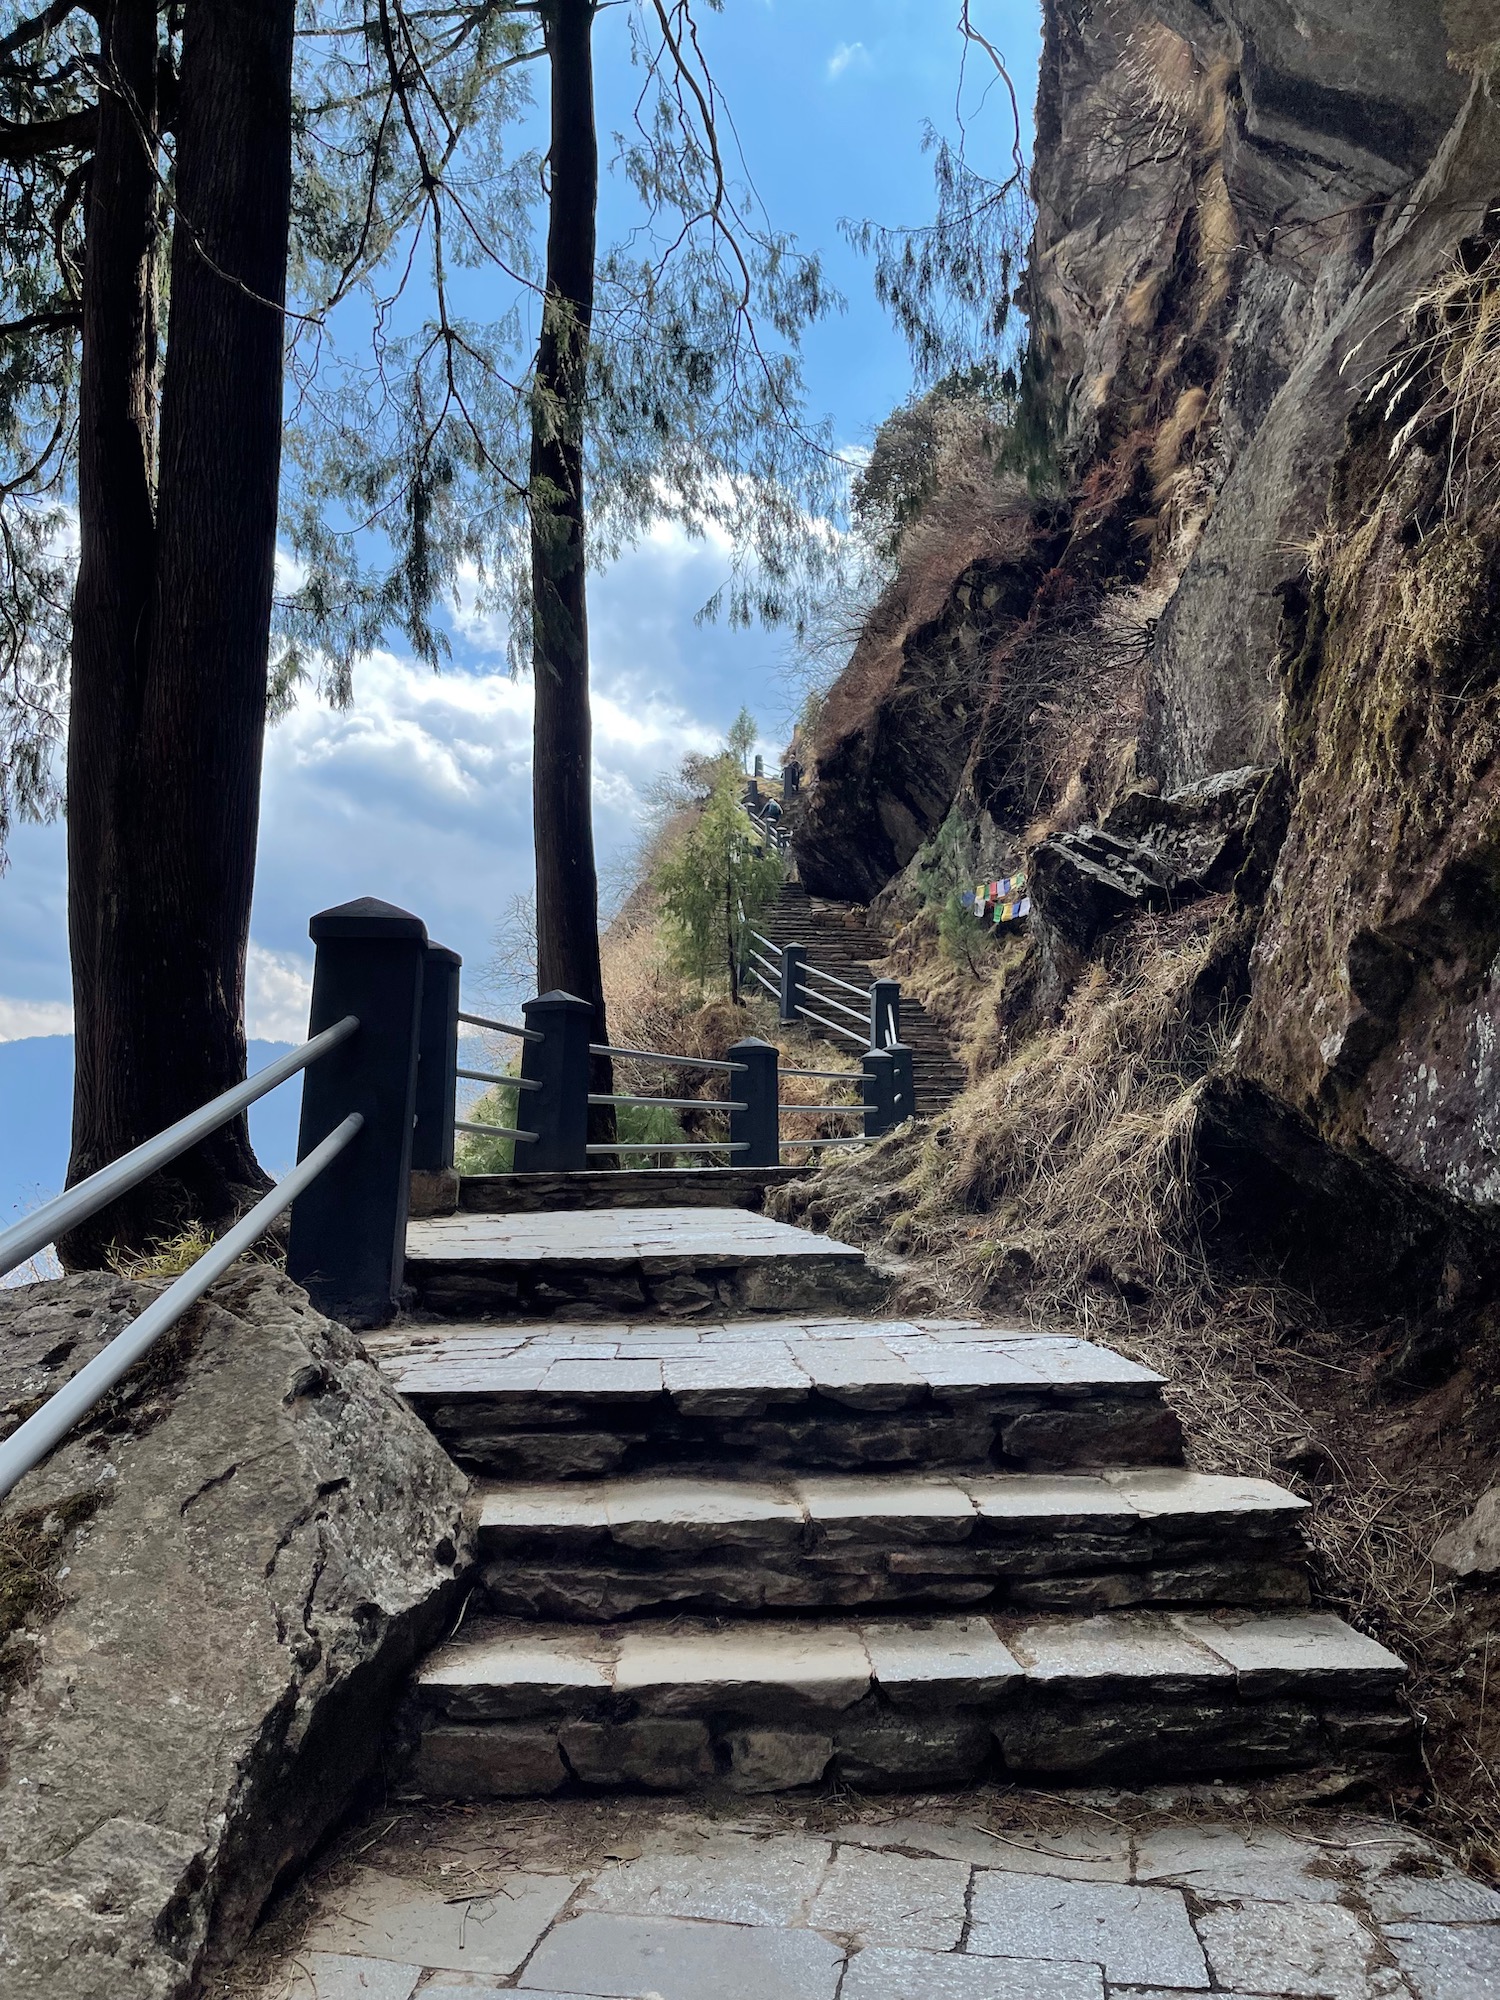
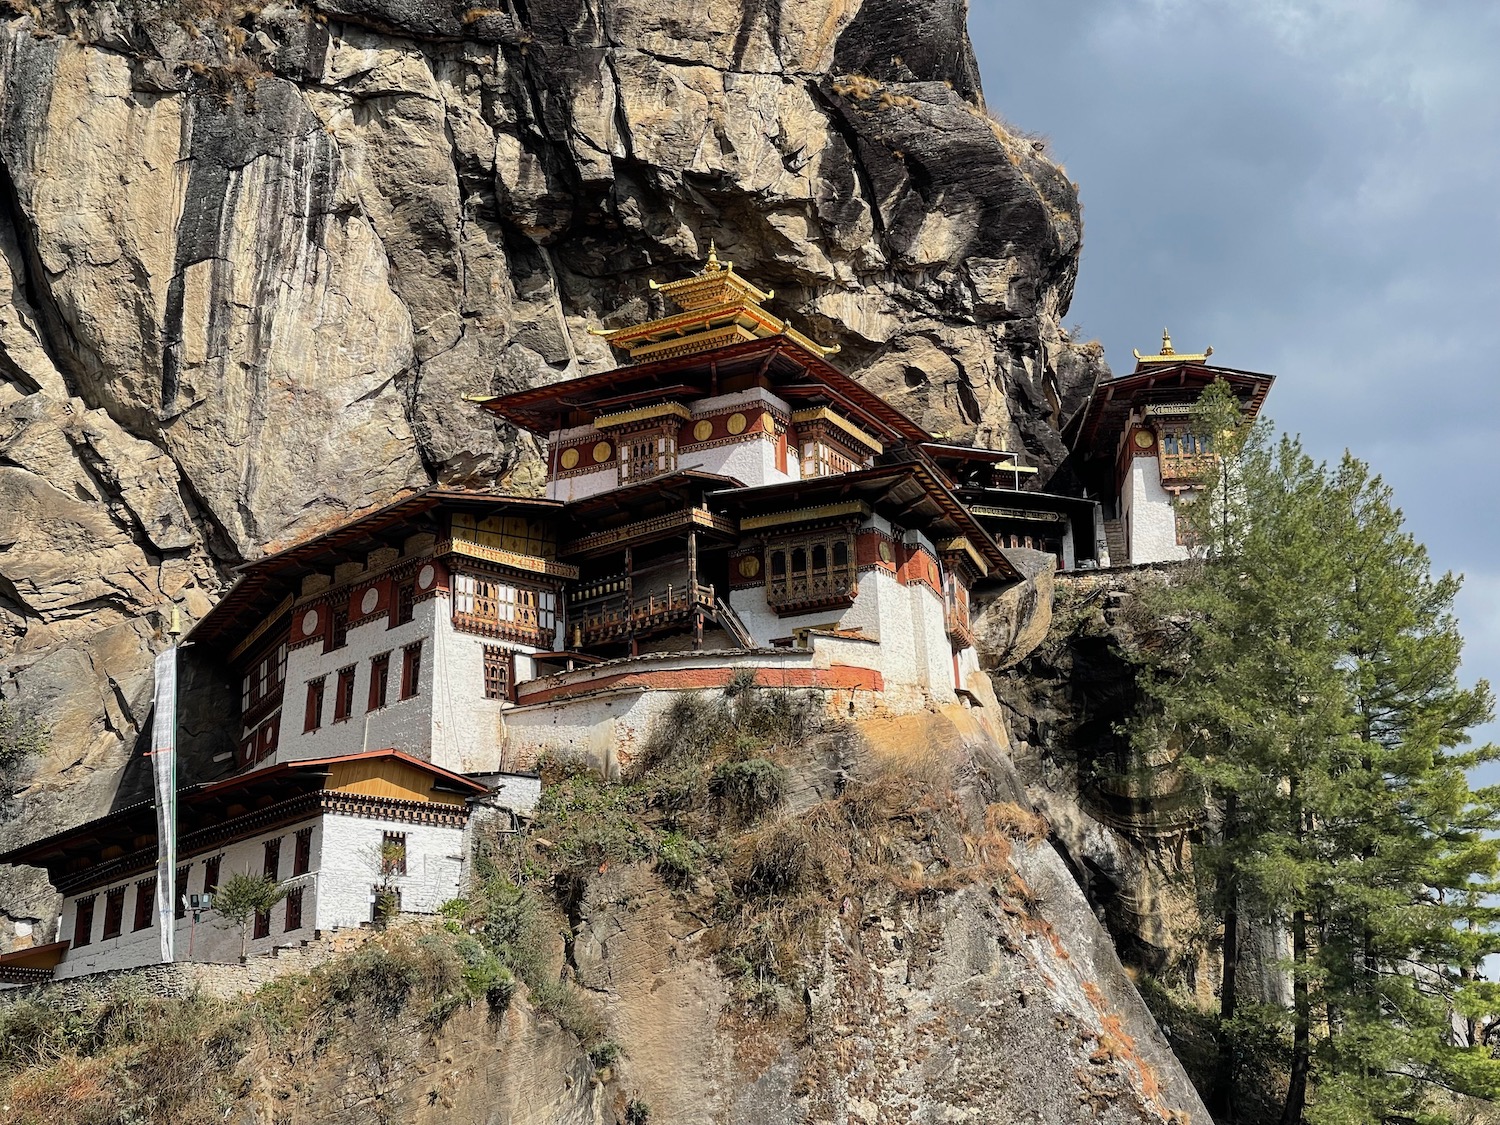
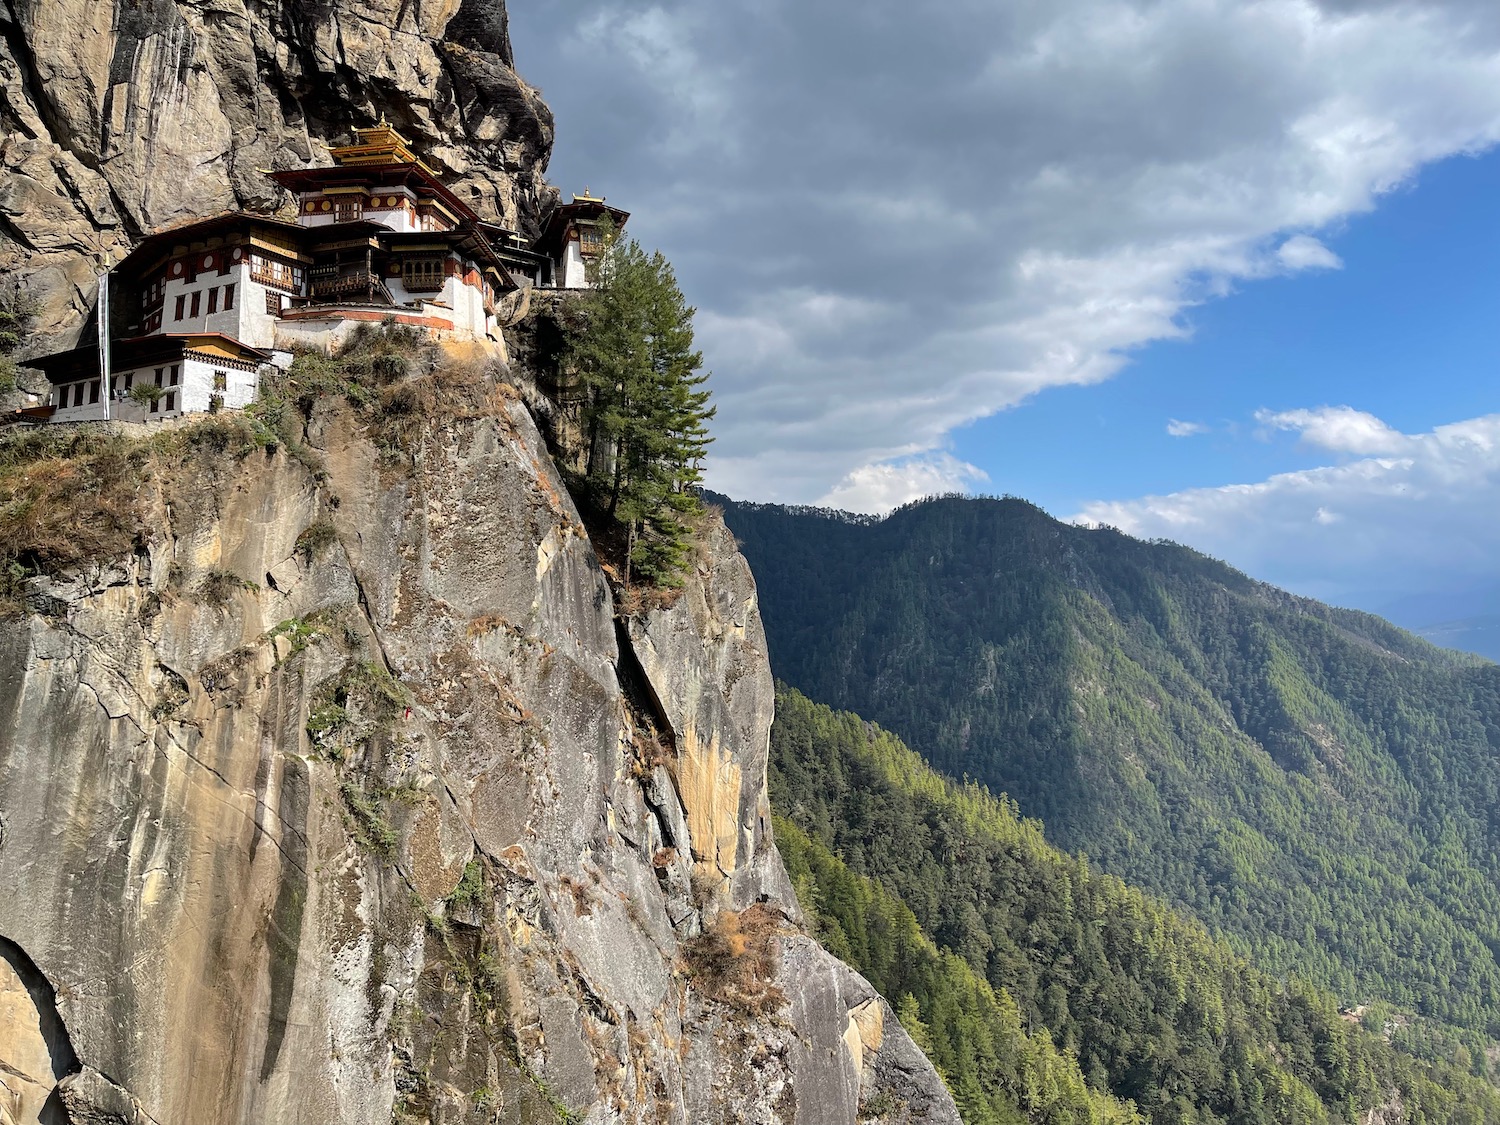
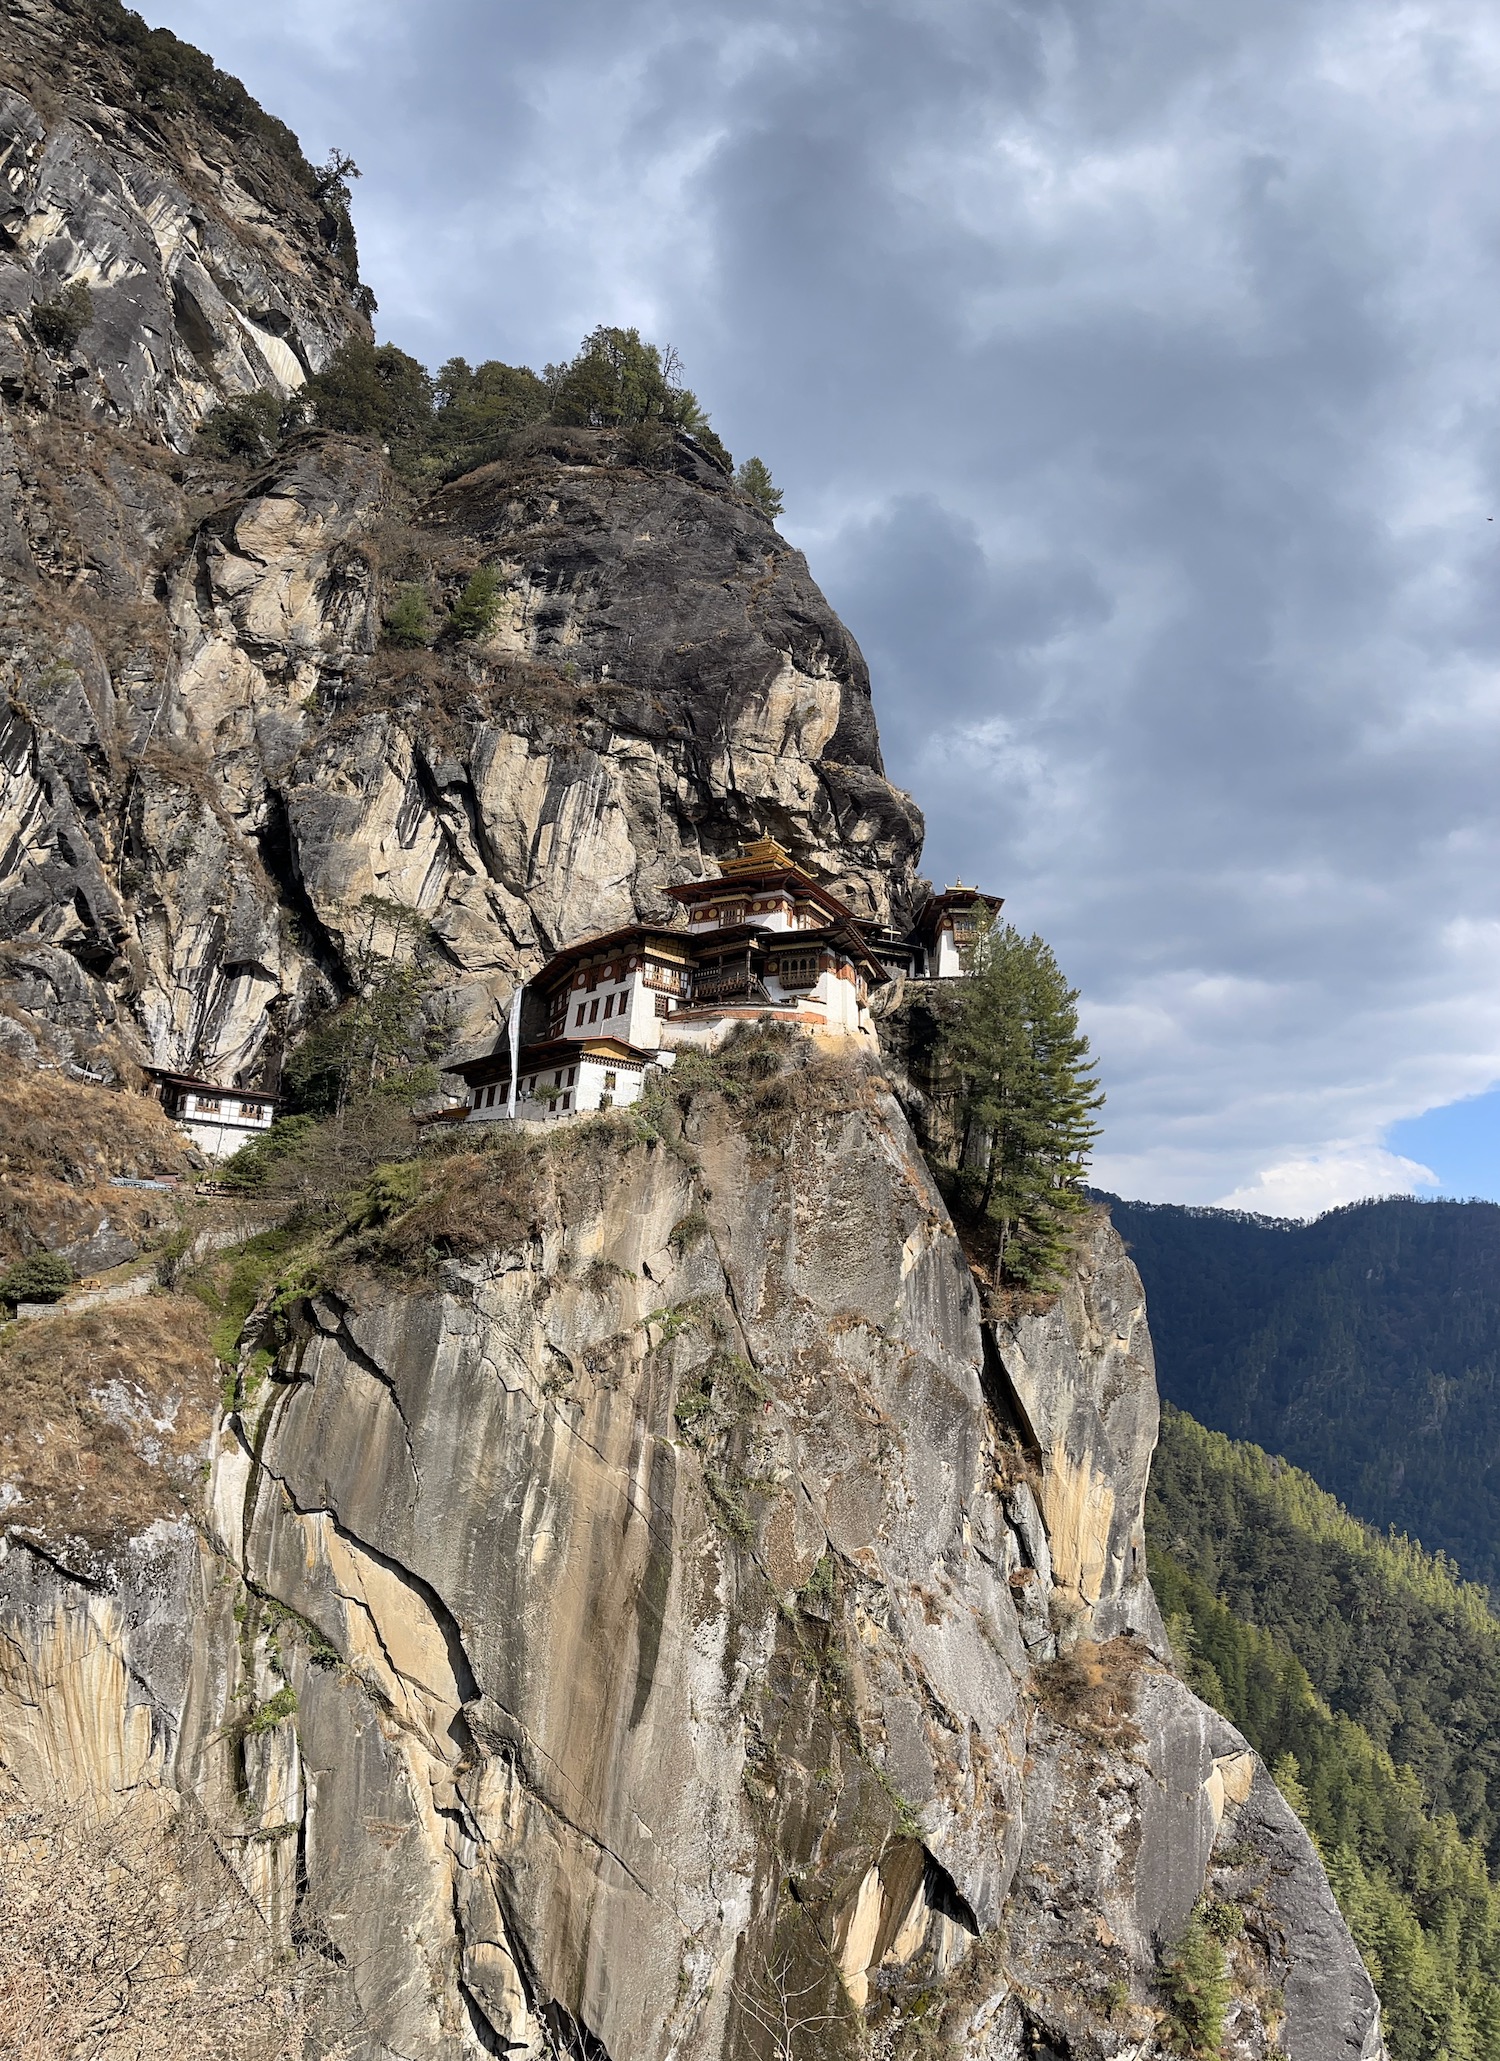
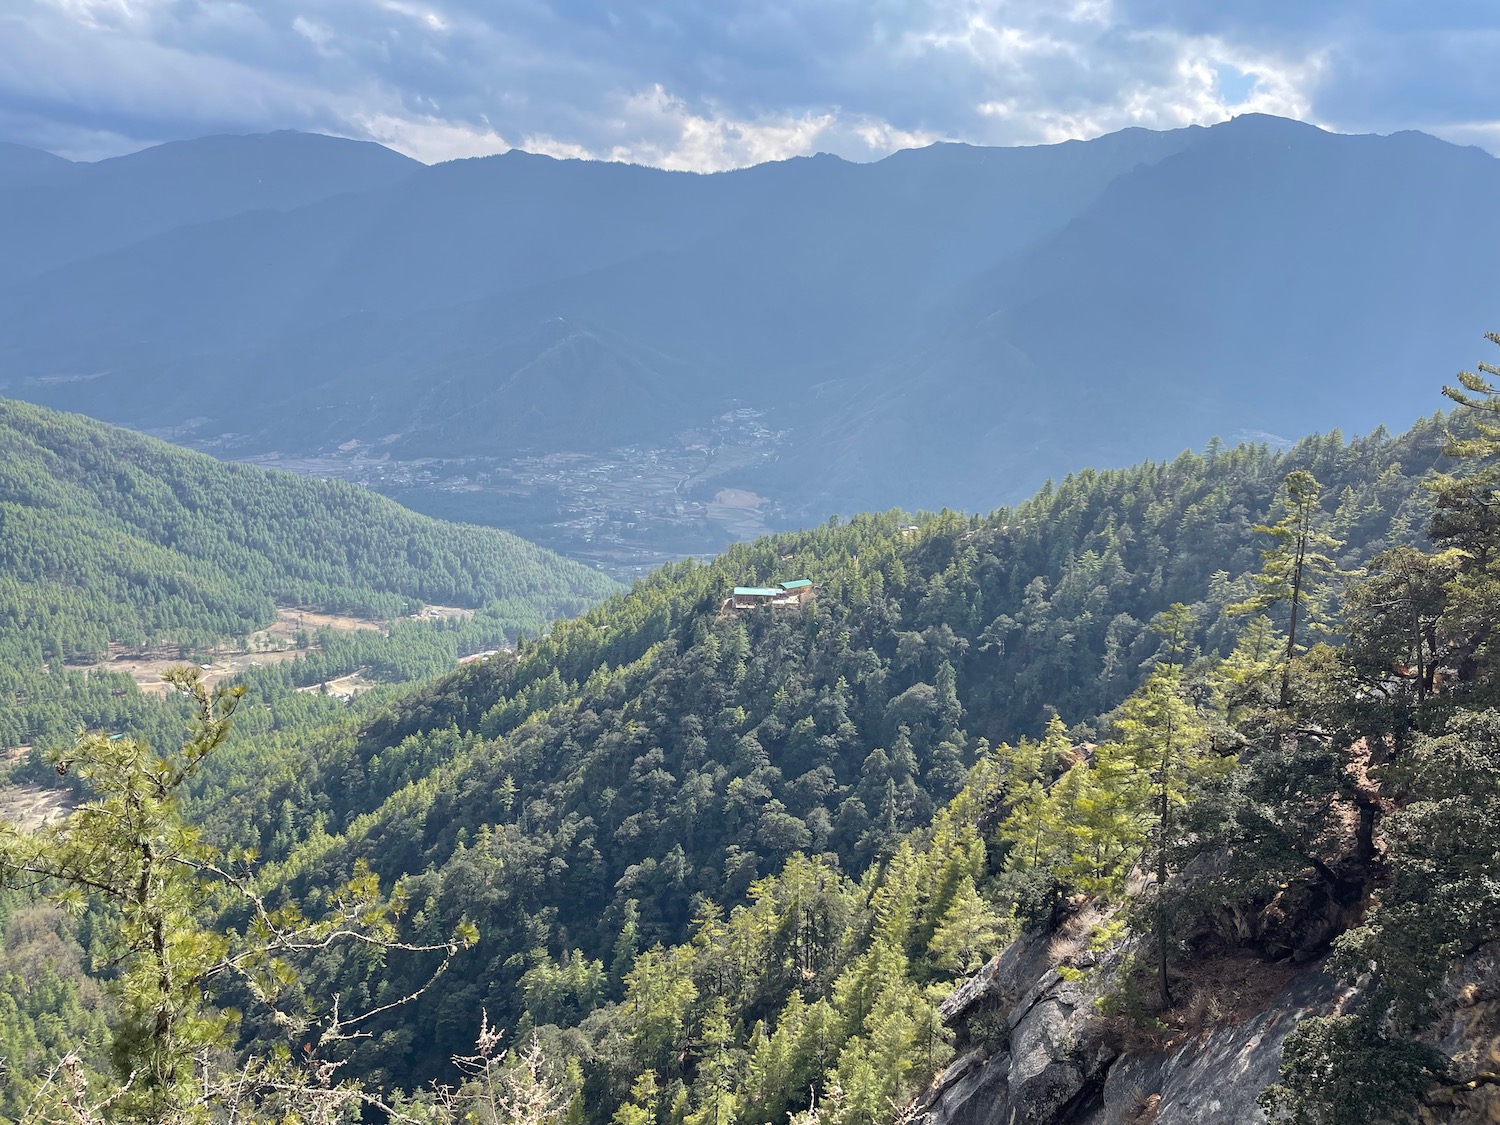

The trip back was actually much easier and faster…it almost felt like nothing. It helps to be going downhill most of the way!



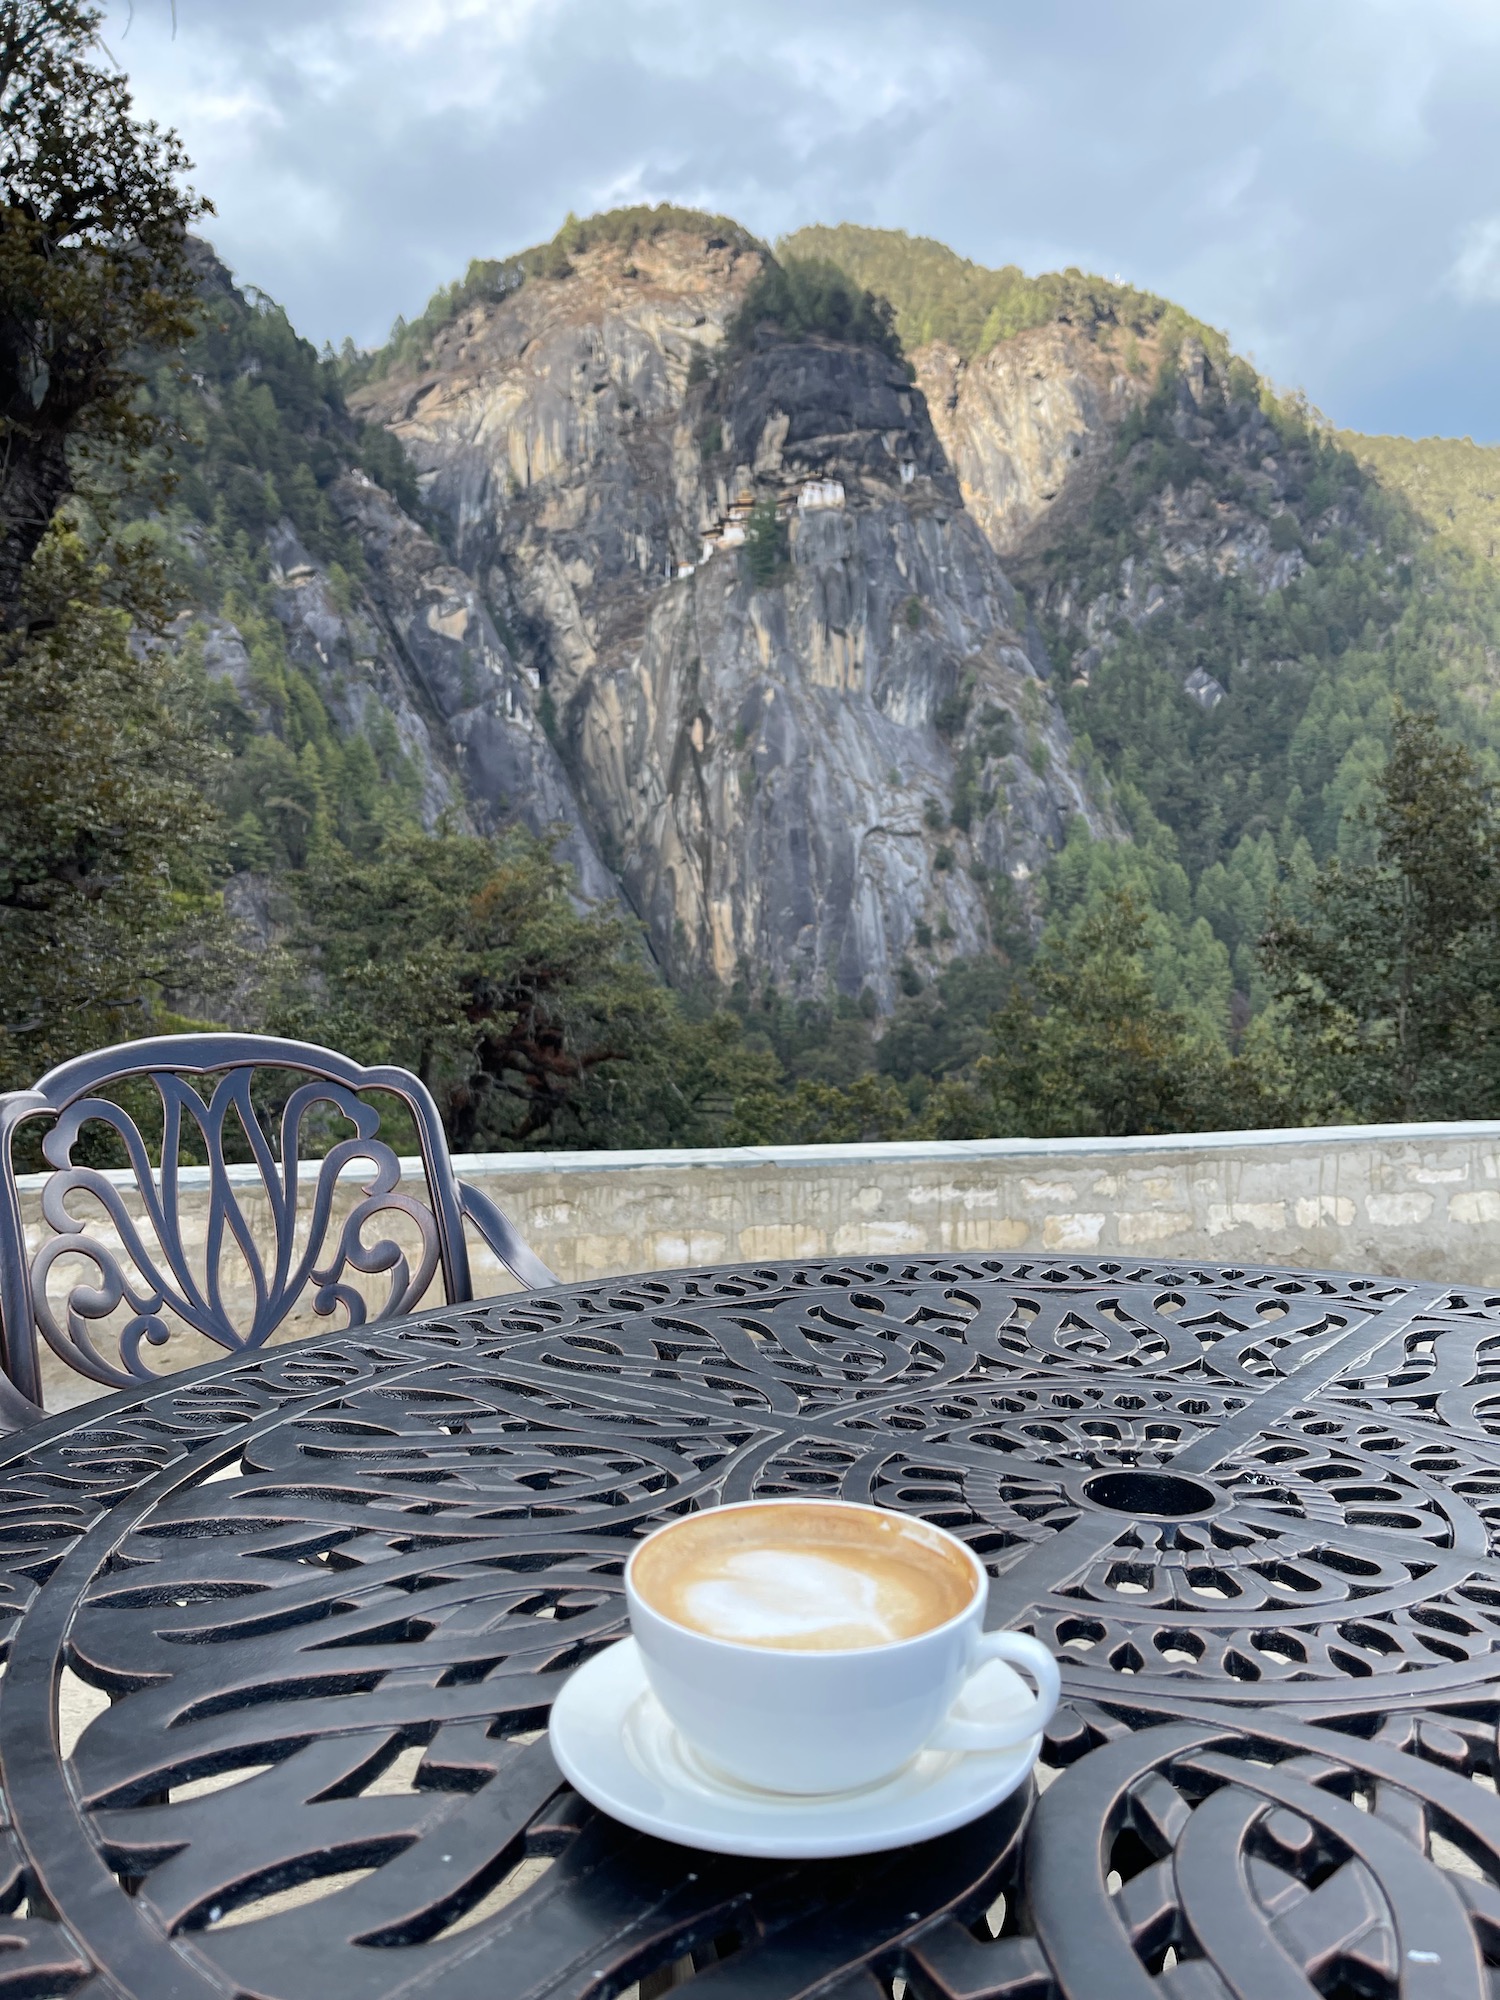
This time, we stopped for a longer break and I had a flat white at the café.

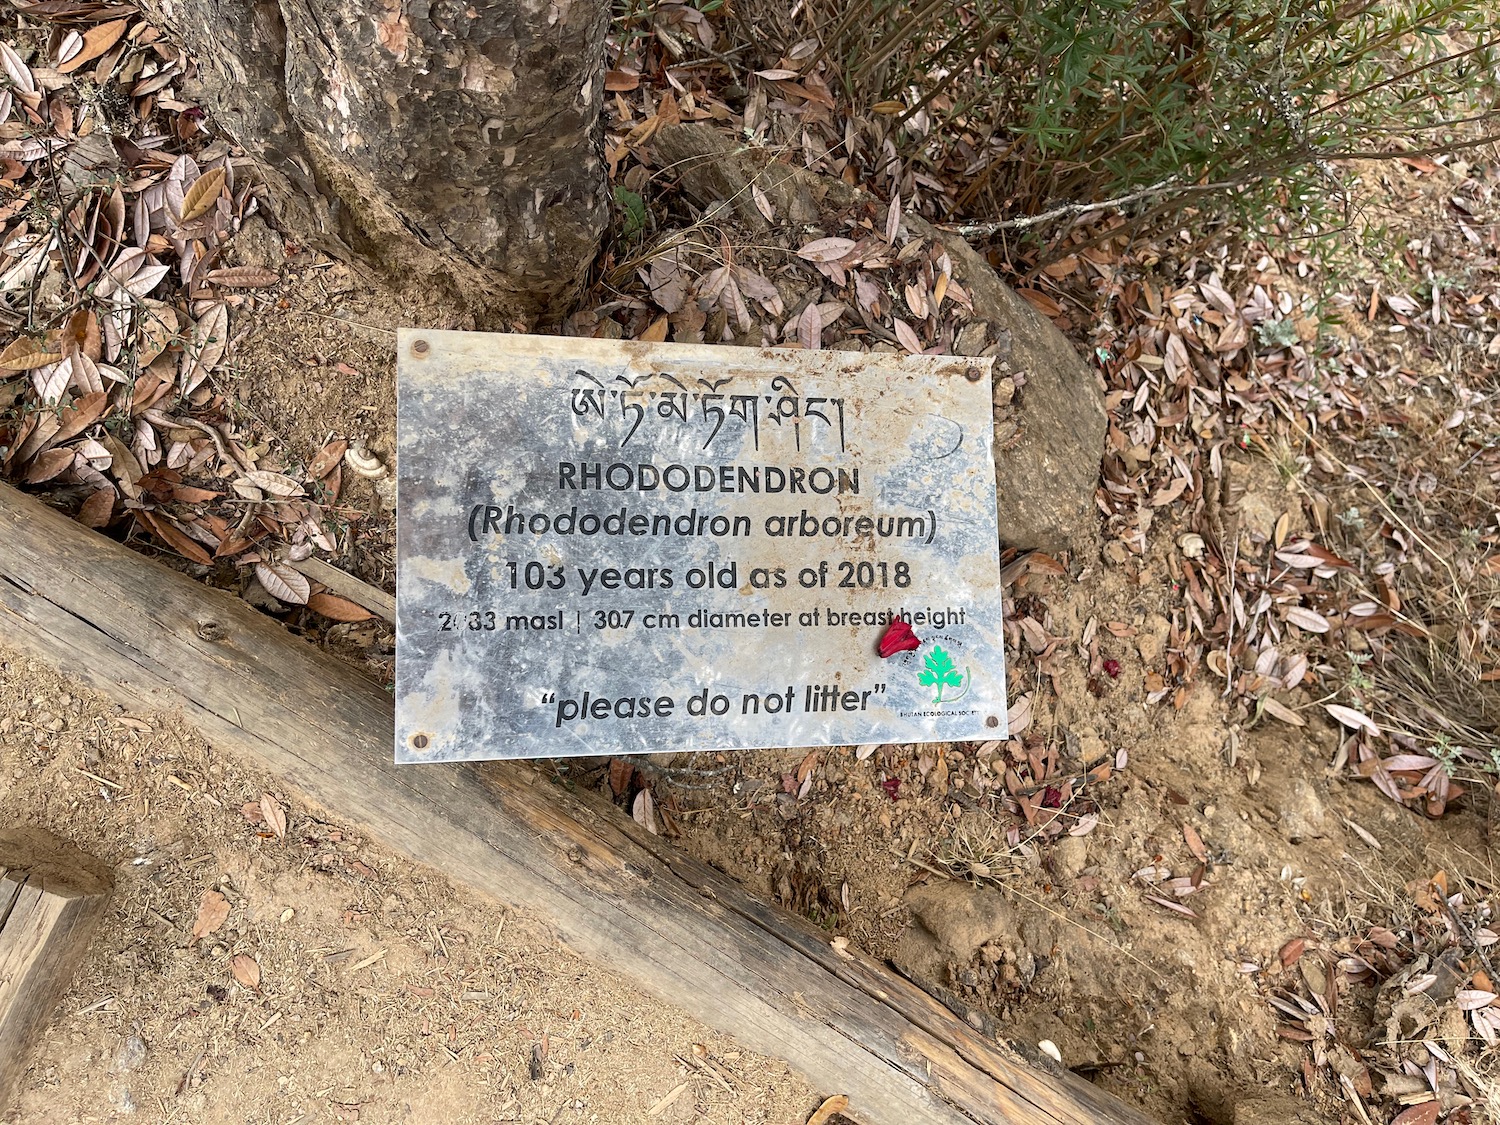
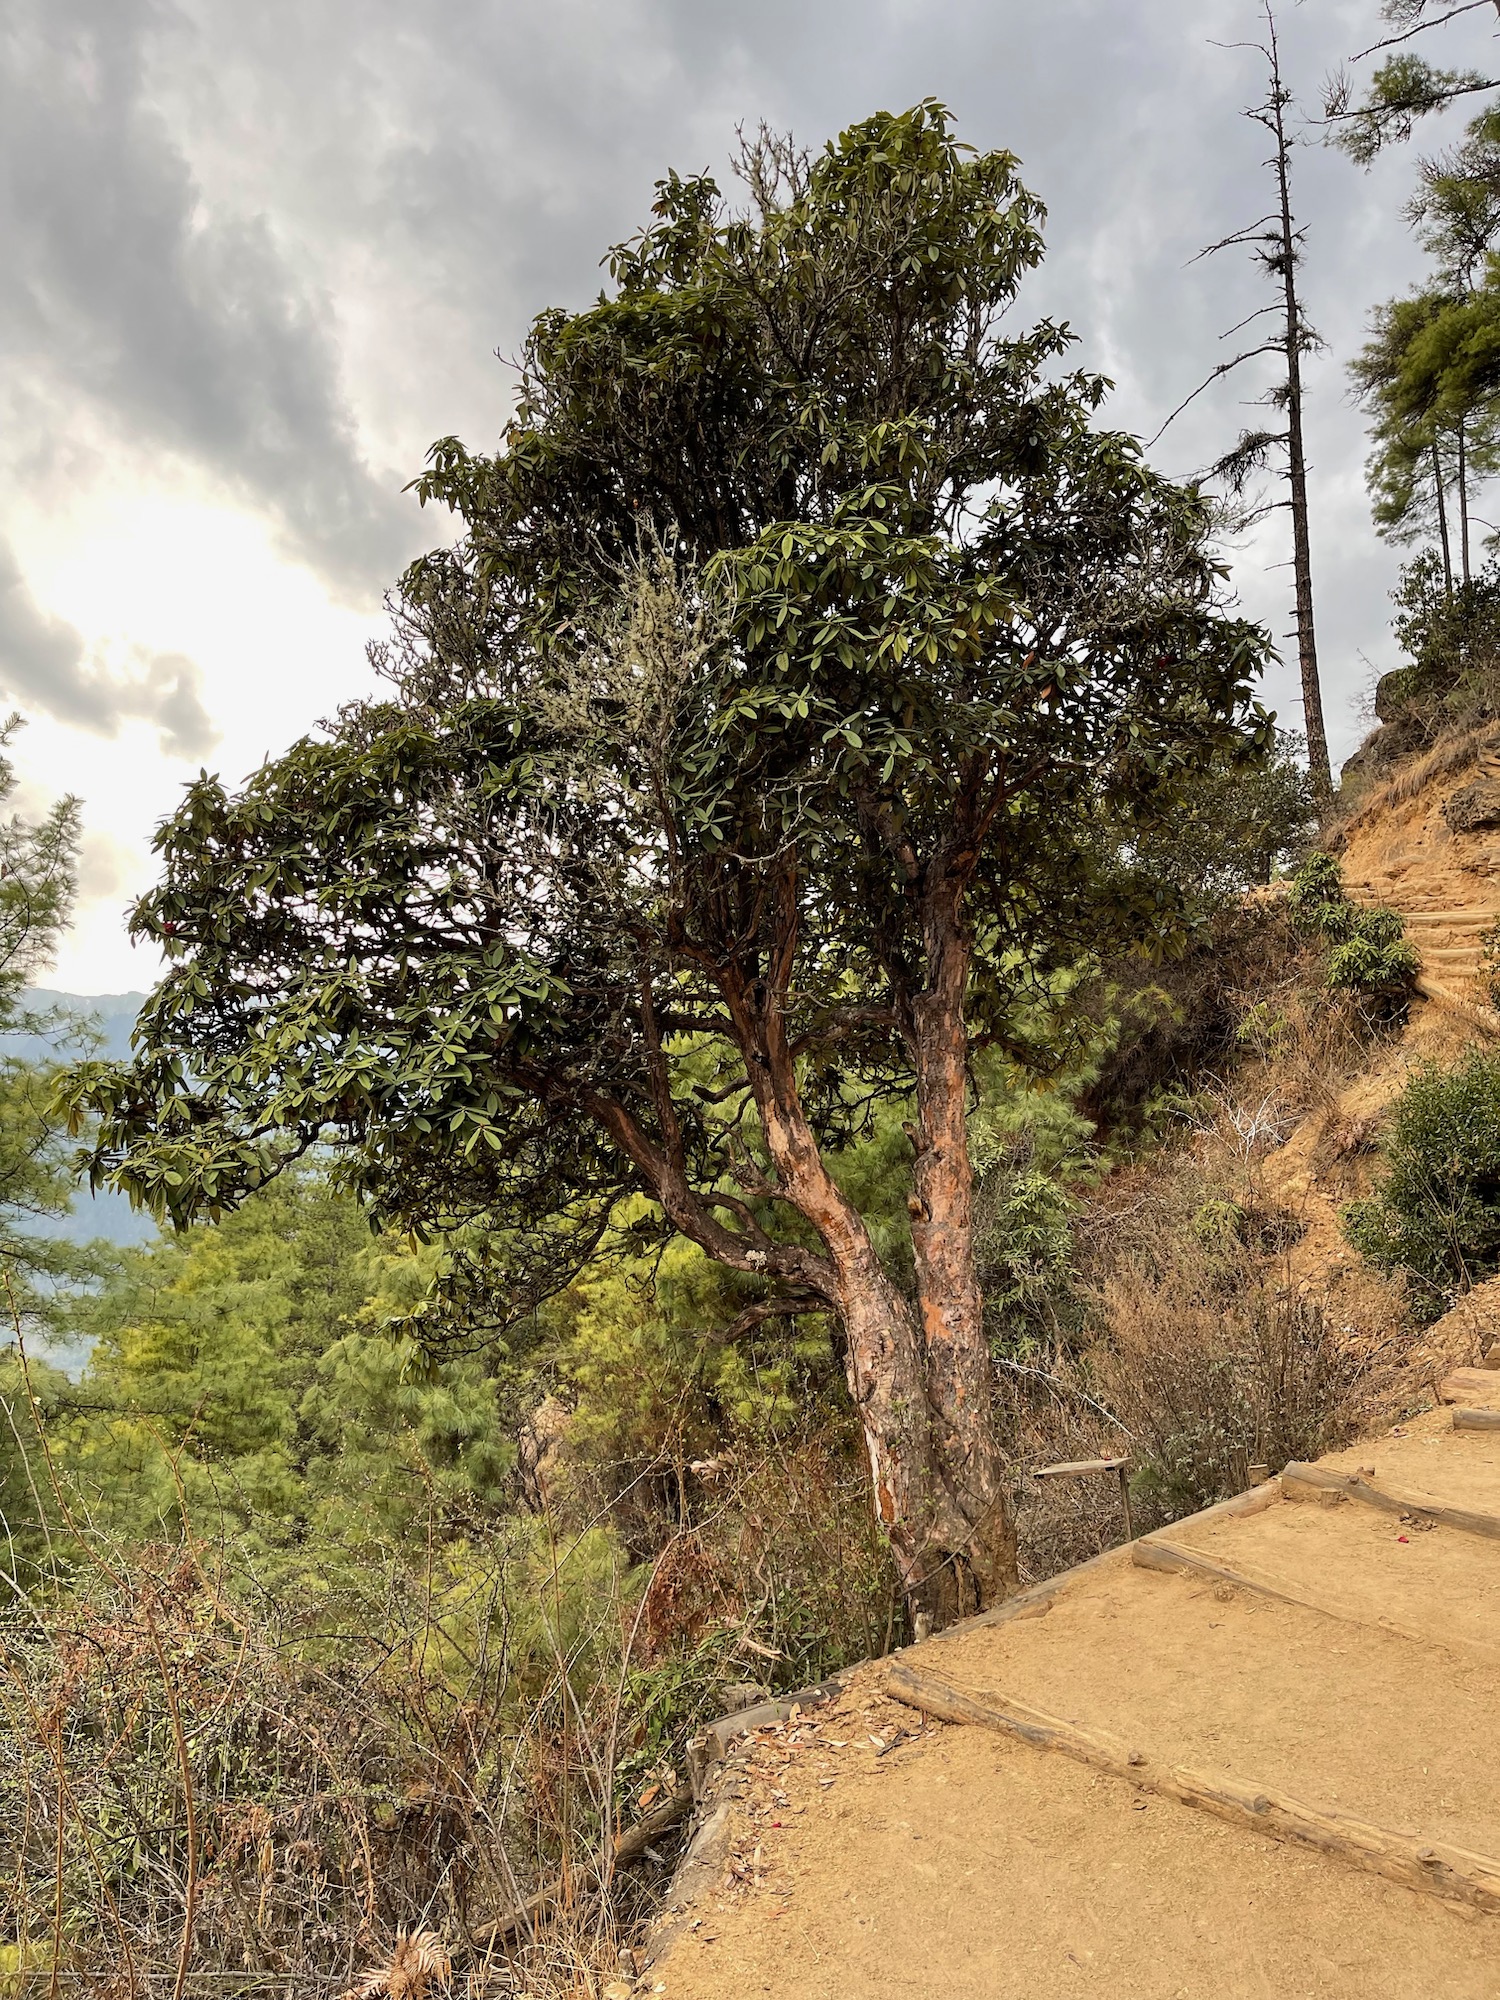
And then we continued the second half of the journey down, passing beautiful mature tree after mature tree.
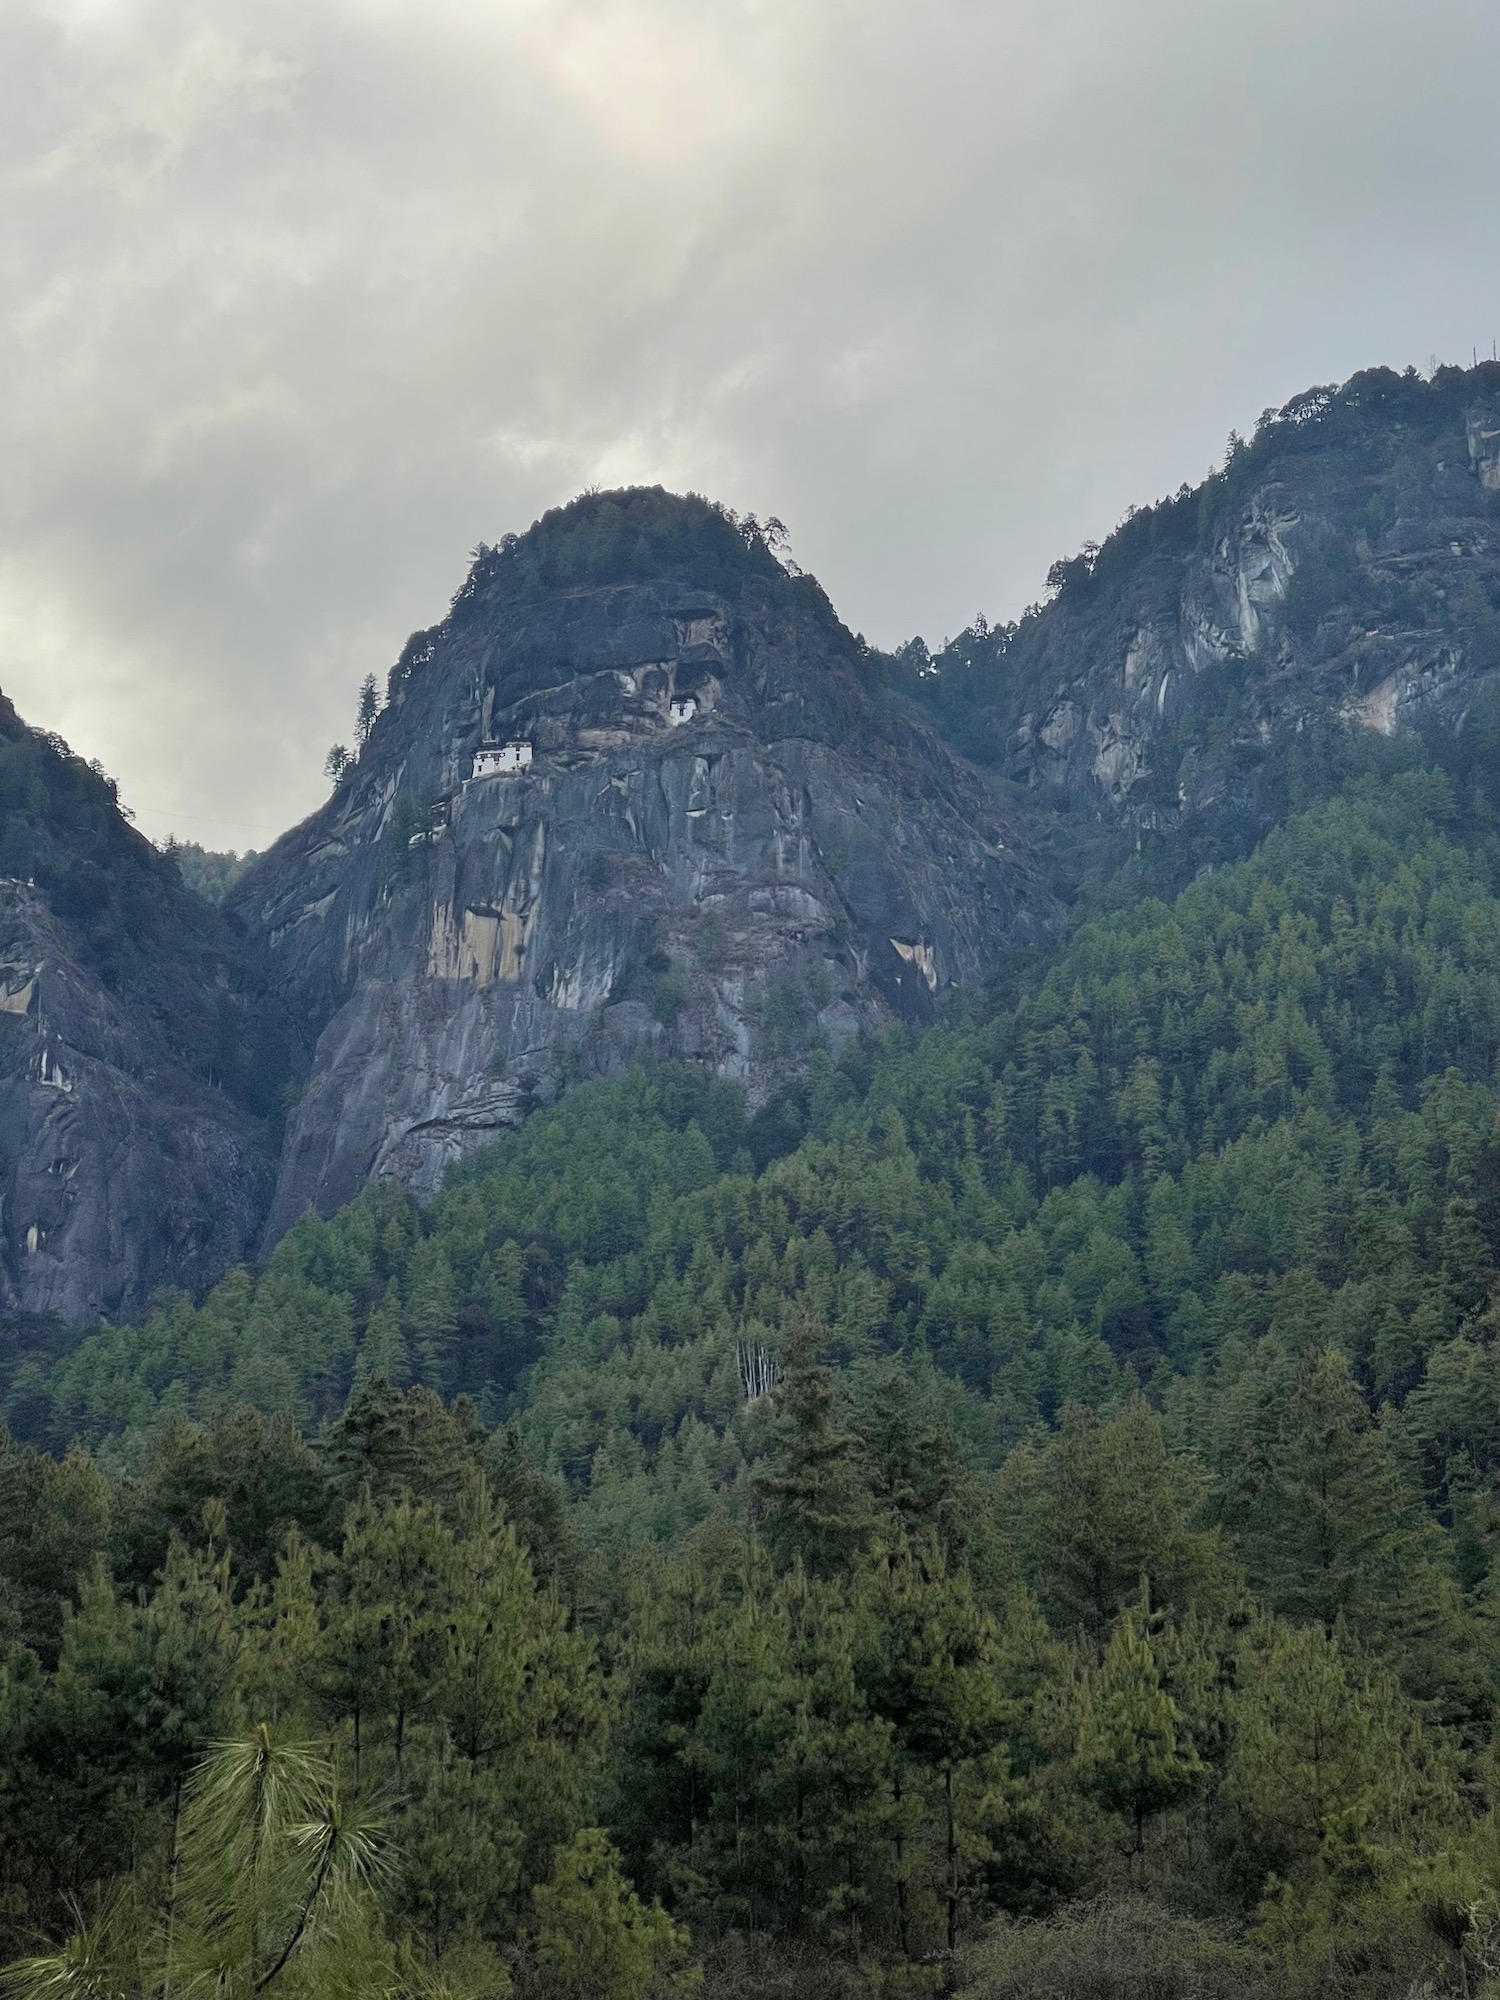
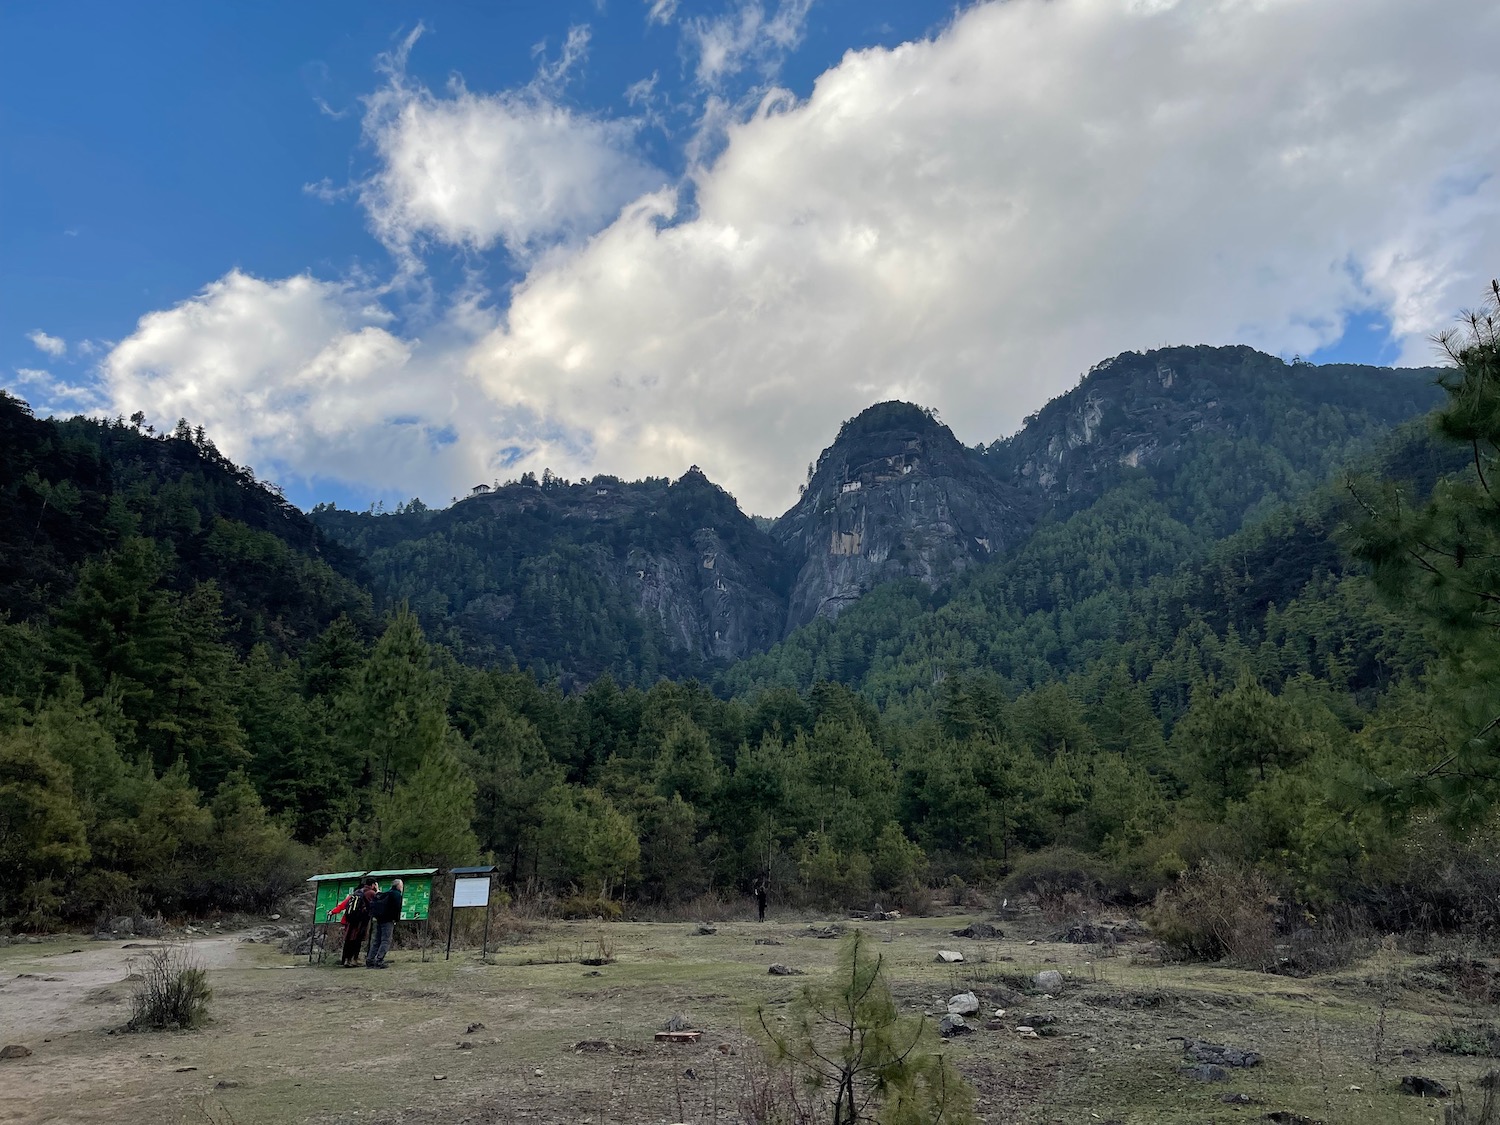
The pictures don’t do this place justice…but this was a “bucket list” item and was a fantastic day. Do make time for this and if you’re not in the best shape, just get started as early in the day as possible.
I cannot wait to do this again!



I visited Tiger’s Nest as well, BUT there are two paths to get there and I took the longer one from the back which took two days. It was AMAZING! We camped out at night in a tent and had a local cook prepare us meal. The soup he made was absolutely delicious and easily a 5-star item in any 5-star restaurant. I couldn’t believe that he made that from very sparse ingredients he had on hand in the middle of nowhere! Truly an unforgettable experience and if you can, I HIGHLY recommend the longer route, also because you won’t meet many tourists along the way which is a huge plus in a non-touristy country like Bhutan.
That Elon Musk hairstyle is stunning.
I was thinking he should try a taper fade.
Matt,
Thank you for sharing this with us.
How do you deal with payment in Bhutan, currency credit cards, etc?
I had no problem using credit cards almost anywhere. Even used it to pay for a huge painting in Punakha (Google it for funsies).
Thank you both!
I was curious about the “rent a donkey” and how you haggle.
My Dzonkha (Bhutanese) language skills are rather rusty.
Everyone is well educated and speaks English.
Those $200/day tourist fees bankroll the healthcare, education, and infrastructure system.
Like Lukas, I used credit card everywhere (except for tips for my guide/driver).
Nice writeup and amazing place. But won’t pay the bills. Time for another manufactured controversy?
headed there next week!
Great post, thank you,
Does Bhutan still have a minimum requirement regarding spending per day?
There is no minimum spend once you’re in Bhutan, but you’ll have to pay a $100 SDF fee (Sustainable Development Fund) for each night you spend in the country. It’ll be added on to the cost of the trip by the agency making your guide & visa arrangements.
Correct – down from the $200/day I paid…
Technically WAY up as the $200/day we paid included lodging, food, a guide and a driver.
i thoroughly enjoyed your photos. Thank you for sharing them.
Thanks for reading!